How to Truss a Chicken
The ultimate guide on how to truss a chicken for a perfectly cooked meal! Learn the simple techniques to enhance flavor and presentation. Impress your family and friends with your culinary skills tonight!
Equipment
- Kitchen Twine
Ingredients
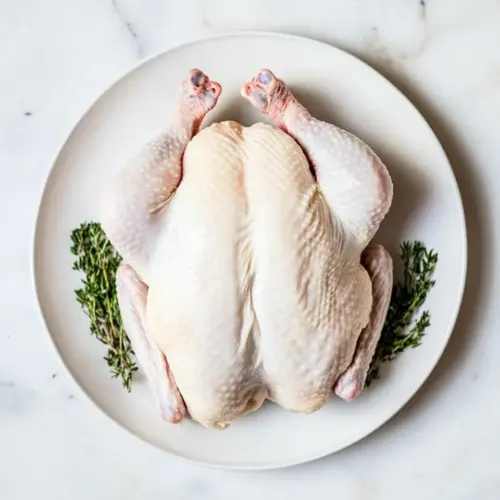
- 1 whole chicken Whole Chicken 4 to 5 pounds.
- 1 piece Kitchen Twine Unbleached cotton, strong enough for trussing.
Instructions
- Begin by cutting a length of kitchen twine about 3 feet long. It’s essential to have enough length to work with, so don’t skimp on this step.
- Place the chicken breast-side up on your cutting board. Ensure it’s clean and ready for the trussing process.
- Run the center of the string under the neck area of the bird, right at the front. This will be your starting point for securing the chicken.
- Bring the string up towards the wings and legs. At this stage, it's important to keep the string taut to ensure the wings are pushed tightly against the body.
- Use your thumbs to tuck the wings in as you wrap the string around the chicken. This helps in creating a compact shape that will cook evenly.
- The string should follow the contours of the chicken breast as you move around. Look for a snug fit to keep everything in place.
- Bring the string around between the leg and breast, and give it one overhand knot. This knot should be tight but not too solid; you’ll want to be able to adjust it later if needed.
- As you pull the knot tight, you should notice the wings being pinned securely against the body. This is the key to a well-trussed chicken.
- Next, bring the ends of the string down between the chicken’s legs. Cross the legs at the ankles above or behind the breast's point.
- Make sure your previous knot is still tight as you prepare to secure the legs. This ensures they remain close to the body during cooking.
- Separate the strings and loop them around the outside of the chicken's ankles, tying a square knot to finish it off. This will cinch the legs together effectively.
- Snip any extra ends of string and discard them. Your chicken is now perfectly trussed and ready for roasting!
Notes
- Twine: Seek out unbleached cotton kitchen twine, also known as butcher’s twine, which is strong enough to hold a chicken together but won’t burn.
- Chicken: Any kind of bird you like can be trussed. Pre-brined, dry-brined, broilers, fryers, roasters, and natural chickens all benefit from trussing before roasting.
- Yield: 1 whole chicken will yield about 3 cups of cooked chicken.
- Storage: Store leftover chicken covered in the refrigerator for up to 4 days.