Coconut Milk Coffee Creamer
The perfect blend of creamy and sweet, Coconut Milk Coffee Creamer elevates your morning brew to new heights. It’s an easy and healthy alternative to store-bought options, making your coffee experience delightful. Whip it up in minutes and enjoy a delicious cup of coffee that feels like a treat!
Equipment
- Blender
- Mixing Bowl
Ingredients
- 14 ounces lite coconut milk 1 can
- 1/2 teaspoon pure vanilla extract
- 2 teaspoons pure maple syrup more or less to taste
Instructions
- First, gather all your ingredients: a can of lite coconut milk, pure vanilla extract, and pure maple syrup. Having everything ready will make the process smooth and efficient.
- Next, pour the entire can of lite coconut milk into the pitcher of your blender. Make sure to scrape out every last bit to maximize your yield!
- Add in the pure vanilla extract. This ingredient will infuse your creamer with a lovely aroma and flavor that complements the coffee beautifully.
- Now, it’s time to sweeten it up! Add the pure maple syrup. You can start with two teaspoons and adjust to your preference later.
- Secure the lid on your blender, and blend on high for about 30 seconds. Your goal is to achieve a smooth and creamy consistency.
- Once blended, taste the creamer. If you want it sweeter, feel free to add more pure maple syrup and blend for a few more seconds.
- After achieving the desired flavor, carefully pour the creamer into a clean, airtight container. I like to use a glass jar for easy storage and to keep it fresh.
- Label your container and store it in the refrigerator. It should keep well for several days, but I doubt it will last that long!
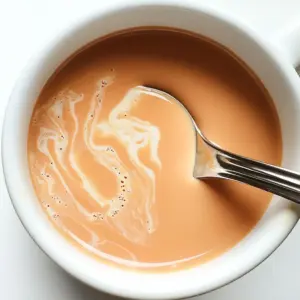
- When it’s time to enjoy your coffee, simply mix a couple of tablespoons of your Coconut Milk Coffee Creamer into your brew. Adjust the amount based on your taste preferences.
- Lastly, savor the rich, creamy flavor of your homemade coffee creamer and relish in the fact that you made it yourself!
Notes
Here are some tips to get the most out of your Coconut Milk Coffee Creamer experience!
- Storage: Keep your homemade creamer in an airtight container in the refrigerator to maintain freshness.
- Freezing: You can freeze the creamer in ice cube trays for easy portioning. Just thaw as needed!
- Pairing: This creamer pairs beautifully with flavored coffees or lattes for an extra kick!
- Variations: Feel free to experiment with different flavors, such as hazelnut or caramel.
- Blend time: The longer you blend, the creamier the texture will be. Don’t rush it!
- Adjust sweetness: Start with less sweetener; you can always add more, but you can’t take it out!