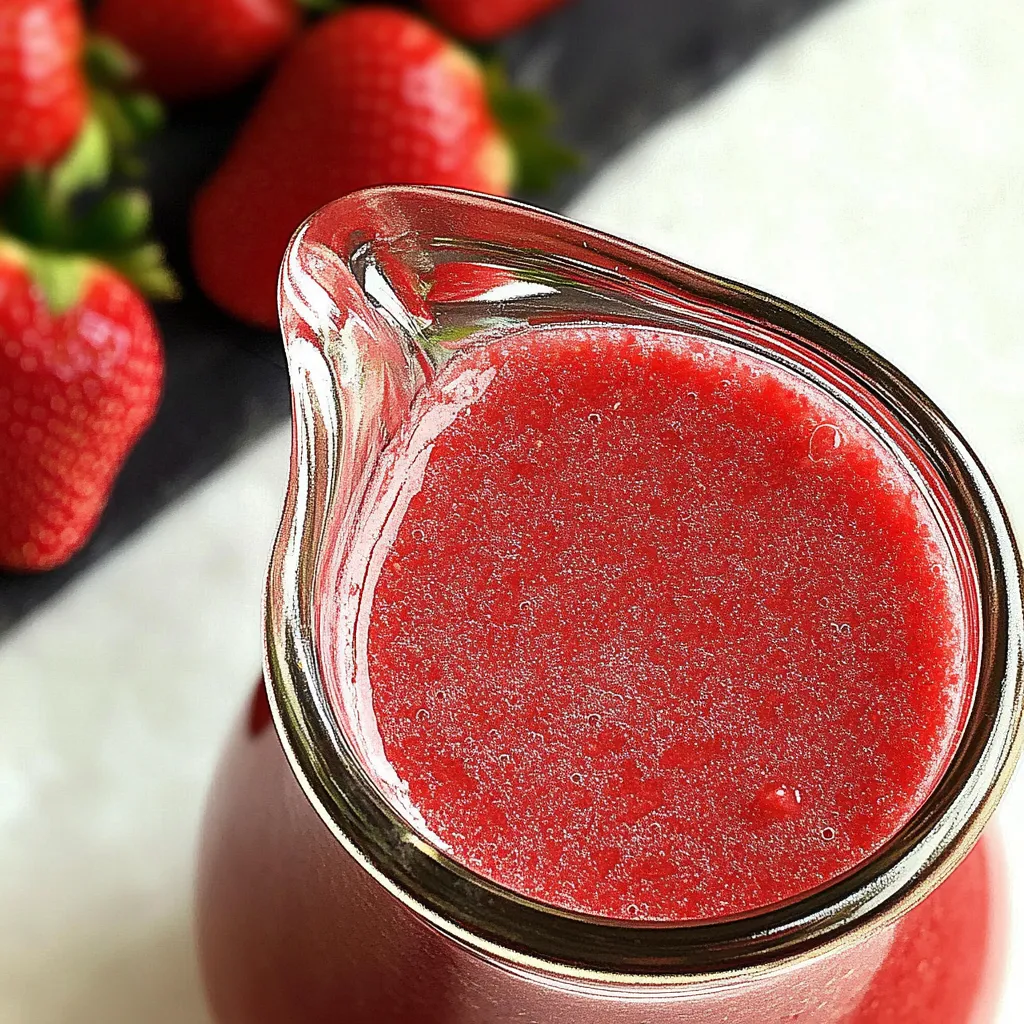
Simple Strawberry Syrup Recipe
Growing up, one of my fondest memories was those hot summer days when my mom would whip up a batch of her homemade Simple Strawberry Syrup Recipe. The sweet, fruity aroma would waft through our kitchen, drawing all of us in like bees to honey. The vibrant red color of the strawberries was always so inviting, and I can still hear the sound of the syrup bubbling gently on the stove. It became a staple in our household, drizzled over pancakes, mixed into smoothies, or simply enjoyed over vanilla ice cream. Every time I make it now, it brings back those cherished moments of laughter and togetherness.
Recipe Snapshot
15 mins
5 mins
10 mins
Medium
70 kcal
0 g
Vegan, Gluten-Free, AIP
0 g
Chef’s Knife, Large Pot, Blender, Frying Pan, Saucepan
The Best Thing About This Simple Strawberry Syrup Recipe
Perfectly Sweet
One of the things I love most about this Simple Strawberry Syrup Recipe is its perfect balance of sweetness. The combination of juicy strawberries with just the right amount of sugar creates an irresistible flavor that enhances any dish. Whether you’re pouring it over waffles or using it as a topping for dessert, it always brings that extra touch of delight.
Fresh Ingredients
This recipe uses fresh strawberries that are bursting with flavor. When strawberries are in season, they taste incredibly sweet and juicy, making the syrup even more delicious. Choosing ripe, red strawberries ensures that you get the best flavor possible, and it adds a beautiful color to your syrup.
Easy to Make
Another reason to love this recipe is how easy it is to make. With just three basic ingredients, you can have a delightful syrup ready in no time. All you need is strawberries, sugar, and water. It’s perfect for beginners or those who want a quick yet impressive homemade treat.
Versatile Use
The versatility of Simple Strawberry Syrup Recipe is something I truly appreciate. Beyond pancakes and waffles, it can be drizzled over yogurt, blended into cocktails, or even used as a filling for cakes. The possibilities are endless, which makes it a must-have in your kitchen.
Great for Gifts
This syrup also makes a wonderful homemade gift. Imagine giving a jar of your homemade strawberry syrup to a friend or neighbor. It’s a thoughtful gesture that shows you care, and it’s something they can enjoy and use in their own kitchen.
Perfect for Summer
Lastly, this syrup is the ultimate summer treat. As the days get hotter, having a refreshing and sweet topping for your desserts or breakfast makes everything taste better. It brings that taste of summer right into your home!
Key Ingredients for Simple Strawberry Syrup Recipe
The key ingredients in this Simple Strawberry Syrup Recipe are incredibly straightforward yet essential to creating that rich, fruity flavor. The combination of fresh strawberries, granulated sugar, and water work harmoniously to create a syrup that is both sweet and refreshing. Each ingredient plays a vital role: the strawberries provide the vibrant flavor, the sugar enhances sweetness, and the water helps achieve the perfect consistency.
- 2 cups sliced fresh strawberries: Sweet and juicy, ripe strawberries are the star of this recipe, adding that essential fruity flavor.
- ½ cup granulated sugar: This helps to sweeten the syrup without overshadowing the natural flavor of the strawberries.
- ½ cup water: Needed to create the syrup base and balance the sweetness of the sugar and strawberries.
The Process for Making Simple Strawberry Syrup Recipe
Making your own strawberry syrup is not only satisfying, but it’s also incredibly easy. This process will guide you through each step and make it a fun experience! Let’s dive into the deliciousness of creating your own sweet syrup.
- Start by gathering your ingredients. You’ll need sliced fresh strawberries, granulated sugar, and water. This simple combination is all it takes to create a burst of flavor. Make sure your strawberries are ripe for the best results.
- In a medium saucepan, combine the strawberries, sugar, and water. As you add these ingredients, stir gently to ensure the sugar starts dissolving. The strawberries should be evenly distributed throughout the mixture.
- Set the saucepan over medium-low heat. Allow the mixture to come to a gentle boil. You’ll notice the strawberries releasing their juices, which is exactly what you want. Keep an eye on it, stirring occasionally to prevent sticking.
- Once it reaches a boil, reduce the heat further. Now, let it simmer for about ten minutes. The goal here is to allow the flavors to meld beautifully while thickening slightly. You’ll see the syrup start to take shape as it reduces.
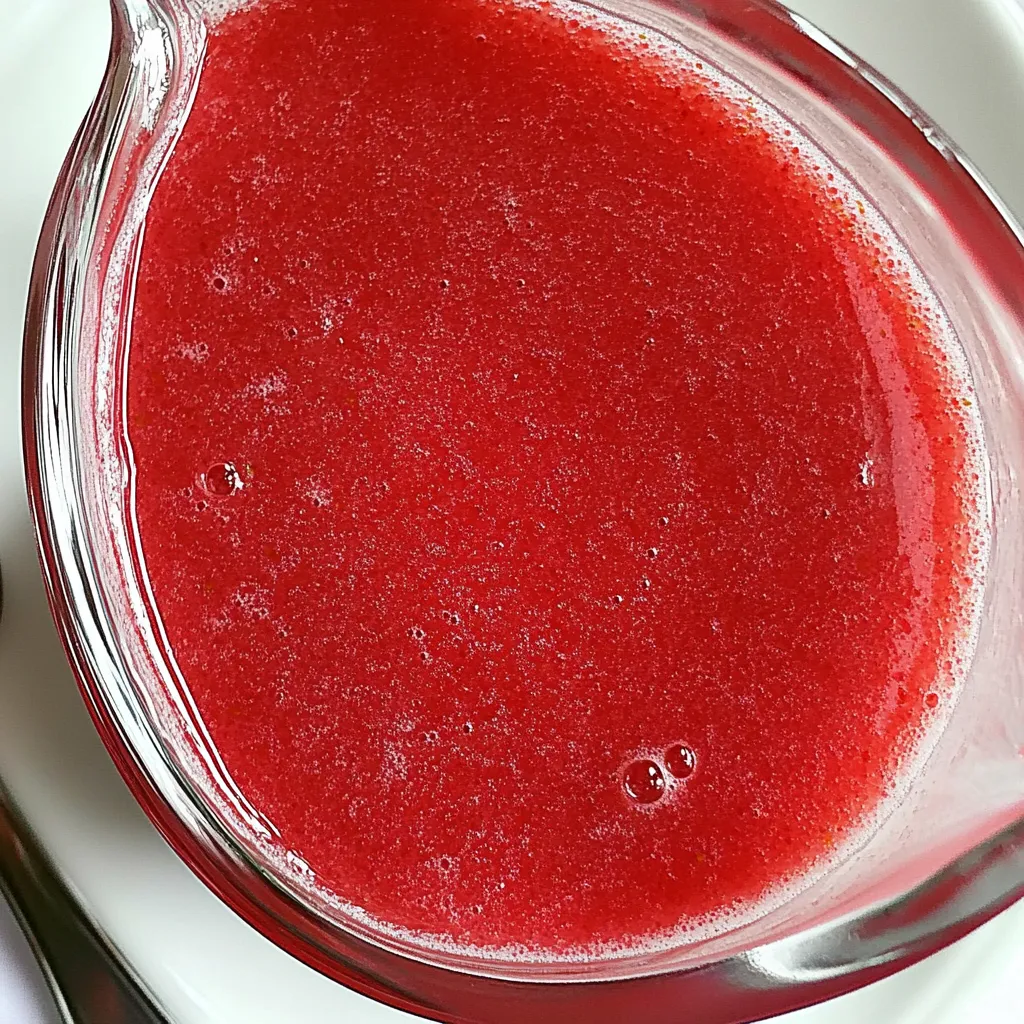
- After simmering, remove the saucepan from heat. It’s time to blend! Carefully transfer the mixture into a blender. If it’s too hot, let it cool for a few minutes first. Blend on high speed for about ten seconds, or until it’s completely smooth with no chunks of strawberry.
- Next, pour the blended syrup into a bowl. To keep it fresh and prevent any unwanted contamination, cover it with plastic wrap. Refrigerate it until chilled, which can take about twenty minutes. If you prefer, you can also leave it overnight to let the flavors deepen.
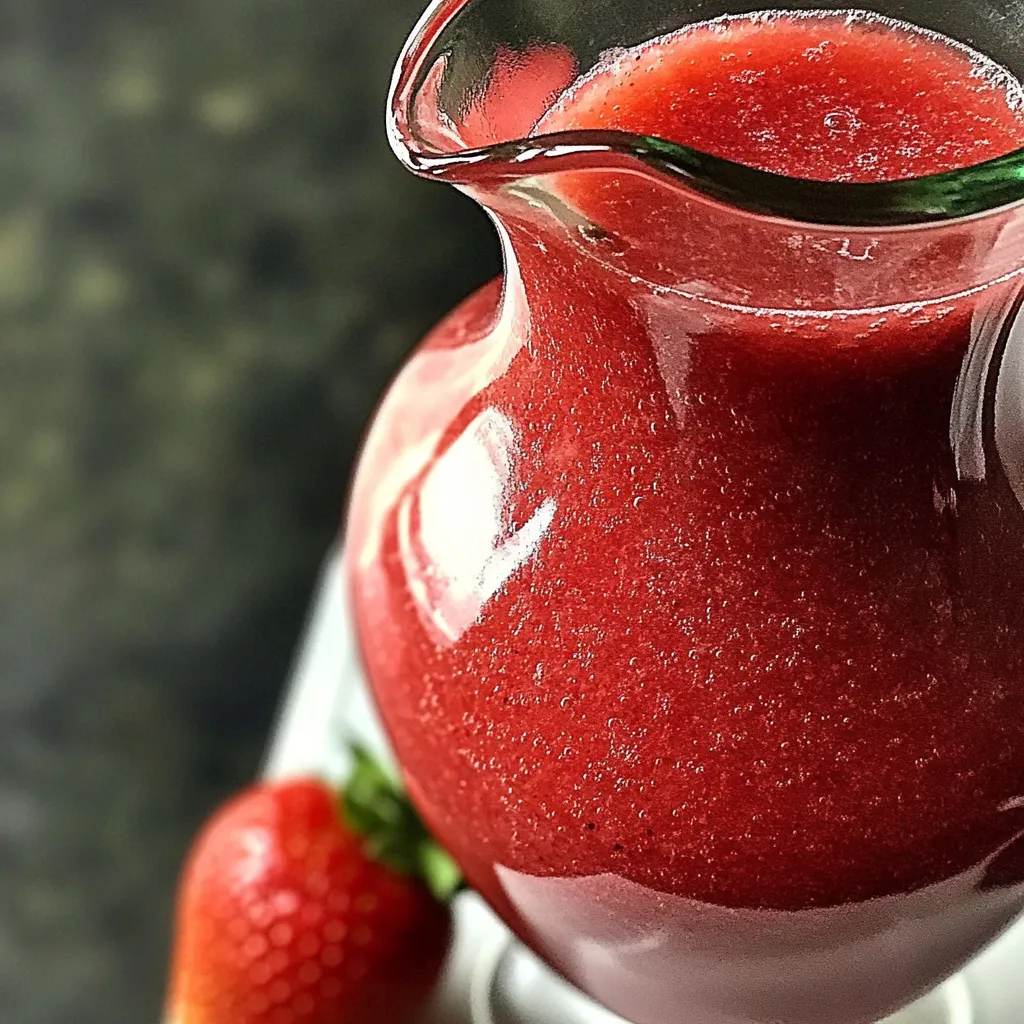
- Once chilled, you can serve your homemade Simple Strawberry Syrup Recipe over pancakes, ice cream, or even cocktails. It’s the perfect way to add a touch of summer sweetness to any dish.
Things Worth Knowing
- Using Fresh Strawberries: Always opt for ripe, fresh strawberries for the best flavor. Look for ones that are vibrant red and free from blemishes.
- Adjusting Sweetness: If you prefer a less sweet syrup, you can reduce the amount of sugar used.
- Texture Control: If you like a chunkier syrup, blend it for less time, or mash the strawberries before cooking.
- Storage Tips: Keep your syrup in an airtight container in the refrigerator. It should last about a week.
- Freezing: You can freeze the syrup in ice cube trays for easy portioning later.
Making Adjustments
Making adjustments to your Simple Strawberry Syrup Recipe allows for creativity and personal touches! Here are some tips for customization:
- Storage: Store leftover syrup in a sealed jar in the refrigerator. It stays fresh for about one week, perfect for quick breakfasts throughout the week!
- Freezing: You can freeze your syrup in ice cube trays for easy use later. Just pop out a cube and let it thaw when you’re ready to enjoy.
- Pairing: This syrup pairs wonderfully with yogurt or cheesecake, adding a fruity kick to your treats.
- Flavor Variations: Experiment by adding a splash of lemon juice or zest to brighten the flavor of your syrup.
- Sweetness Adjustment: If you like it sweeter or less sweet, feel free to adjust the amount of sugar to your taste.
What to Serve Alongside Simple Strawberry Syrup Recipe
When it comes to serving Simple Strawberry Syrup Recipe, the possibilities are endless! Here are some delightful ideas:
- Pancakes: A classic pairing that never goes out of style. Drizzle the syrup over fluffy pancakes for a sweet breakfast treat.
- Waffles: Top your waffles with generous amounts of syrup for a delicious weekend brunch.
- Ice Cream: Use the syrup as a topping for vanilla ice cream or yogurt for a refreshing dessert.
- Cheesecake: Swirl it into cheesecake for an added burst of flavor.
- Fruit Salad: Drizzle over a fresh fruit salad to enhance the natural sweetness of the fruits.
- Seasonal Occasions: This syrup is perfect for summer gatherings or holiday brunches, adding a festive touch to any occasion.
FAQ
Conclusion
The Simple Strawberry Syrup Recipe is a delightful way to elevate your meals with a fresh burst of flavor. Its simplicity and versatility make it a must-try for anyone looking to add a homemade touch to their dishes. I encourage you to give it a go and enjoy the sweet taste of summer, no matter the season!

Simple Strawberry Syrup Recipe
Equipment
- Chef's Knife
- Large Pot
- Blender
- Frying Pan
- Saucepan
Ingredients
- 2 cups sliced fresh strawberries
- ½ cup granulated sugar
- ½ cup water
Instructions
- Start by gathering your ingredients. You’ll need sliced fresh strawberries, granulated sugar, and water. This simple combination is all it takes to create a burst of flavor. Make sure your strawberries are ripe for the best results.
- In a medium saucepan, combine the strawberries, sugar, and water. As you add these ingredients, stir gently to ensure the sugar starts dissolving. The strawberries should be evenly distributed throughout the mixture.
- Set the saucepan over medium-low heat. Allow the mixture to come to a gentle boil. You’ll notice the strawberries releasing their juices, which is exactly what you want. Keep an eye on it, stirring occasionally to prevent sticking.
- Once it reaches a boil, reduce the heat further. Now, let it simmer for about ten minutes. The goal here is to allow the flavors to meld beautifully while thickening slightly. You’ll see the syrup start to take shape as it reduces.
- After simmering, remove the saucepan from heat. It’s time to blend! Carefully transfer the mixture into a blender. If it’s too hot, let it cool for a few minutes first. Blend on high speed for about ten seconds, or until it’s completely smooth with no chunks of strawberry.
- Next, pour the blended syrup into a bowl. To keep it fresh and prevent any unwanted contamination, cover it with plastic wrap. Refrigerate it until chilled, which can take about twenty minutes. If you prefer, you can also leave it overnight to let the flavors deepen.
- Once chilled, you can serve your homemade Simple Strawberry Syrup Recipe over pancakes, ice cream, or even cocktails. It’s the perfect way to add a touch of summer sweetness to any dish.
Notes
- Storage: Keep leftover syrup in a sealed jar in the refrigerator. It should last about a week.
- Freezing: You can freeze your syrup in ice cube trays for easy use later. Just pop out a cube and let it thaw when you're ready to enjoy.
- Pairing: This syrup pairs wonderfully with yogurt or cheesecake, adding a fruity kick to your treats.
- Flavor Variations: Experiment by adding a splash of lemon juice or zest to brighten the flavor of your syrup.
- Sweetness Adjustment: If you like it sweeter or less sweet, feel free to adjust the amount of sugar to your taste.