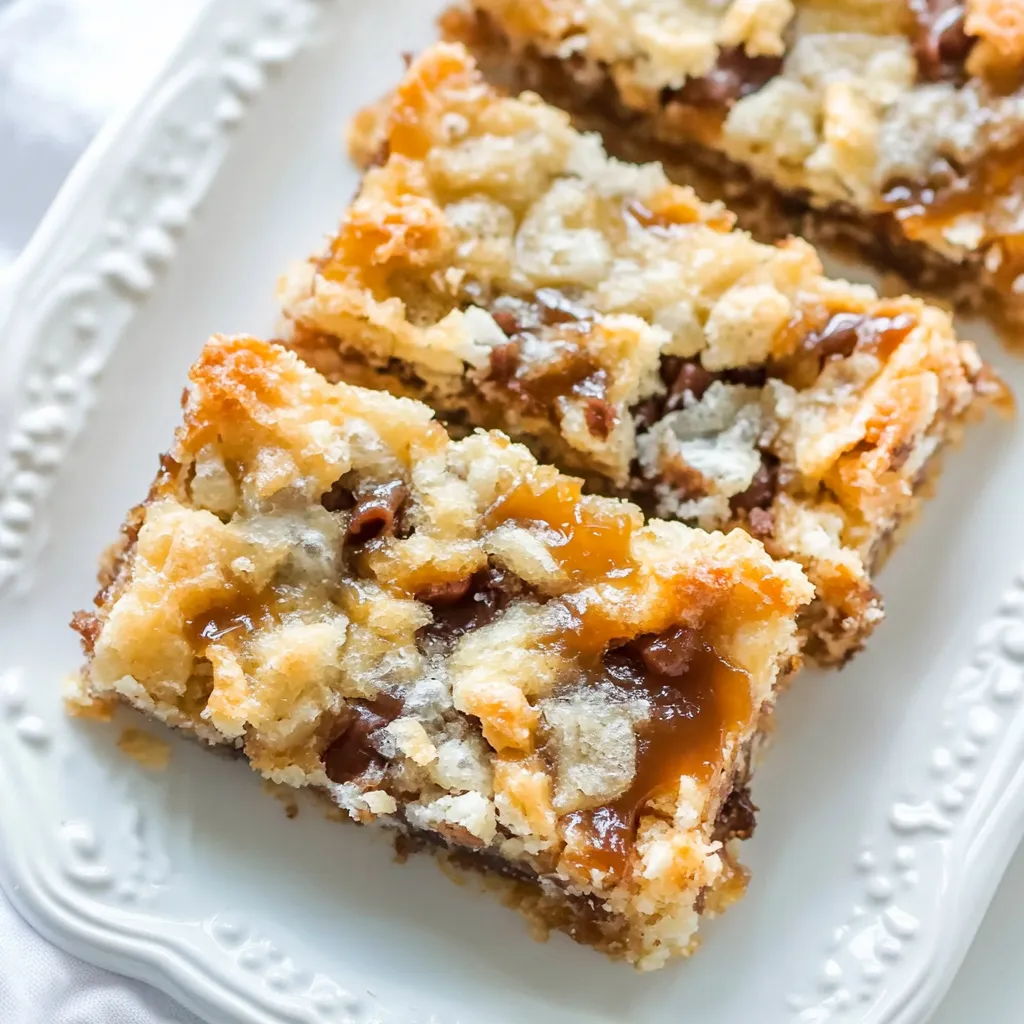
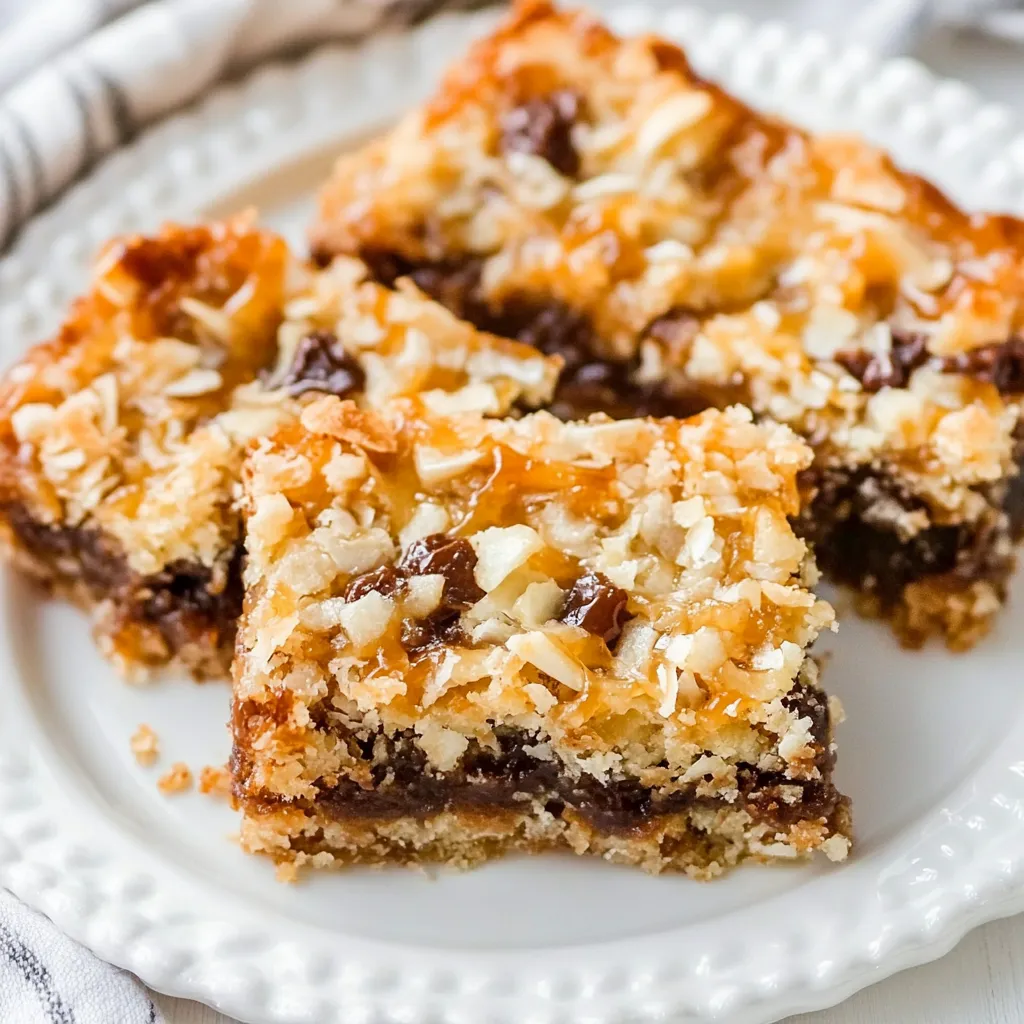
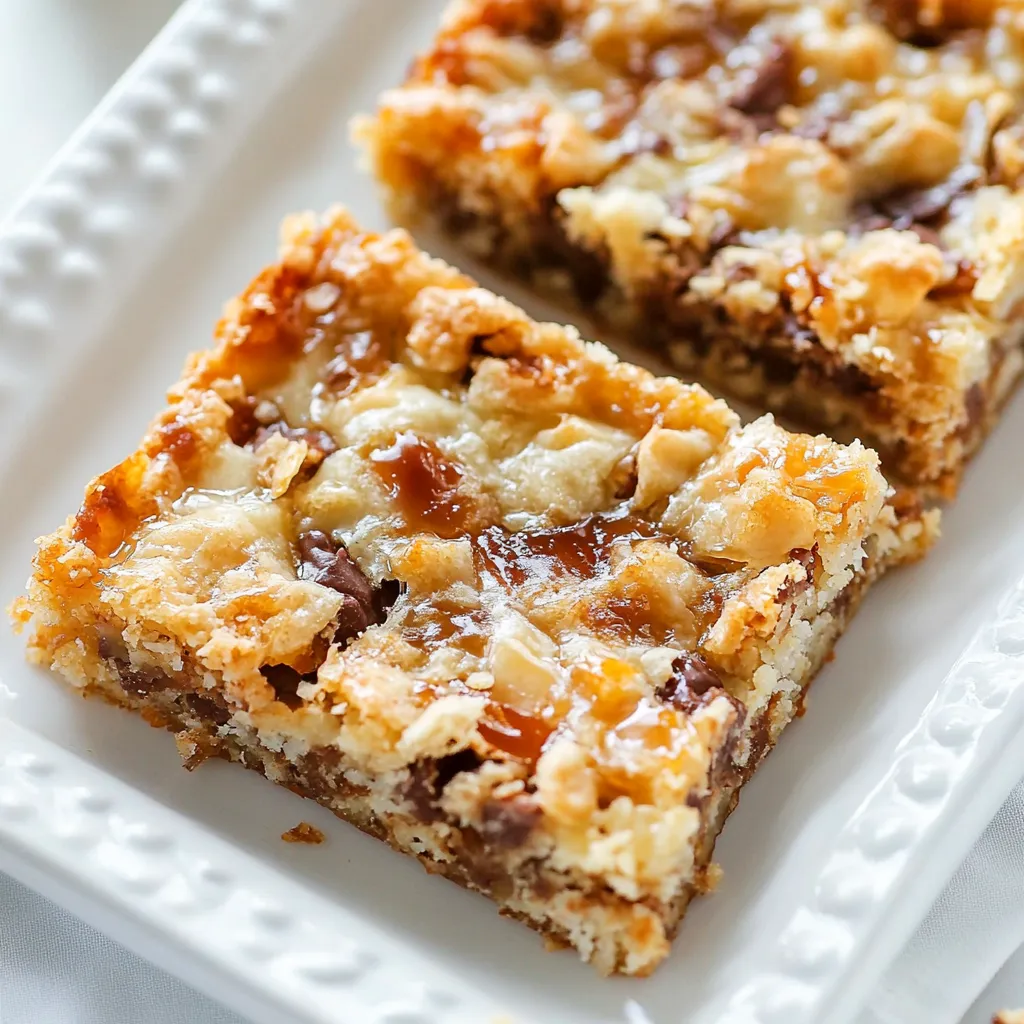
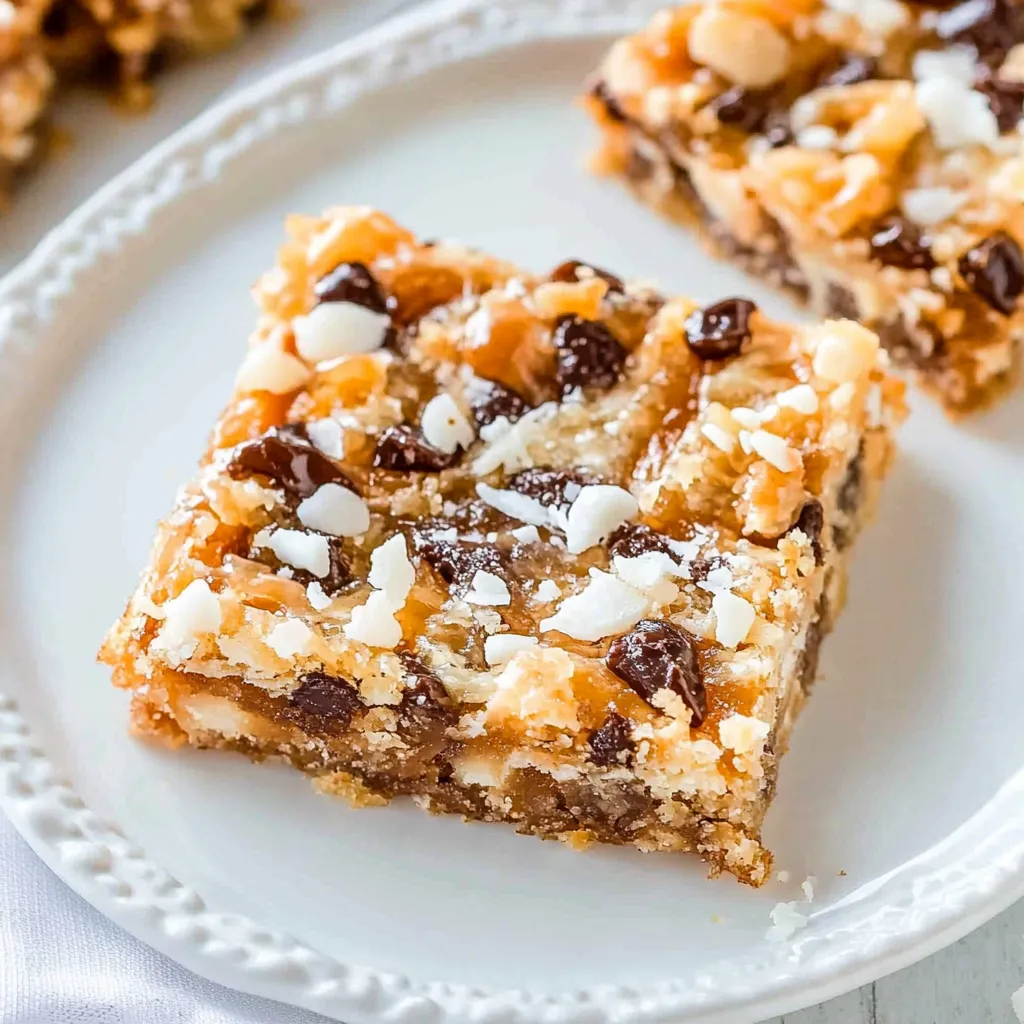
Salted Caramel Magic Bars
Whenever I crave something sweet and indulgent, I immediately think of Salted Caramel Magic Bars. There’s something so magical about the combination of textures and flavors in this treat. These bars have a buttery graham cracker crust that cradles layers of rich chocolate, creamy butterscotch, and the utterly delightful sweetness of melted caramel. Every bite is a journey through sweet and salty, crispy and chewy that makes you feel all warm and fuzzy inside. I remember the first time I made these bars for a gathering; the way everyone’s eyes lit up when they took their first bite is a memory I cherish. It’s the kind of dessert that brings people together, perfect for sharing and enjoying. As the chocolate and butterscotch chips melt into each other, and the caramel drizzles down, it’s hard not to get excited about this easy recipe that feels so special. On a cozy evening, or during a festive celebration, these bars are the perfect sweet ending.
Recipe Snapshot
35 mins
10 mins
25 mins
Medium
220 kcal
2 g
Gluten-Free, Low FODMAP
10 g
Mixing Bowl, Baking Sheet, Wooden Spoon, Whisk, Frying Pan, Oven
What We Adore About This Salted Caramel Magic Bars
They’re Simple to Make
One of the best things about Salted Caramel Magic Bars is how straightforward they are to whip up. With just a handful of ingredients, you can create something that looks and tastes like it took hours to prepare. I love being able to share this recipe with friends who are just starting their baking journey. It’s a great way to encourage them to dive into the world of baking without overwhelming them.
Layered Flavor Profiles
The layers in these bars create a perfect blend of flavors. The buttery graham cracker crumbs provide a satisfying crunch that pairs perfectly with the gooey semi-sweet chocolate chips and butterscotch chips. And let’s not forget the sweet and salty caramels, which add a decadent touch that makes every bite unforgettable. It’s all about contrast, and this dessert nails it!
Perfect for Any Occasion
Whether it’s a birthday party, a holiday gathering, or just a cozy night at home, Salted Caramel Magic Bars fit right in. They’re great for sharing at potlucks or simply enjoying with a cup of coffee. I often find myself making them for friends who need a little pick-me-up or as a sweet surprise for family movie night.
Customizable and Fun
Another reason to love this recipe is its flexibility. You can customize it to your liking! Want to add some nuts or maybe a layer of your favorite candy? Go for it! You can also experiment with different types of chocolate or cookies for the crust. This way, every batch can be a new adventure!
Great for Leftovers
If you manage to have any left over (which is rare!), they make an excellent treat to have on hand. They store well and can be kept in an airtight container for up to a week. They also freeze beautifully, making them a wonderful make-ahead dessert option!
A Guaranteed Crowd-Pleaser
Lastly, I can confidently say that Salted Caramel Magic Bars are a crowd-pleaser. They have a way of bringing smiles to people’s faces and can turn any gathering into a sweet celebration. The balance of flavors and textures is truly astounding, and I never tire of watching people enjoy them!
Everything You Need for Salted Caramel Magic Bars
The ingredients for Salted Caramel Magic Bars come together to create a harmonious blend of flavors and textures. Starting with a buttery crust and layering delightful toppings, each ingredient plays a crucial role. From the rich butter to the sweet shredded coconut, it’s a celebration of simple, accessible ingredients that work beautifully together.
- ¼ cup butter, melted: The base of the crust, providing richness and moisture.
- scant ¾ cup graham cracker crumbs: These create a crunchy, sweet foundation for the bars.
- ½ cup semi-sweet chocolate chips: Adding a luscious chocolaty layer that melts perfectly.
- ½ cup butterscotch chips: These bring a buttery sweetness that complements the chocolate.
- 10 Werther’s Original Soft Caramels, unwrapped: The star of the show, melted into a gooey sauce.
- 1 tablespoon half-and-half or cream: Helps to melt the caramels smoothly for easy drizzling.
- ¼ teaspoon salt, or to taste: Balances the sweetness and enhances the flavors.
- 1 cup sweetened shredded coconut flakes, measured loosely and not packed: Adds a delightful chewiness and coconut flavor.
- About two-thirds of one 14-ounce can sweetened condensed milk: This helps bind everything together with its creamy texture.
Cooking Instructions for Salted Caramel Magic Bars
Let’s dive into the cooking process for Salted Caramel Magic Bars. This recipe is not only straightforward but also gives you room to have fun as you layer those delicious ingredients. Follow these steps, and you’ll be rewarded with a dessert that everyone will rave about.
- First, preheat your oven to 350°F. This ensures that your bars bake evenly. While it’s heating up, line an 8-by-8-inch baking pan with aluminum foil, making sure you leave some overhang to help lift the bars out later. Spray the foil with cooking spray to prevent sticking.
- In a large, microwave-safe bowl, add the butter and microwave it on high power for about 1 minute, or until melted. You want it to be fully melted but not bubbling.
- Next, add the graham cracker crumbs to the melted butter. Use a fork to toss the crumbs lightly until they are well coated. This will help the crust hold together.
- Now, turn the crumb mixture out into your prepared pan. Using a spatula or your fingertips, press the mixture down firmly to form an even, smooth layer. It might seem like there isn’t enough crust, but it will work out.
- Once your crust is in place, evenly sprinkle the semi-sweet chocolate chips and butterscotch chips over the crust. Don’t be shy with these; you want a good layer of chocolatey goodness.
- In a small saucepan, add the Werther’s Original Soft Caramels and the half-and-half or cream. Heat over low heat, whisking constantly until it’s melted and smooth. Be patient; this process creates the delicious caramel drizzle.
- Add the salt to the melted caramel and stir well. Taste it! If you want it saltier, feel free to adjust. The contrast between the sweet and salty will enhance your bars.
- Now, it’s time to drizzle the salted caramel over the layers in the pan. Make sure you cover the chocolate chips and butterscotch chips well. It’s the highlight of the dessert!
- Evenly sprinkle the shredded coconut over the caramel drizzle. This adds an amazing texture and a hint of tropical flavor.
- Finally, drizzle the sweetened condensed milk over the coconut. This step is crucial as it binds everything together as it bakes.
- Place the pan in the oven and bake for about 22 to 25 minutes, or until the edges are lightly golden brown and the center is set. Keep a close watch during the last few minutes, as the coconut can go from perfectly toasted to burnt quickly.
- Once baked, remove the pan from the oven and let it cool on a wire rack for at least 2 hours, or overnight if you can wait. This cooling time allows the bars to firm up properly.
- When ready to serve, lift the bars out of the pan using the foil overhang, slice them into squares, and enjoy the deliciousness!
Things Worth Knowing
- Watch the Baking Time: Keep an eye on the bars in the oven, especially in the final minutes. Coconut can burn easily, so you want to remove them as soon as they’re golden brown.
- Cool Completely: Allowing the bars to cool completely in the pan helps them set correctly. If they’re too warm when you cut them, they might fall apart.
- Layer Smartly: Make sure to layer your chocolate chips and butterscotch chips evenly. This ensures every bite has that decadent flavor.
- Taste the Caramel: Don’t forget to taste your melted caramel before drizzling. Adjust the salt to your liking for that perfect sweet and salty balance.
- Storage Tips: These bars can be stored in an airtight container at room temperature for up to a week or in the freezer for up to six months.
Recipe Variations about Salted Caramel Magic Bars
When it comes to Salted Caramel Magic Bars, the possibilities are endless! You can easily adapt this recipe to fit different tastes and preferences. Here are some fun variations to consider:
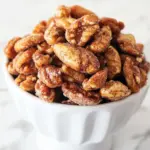
- Add Nuts: Consider adding some chopped nuts, like pecans or walnuts, for extra crunch and flavor.
- Use Different Chips: Swap the semi-sweet chocolate chips with dark chocolate or white chocolate for a new twist on flavor.
- Experiment with Cookies: Try using crushed cookies, like Oreos or chocolate chip cookies, instead of graham cracker crumbs for the crust.
- Mix in Dried Fruits: Dried fruits like cranberries or cherries can add a nice tartness that complements the sweetness.
- Go Gluten-Free: Use gluten-free graham cracker crumbs or a gluten-free cookie for the crust to make these bars accessible for everyone.
- Change the Coconut: If you’re not a fan of coconut, feel free to leave it out or substitute with a layer of crushed cookies instead.
- Serving Variations: Serve these bars warm topped with a scoop of ice cream for an indulgent dessert experience!
Perfect Pairings for Salted Caramel Magic Bars
When you’re ready to enjoy your Salted Caramel Magic Bars, consider these perfect pairings to elevate your dessert experience:
- Coffee: A rich cup of coffee pairs beautifully with the sweetness of the bars. The bitterness of the coffee balances out the sugary layers.
- Iced Tea: For a refreshing contrast, serve these bars with a glass of iced tea, especially in warmer months.
- Milk: You can’t go wrong with a classic glass of milk! It’s the perfect complement to the sweet and salty flavors.
- Ice Cream: A scoop of vanilla or caramel ice cream on the side adds an extra layer of creaminess and indulgence.
- Fruit Salad: A light fruit salad can cut through the richness of the bars and provide a refreshing element.
- Seasonal Occasions: These bars are perfect for gatherings! They make a great addition to potlucks, birthday parties, or holiday celebrations.
- Storage Tips: If you have leftovers, store them in an airtight container. They will keep well for up to a week, making them great for snacking throughout the week.
FAQ
Conclusion
In summary, Salted Caramel Magic Bars are a delightful blend of flavors and textures that everyone will love. They are perfect for sharing, celebrating, or simply enjoying at home. I encourage you to try making these bars and experience their magic for yourself. You won’t be disappointed!
Salted Caramel Magic Bars
Equipment
- Mixing Bowl
- Baking Sheet
- Wooden Spoon
- Whisk
- Frying Pan
- Oven
Ingredients
- ¼ cup butter melted
- scant ¾ cup graham cracker crumbs
- ½ cup semi-sweet chocolate chips
- ½ cup butterscotch chips
- 10 Werther’s Original Soft Caramels unwrapped
- 1 tablespoon half-and-half or cream
- ¼ teaspoon salt or to taste
- 1 cup sweetened shredded coconut flakes measured loosely and not packed
- about two-thirds can sweetened condensed milk eyeball it
Instructions
- 1. Preheat your oven to 350°F. Line an 8-by-8-inch baking pan with aluminum foil, spray with cooking spray; set aside.
- 2. In a large, microwave-safe bowl, add the butter and heat on high power to melt, about 1 minute.
- 3. Add the graham cracker crumbs to the melted butter and toss lightly with a fork to coat crumbs evenly.
- 4. Turn mixture out into prepared pan, forming an even, smooth, flat crust layer by tapping crumbs into place with a spatula or your fingertips.
- 5. Evenly sprinkle with the semi-sweet chocolate chips and butterscotch chips; set aside.
- 6. To a small saucepan, add the Werther’s Original Soft Caramels, half-and-half or cream, and heat over low heat to melt, whisking constantly until melted.
- 7. Add the salt, stir to combine, and taste sauce. Depending on preference for saltiness, add more salt to taste.
- 8. Evenly drizzle the salted caramel over the semi-sweet chocolate chips and butterscotch chips.
- 9. Evenly sprinkle the sweetened shredded coconut flakes.
- 10. Evenly drizzle the sweetened condensed milk over the coconut.
- 11. Bake for about 22 to 25 minutes, or until lightly golden brown around edges and the center is mostly set.
- 12. Place pan on a wire rack and allow bars to cool in pan for at least 2 hours, or overnight, before slicing and serving.
Notes
- Storage: These bars can be stored in an airtight container at room temperature for up to a week or in the freezer for up to six months.
- Variations: Consider adding nuts, different chips, or even dried fruits for a twist!
- Serving Suggestions: They pair wonderfully with coffee, milk, or ice cream.