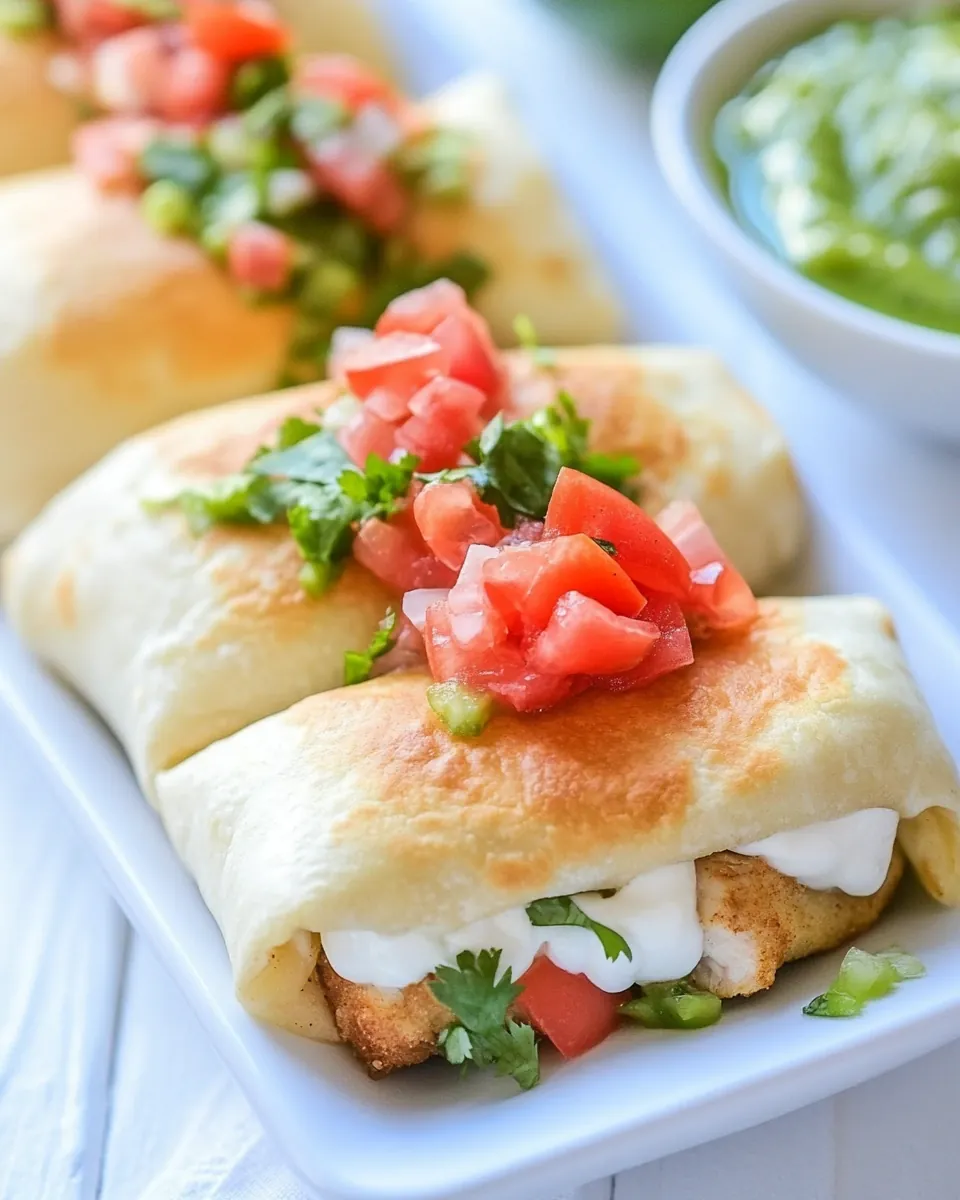
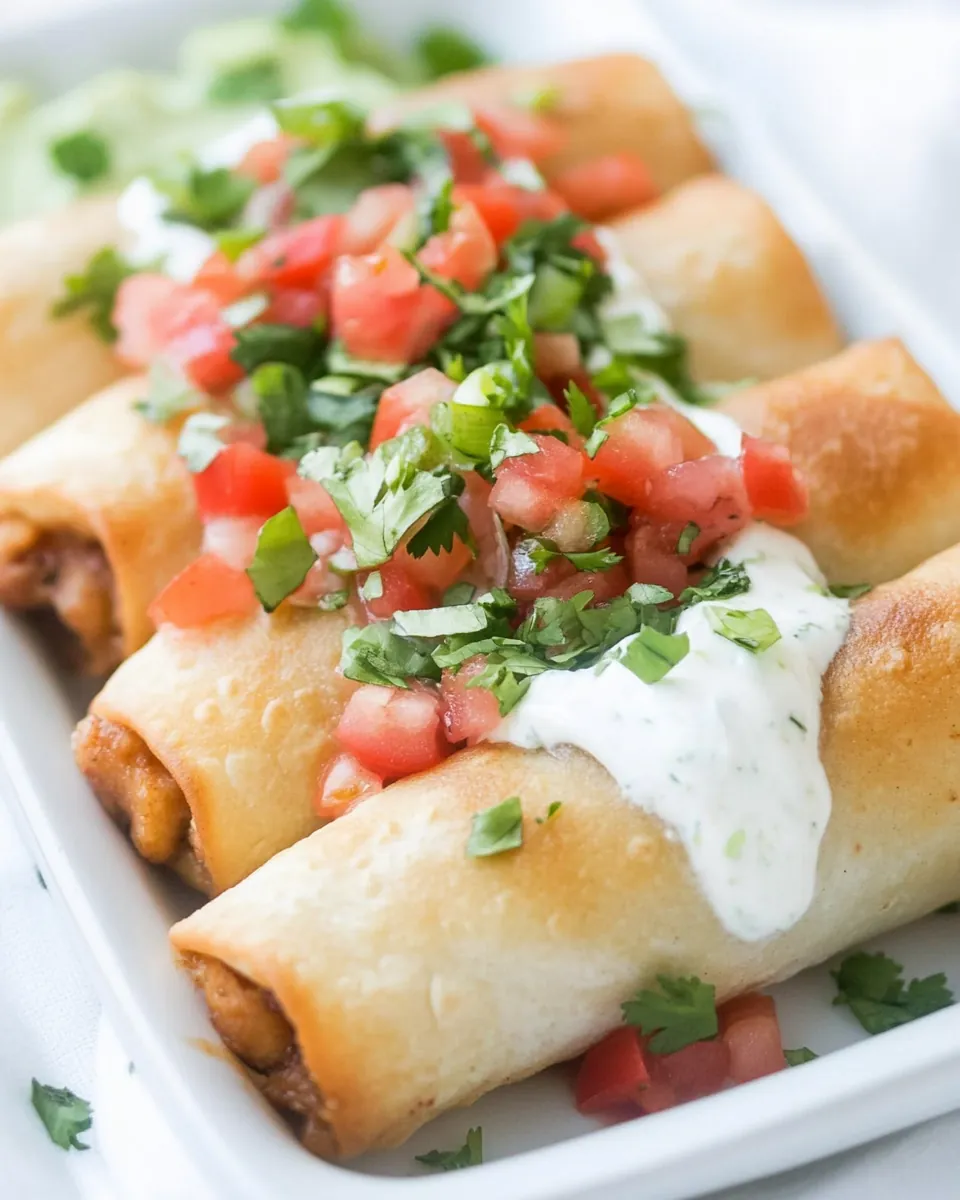
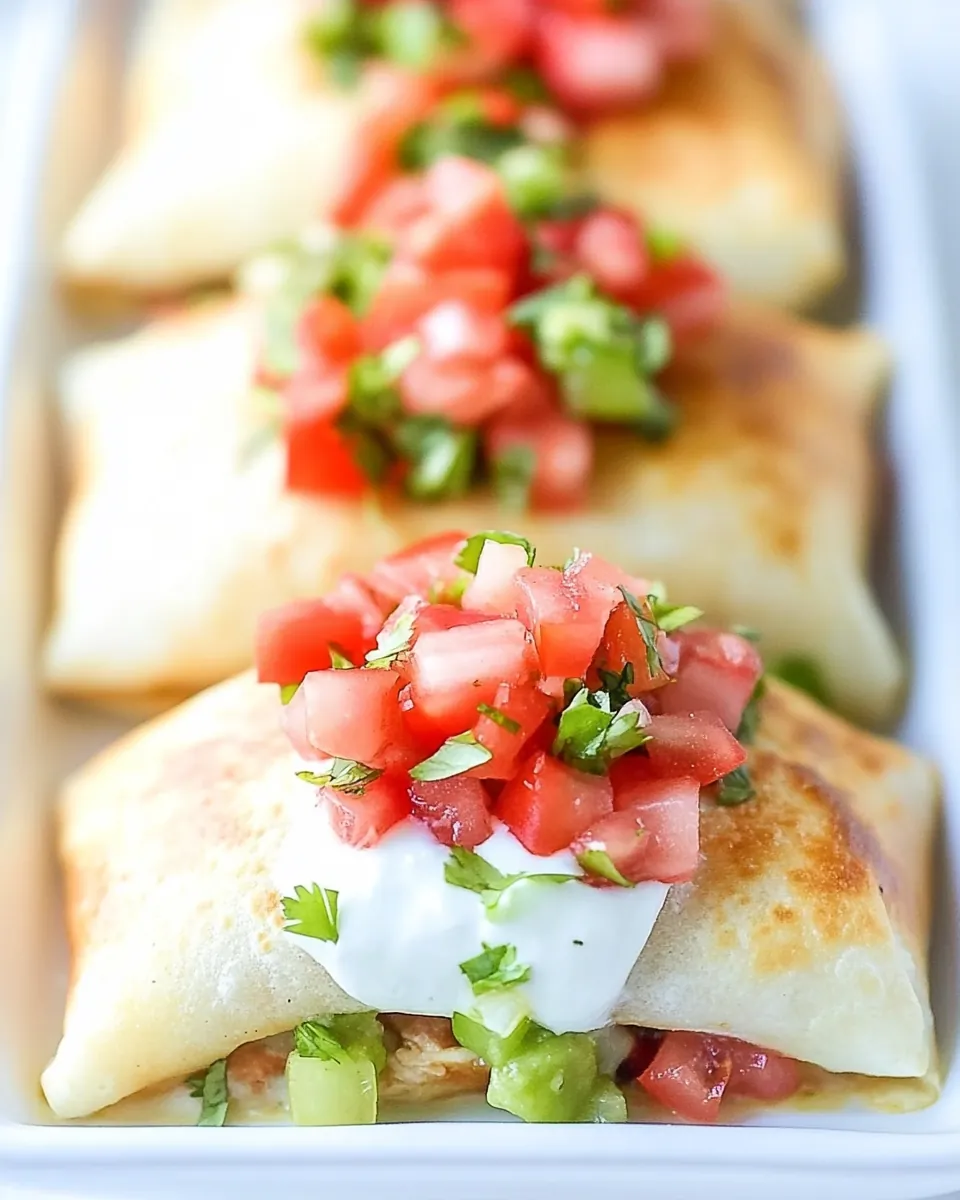
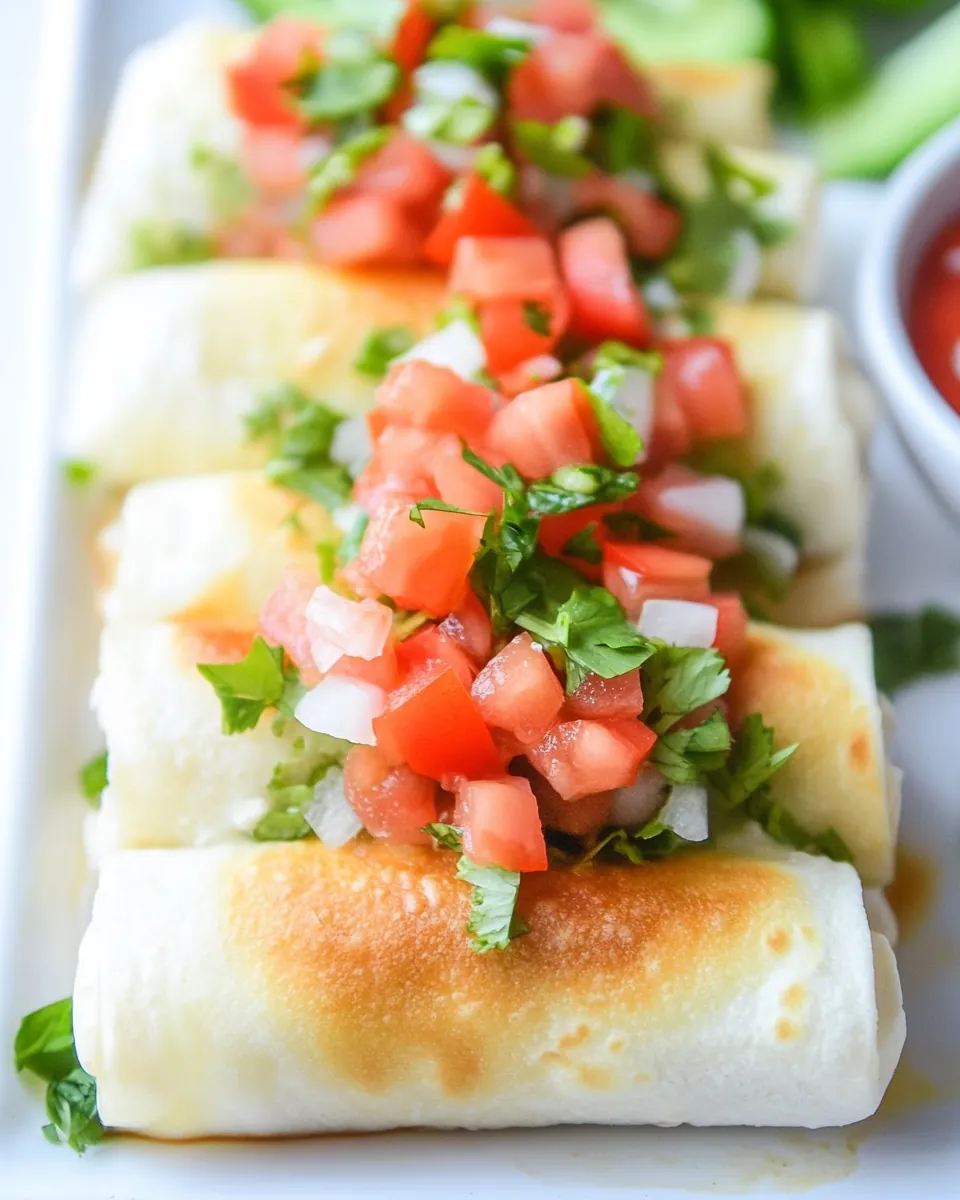
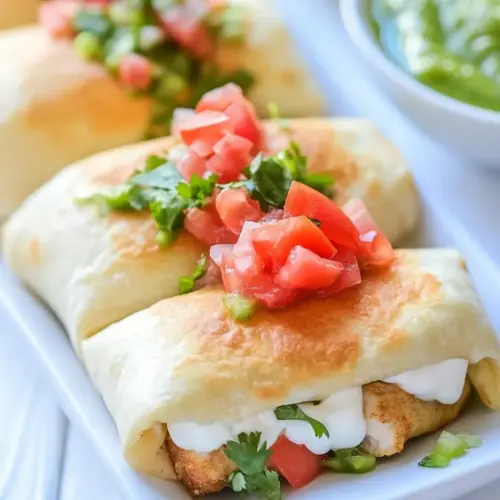
Mini Chicken Chimichangas
There’s something about Mini Chicken Chimichangas that takes me back to my childhood. Growing up, we had a family tradition where every Friday night was taco night. My mom would whip up her famous chicken tacos, and the smell would waft through the house, making our mouths water in anticipation. One day, she decided to take things up a notch and introduced us to chimichangas. The crispy outside filled with savory goodness was an instant hit! Now, as an adult, I find myself making Mini Chicken Chimichangas for my friends and family to relive those delightful moments. Each bite is bursting with flavor and memories, creating a delightful experience that everyone loves.
Recipe Snapshot
25 mins
5 mins
20 mins
Easy
350 kcal
20 g
Keto, Gluten-Free, Low FODMAP
20 g
Baking Sheet, Mixing Bowl, Wooden Spoon, Oven
Why You’ll Love This Mini Chicken Chimichangas
Perfect for Any Occasion
What I love about these Mini Chicken Chimichangas is their versatility. They are perfect for casual get-togethers, family dinners, or even as a snack during game night. You can serve them with various toppings, making them suitable for any palate.
Easy to Prepare
These chimichangas are incredibly simple to prepare. The filling comes together quickly, and wrapping them in tortillas is a fun task that anyone can help with. You can even get kids involved by letting them roll their own!
Flavorful Ingredients
The combination of cream cheese, taco seasoning, and shredded chicken creates a rich and creamy filling that’s hard to resist. The Pepper Jack cheese adds a little kick, making every bite exciting.
Healthy Options
If you’re looking to make these chimichangas healthier, you can bake them instead of frying. They turn out crispy and delicious without the added oil, making them a guilt-free treat!
Make-Ahead Convenience
Another reason to love Mini Chicken Chimichangas is that you can prepare them in advance. Just assemble and freeze them. When you’re ready to eat, bake them straight from the freezer for a quick and easy meal.
Great for Leftovers
These chimichangas make excellent leftovers, too! You can enjoy them for lunch the next day or even as an easy snack. Just reheat them in the oven for a few minutes, and they’ll be as good as fresh!
Recipe Ingredients for Mini Chicken Chimichangas
When it comes to making Mini Chicken Chimichangas, the ingredients play a crucial role. Each one contributes to the overall flavor and texture of the dish. Here are the key players that come together to create this mouthwatering recipe:
- 1 (8 ounce) package cream cheese, room temperature – Adds a rich and creamy texture to the filling.
- 1 tablespoon taco seasoning – Infuses the chicken with delicious Mexican flavors.
- 8 ounces Pepper Jack cheese, shredded – Provides a nice kick and meltiness.
- 3 cups shredded cooked chicken (rotisserie works well) – The protein base that fills these chimichangas.
- 16-20 soft taco tortillas – The perfect vessel for all that tasty filling.
- 1 tablespoon butter, melted – Helps the chimichangas get golden and crispy when baked.
- Toppings: sour cream, guacamole, and pico de gallo – Add freshness and extra flavor!
Step by Step Instructions for Mini Chicken Chimichangas
Making Mini Chicken Chimichangas is a delightful experience that brings the flavors of Mexico right into your kitchen. Follow these simple steps to create your own:
- Preheat your oven to 350 degrees. Line a baking sheet with parchment paper or give it a light spray with cooking spray to prevent sticking.
- In a large bowl, combine the cream cheese, taco seasoning, Pepper Jack cheese, and shredded chicken. Stir everything together until well mixed. You want every bit to be coated in that creamy goodness.
- Take a soft taco tortilla and place about 1/4 cup of the chicken mixture in the center. Fold the sides in over the filling and roll the tortilla tightly to create a cylinder. Make sure the seam is facing down when you place it on the baking sheet. Repeat this for the remaining tortillas and filling.
- Once all chimichangas are rolled, brush them with the melted butter to help them achieve that beautiful golden crust as they bake.
- Pop the baking sheet into the preheated oven and bake for 15 to 20 minutes. Keep an eye on them; you want them to be golden brown and crispy.
- When done, carefully remove the chimichangas from the oven and let them cool for a minute before serving. Top them with your favorite toppings like sour cream, guacamole, and pico de gallo.
Things Worth Knowing
- Perfect Bake Time: Keep an eye on your chimichangas in the oven. They should be golden brown, which indicates they’re crispy.
- Don’t Overfill: If you add too much filling, it may leak out during baking. Stick to the recommended 1/4 cup per tortilla.
- Use Rotisserie Chicken: For a quick option, rotisserie chicken is flavorful and saves prep time.
- Experiment with Spices: Feel free to add more spices or herbs into the filling to customize it to your taste.
Expert Tips about Mini Chicken Chimichangas
Creating the perfect Mini Chicken Chimichangas involves a few expert tips that can elevate your dish. Here’s what I’ve learned:
- Storage: Store any leftovers in an airtight container in the fridge for up to three days. They reheat well in the oven!
- Freezing: You can freeze these chimichangas before baking. Just assemble and wrap tightly, then place them in a freezer bag. When ready to eat, bake them straight from frozen, adding an extra few minutes to the cooking time.
- Pairing: These chimichangas pair wonderfully with a fresh salad, Mexican rice, or refried beans for a complete meal.
- Serving Style: Serve with a variety of toppings and let everyone customize their chimichangas. This makes for a fun and interactive dining experience.
- Experiment with Fillings: Try different fillings like beans, cheese, or vegetables to cater to various tastes.
Serve This Mini Chicken Chimichangas With
There are countless ways to enjoy Mini Chicken Chimichangas. Here are some delicious ideas:
- Fresh Guacamole: This creamy dip adds a wonderful texture and flavor contrast to the crispy chimichangas.
- Pico de Gallo: A fresh salsa made with diced tomatoes, onions, and cilantro complements the rich filling.
- Mexican Rice: Serve with seasoned rice for a fulfilling meal that balances the richness of the chimichangas.
- Refried Beans: Creamy refried beans are an excellent sidekick, adding a savory and hearty element.
- Crunchy Salad: A light, crunchy salad with a citrus vinaigrette can provide a refreshing contrast to the fried goodness.
- Game Night Snacks: These chimichangas are perfect for serving during sports events or movie nights, offering a fun and shareable option.
FAQ
Conclusion
Mini Chicken Chimichangas are not only a delightful treat but a fantastic way to bring everyone together around the table. Their crispy exterior and creamy, flavorful filling create a dish that’s sure to be a hit with family and friends. I encourage you to try making these at home; they’ll quickly become a favorite! Enjoy the process and the delicious results!
Mini Chicken Chimichangas
Equipment
- Baking Sheet
- Mixing Bowl
- Wooden Spoon
- Oven
Ingredients
- 1 package cream cheese room temperature
- 1 tablespoon taco seasoning
- 8 ounces Pepper Jack cheese shredded (about 2 cups)
- 3 cups shredded cooked chicken (rotisserie works well)
- 16-20 soft taco tortillas tortillas
- 1 tablespoon butter melted
- toppings sour cream, guacamole, and pico de gallo
Instructions
- Preheat your oven to 350 degrees. Line a baking sheet with parchment paper or give it a light spray with cooking spray to prevent sticking.
- In a large bowl, combine the cream cheese, taco seasoning, Pepper Jack cheese, and shredded chicken. Stir everything together until well mixed. You want every bit to be coated in that creamy goodness.
- Take a soft taco tortilla and place about 1/4 cup of the chicken mixture in the center. Fold the sides in over the filling and roll the tortilla tightly to create a cylinder. Make sure the seam is facing down when you place it on the baking sheet. Repeat this for the remaining tortillas and filling.
- Once all chimichangas are rolled, brush them with the melted butter to help them achieve that beautiful golden crust as they bake.
- Pop the baking sheet into the preheated oven and bake for 15 to 20 minutes. Keep an eye on them; you want them to be golden brown and crispy.
- When done, carefully remove the chimichangas from the oven and let them cool for a minute before serving. Top them with your favorite toppings like sour cream, guacamole, and pico de gallo.
Notes
- Tip 1: Store any leftovers in an airtight container in the fridge for up to three days. They reheat well in the oven!
- Tip 2: You can freeze these chimichangas before baking. Just assemble and wrap tightly, then place them in a freezer bag. When ready to eat, bake them straight from frozen, adding an extra few minutes to the cooking time.
- Tip 3: These chimichangas pair wonderfully with a fresh salad, Mexican rice, or refried beans for a complete meal.
- Tip 4: Serve with a variety of toppings and let everyone customize their chimichangas. This makes for a fun and interactive dining experience.
- Tip 5: Try different fillings like beans, cheese, or vegetables to cater to various tastes.