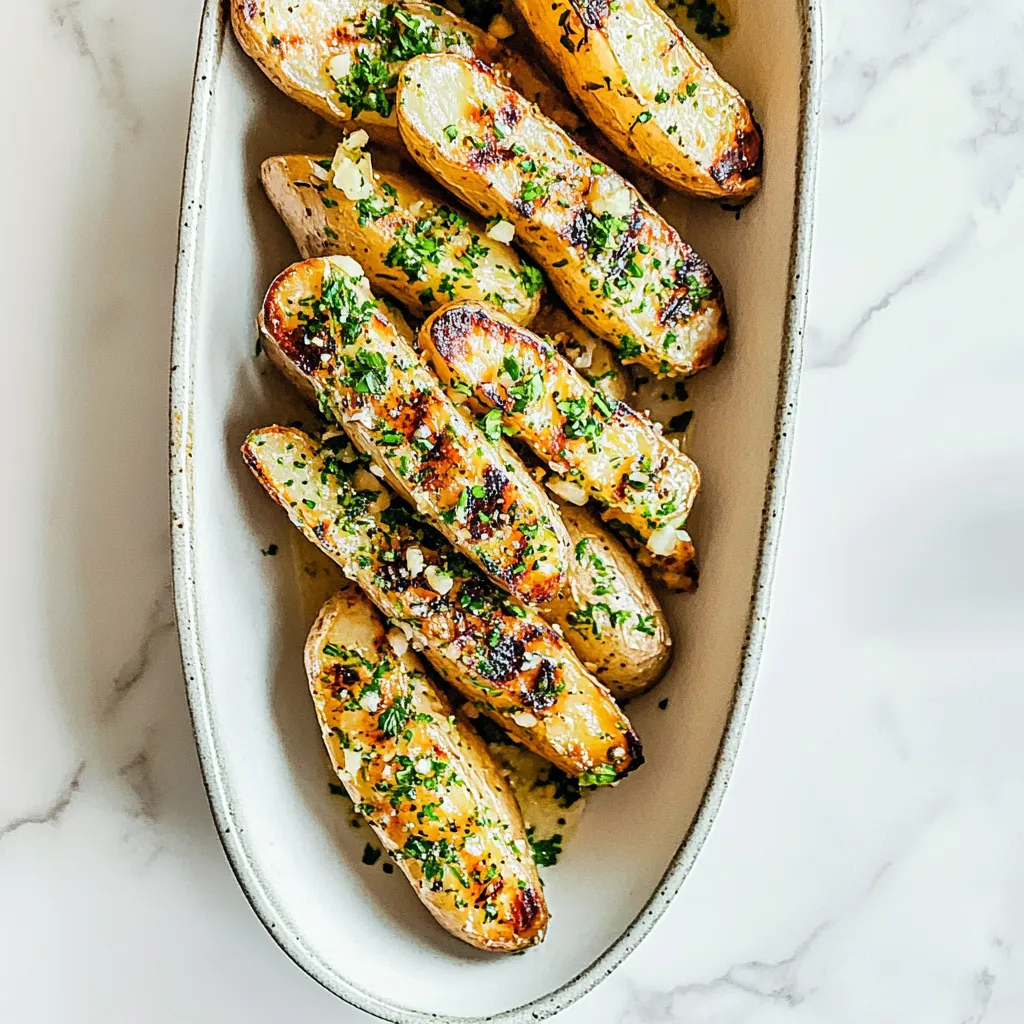
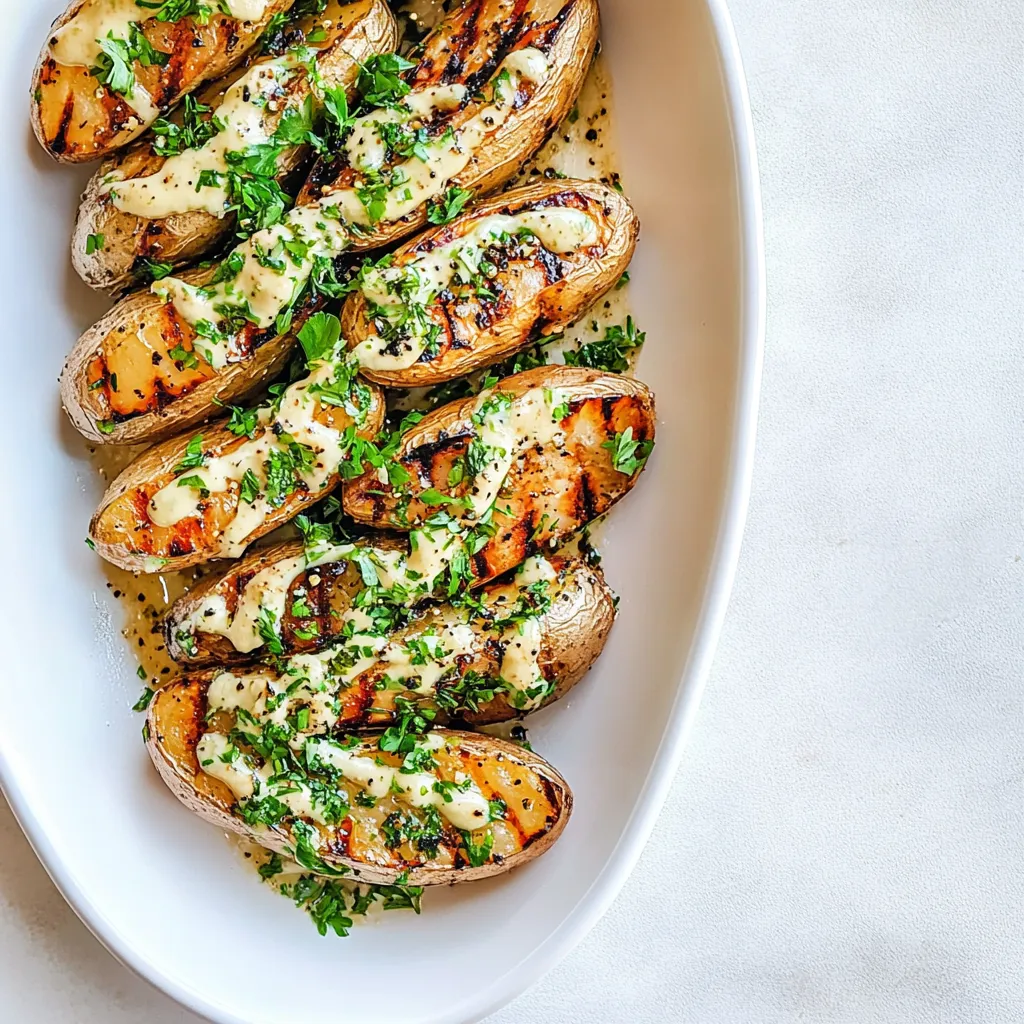
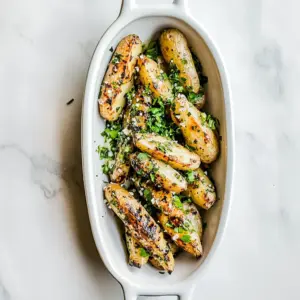
Garlic Fingerling Potatoes
There’s just something magical about Garlic Fingerling Potatoes. I remember the first time I experimented with them on a warm summer evening, setting up my grill in the backyard, infused with the scent of fresh herbs and sizzling potatoes. These delightful little gems, tender on the inside with a crispy exterior, quickly became a family favorite. Whether you choose to roast them or grill them, they offer a satisfying crunch that perfectly complements any meal.
With every bite, you’re met with the robust flavors of garlic and olive oil, creating a harmony that dances on your taste buds. Imagine serving these beauties at your next gathering, where everyone eagerly reaches for seconds. It’s more than just a side dish; it’s an experience of togetherness and celebration around the table. I love how versatile they are—perfect for a cozy dinner or a lively barbecue. No matter the occasion, Garlic Fingerling Potatoes never disappoint.
Recipe Snapshot
25 mins
5 mins
20 mins
Medium
180 kcal
4 g
Keto, Paleo, Whole30
4 g
Wooden Spoon, Oven, Baking Sheet
The Beauty of This Garlic Fingerling Potatoes
They’re Incredibly Versatile
One of the standout features of Garlic Fingerling Potatoes is their versatility. You can easily adapt this dish to fit any meal, whether it’s a family dinner or a festive gathering. Grilling them adds a smoky flavor, while roasting brings out their natural sweetness.
Easy Preparation
Another reason to love these potatoes is how simple they are to prepare. With just a handful of ingredients, you’ll spend less time in the kitchen and more time enjoying the company of family and friends. A quick wash, a drizzle of seasoning, and they’re ready to go!
Health Benefits
Fingerling potatoes are not only delicious but also packed with nutrients. They are a great source of potassium and fiber, making them a healthy addition to your diet. When combined with olive oil and garlic, you get heart-healthy fats and antioxidants.
Perfectly Pairing
These potatoes pair beautifully with a variety of main dishes. Whether you’re serving grilled chicken, fish, or a vibrant salad, they can elevate your meal effortlessly. Their adorable shape and golden hue are sure to impress.
Kid-Friendly
Kids love them, too! The crispy exterior and buttery interior make them an attractive option for picky eaters. Kids can help with the seasoning, turning cooking into a fun family activity.
Great for Leftovers
Leftover Garlic Fingerling Potatoes can be a delightful treat the next day. Toss them in a salad or reheat them for breakfast with eggs. Their flavor only gets better, ensuring that nothing goes to waste.
Ingredients to Make Garlic Fingerling Potatoes
When it comes to creating the perfect dish, the quality of your ingredients is paramount. Each component in Garlic Fingerling Potatoes plays a role in delivering that delicious, satisfying flavor. From the earthy taste of the fingerling potatoes to the rich essence of olive oil, together they create a wholesome and delightful experience.
- 1 pound fingerling potatoes (gold or rainbow fingerlings are lovely!) – These little beauties are packed with flavor and have a creamy texture that’s irresistible when cooked.
- 1-2 tablespoons olive oil – This adds richness and helps crisp the potatoes beautifully.
- 3/4 teaspoon garlic powder – A must-have for that robust garlic flavor.
- Freshly ground salt and pepper, to taste – Essential for bringing out the natural flavors of the potatoes.
The Method for Garlic Fingerling Potatoes
Making Garlic Fingerling Potatoes is a straightforward process that anyone can master. Whether you’re using a grill or your oven, the results are bound to impress. Let’s dive into these simple yet satisfying steps!
- For the grilling method, start by preheating your grill to 400 degrees. This ensures that your potatoes cook evenly and develop that nice char.
- Wash the fingerling potatoes under cool water, scrubbing gently to remove any dirt. Once clean, pat them dry with a kitchen towel.
- In a large bowl, combine the washed potatoes with olive oil, garlic powder, and a sprinkle of salt and pepper. Toss everything together until the potatoes are evenly coated. You want that delicious seasoning to stick!
- Next, take a large piece of foil and place the seasoned potatoes in the center. Bring up the sides and cover them with another piece of foil, sealing the edges tightly. This will create a nice pocket for the steam to cook the potatoes.
- Using a fork or a knife, poke a few holes in the top of the foil. This allows steam to escape, preventing the foil from bursting on the grill.
- Now it’s time to place the foil packet directly over the heat. Grill the potatoes for about 20 to 25 minutes, checking for doneness with a fork. They should be fork-tender, meaning that a fork can easily pierce through.
- While your potatoes are grilling, let’s switch gears to the roasting method. Preheat your oven to 425 degrees and generously grease a baking sheet with olive oil. This will help achieve that golden-brown finish.
- Take another batch of washed and dried fingerling potatoes and toss them in a bowl with the same seasoning mix as before.
- Spread the seasoned potatoes out on the prepared baking sheet. Ensure they’re evenly spaced to allow for optimal roasting.
- Roast in the preheated oven for 20 to 25 minutes, stirring halfway through. This ensures even cooking and allows the potatoes to develop a lovely crispy exterior.
- Once done, use a fork to check that they’re tender. Serve them immediately, garnished with fresh herbs if desired.
Things Worth Knowing
- Parboiling: If you want to shorten the cooking time, consider parboiling the potatoes for a few minutes before grilling or roasting. This will help them cook faster while still achieving that crispy exterior.
- Uniform Size: Try to select potatoes that are similar in size for even cooking. This prevents some from being undercooked while others are overdone.
- Herbs Add Flavor: Feel free to add fresh herbs like rosemary or thyme for an extra flavor boost. They complement the garlic beautifully.
- Check for Doneness: Cooking times can vary based on the size of the potatoes. Always check for doneness by piercing them with a fork.
Customization Ideas

One of the best things about Garlic Fingerling Potatoes is how easy it is to customize them to suit your taste. Here are some ideas to take your potatoes to the next level!
- Add cheese: Consider adding 2-3 tablespoons of grated parmesan cheese to your potato mixture, just before roasting or grilling. This will give a delicious cheesy crust.
- Mix in herbs: Freshly chopped rosemary or thyme brings a fragrant touch. Use about a tablespoon for a subtle flavor.
- Spice it up: If you enjoy a bit of heat, add a sprinkle of red pepper flakes to the seasoning mix for a kick.
- Experiment with oils: Try flavored oils like garlic-infused or herb-infused oils for a different taste experience.
- Make it a meal: Toss in some vegetables, such as bell peppers or onions, to create a complete meal on the grill or in the oven.
- Serve with sauces: Pair them with a homemade aioli or a zesty dipping sauce to enhance the flavors.
- Season differently: Don’t hesitate to swap out garlic powder with a seasoning blend you love, such as Italian seasoning or lemon pepper.
Great Combinations for Garlic Fingerling Potatoes
When serving Garlic Fingerling Potatoes, consider these delicious combinations to create a memorable meal.
- Grilled Chicken: The smoky flavor of grilled chicken complements the potatoes perfectly, making for a hearty meal.
- Fish Dishes: They pair beautifully with baked or grilled fish, especially seasoned with lemon and herbs.
- Fresh Salads: Serve them alongside a light salad, allowing the crispy potatoes to balance the freshness of greens.
- Summer Barbecues: They’re a fantastic addition to any summer cookout, shining alongside burgers or steaks.
- Picnics: These potatoes hold up well, making them an excellent side option for picnics or potlucks.
- Storage Tips: Leftover potatoes can be stored in an airtight container in the fridge for 3 to 4 days, so they’re perfect for meal prep!
- Seasonal Pairings: In fall and winter, serve them with roasted vegetables or hearty stews to warm up your meals.
FAQ
Conclusion
In summary, Garlic Fingerling Potatoes are a delightful addition to any meal, providing a perfect blend of flavor and texture that everyone will love. I encourage you to try making them tonight; you won’t be disappointed! They’re not just a side dish; they’re a testament to the joy of simple cooking.
Garlic Fingerling Potatoes
Equipment
- Wooden Spoon
- Oven
- Baking Sheet
Ingredients
- 1 pound fingerling potatoes gold or rainbow fingerlings are lovely!
- 1-2 tablespoons olive oil
- 3/4 teaspoon garlic powder
- to taste freshly ground salt and pepper
Instructions
- For the grilling method, start by preheating your grill to 400 degrees. This ensures that your potatoes cook evenly and develop that nice char.
- Wash the fingerling potatoes under cool water, scrubbing gently to remove any dirt. Once clean, pat them dry with a kitchen towel.
- In a large bowl, combine the washed potatoes with olive oil, garlic powder, and a sprinkle of salt and pepper. Toss everything together until the potatoes are evenly coated. You want that delicious seasoning to stick!
- Next, take a large piece of foil and place the seasoned potatoes in the center. Bring up the sides and cover them with another piece of foil, sealing the edges tightly. This will create a nice pocket for the steam to cook the potatoes.
- Using a fork or a knife, poke a few holes in the top of the foil. This allows steam to escape, preventing the foil from bursting on the grill.
- Now it’s time to place the foil packet directly over the heat. Grill the potatoes for about 20 to 25 minutes, checking for doneness with a fork. They should be fork-tender, meaning that a fork can easily pierce through.
- While your potatoes are grilling, let’s switch gears to the roasting method. Preheat your oven to 425 degrees and generously grease a baking sheet with olive oil. This will help achieve that golden-brown finish.
- Take another batch of washed and dried fingerling potatoes and toss them in a bowl with the same seasoning mix as before.
- Spread the seasoned potatoes out on the prepared baking sheet. Ensure they’re evenly spaced to allow for optimal roasting.
- Roast in the preheated oven for 20 to 25 minutes, stirring halfway through. This ensures even cooking and allows the potatoes to develop a lovely crispy exterior.
- Once done, use a fork to check that they’re tender. Serve them immediately, garnished with fresh herbs if desired.
Notes
- Tip 1: Feel free to jazz these garlic roasted fingerling potatoes up by adding any of the following before baking or grilling: 2-3 tablespoons grated parmesan cheese, 1 tablespoon fresh chopped rosemary, 1 tablespoon chopped fresh thyme (or 1 teaspoon dried thyme).