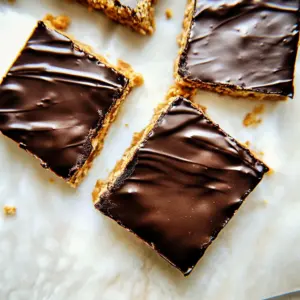
Crunchy Peanut Butter Bars
There’s something incredibly nostalgic about Crunchy Peanut Butter Bars. Growing up, my favorite after-school snack was always something sweet and satisfying, and these bars definitely fit the bill! They remind me of cozy afternoons spent at home, assembling treats that not only tasted great but also brought joy with every bite. The combination of creamy peanut butter, crisp rice cereal, and a luscious chocolate layer creates a delightful contrast in textures that is simply irresistible. Whenever I make these bars, my kitchen fills with the warm, comforting smell of melting chocolate and the sweet nutty aroma of peanut butter. It’s these moments of simple pleasures that truly make cooking worthwhile.
Recipe Snapshot
20 mins
20 mins
0 mins
Easy
200 kcal
3 g
Gluten-Free, Low FODMAP
10 g
Frying Pan, Mixing Bowl, Wooden Spoon
Why You Need This Crunchy Peanut Butter Bars
Easy to Prepare
One of the best things about Crunchy Peanut Butter Bars is just how simple they are to whip up. With no baking involved, you can have these delicious treats ready in just a matter of minutes. Perfect for busy weeknights or spontaneous gatherings, they’re an effortless way to satisfy your sweet tooth.
Child-Friendly Activity
These bars are a fantastic recipe to make with kids! They love getting involved, whether it’s mixing the ingredients or pressing the mixture into the pan. It’s a fun activity that not only encourages family bonding but also teaches little ones essential kitchen skills.
Versatile Treat
Another reason to love Crunchy Peanut Butter Bars is their versatility. You can easily customize the recipe by adding your favorite mix-ins, like dried fruits or nuts. Want to make them a bit healthier? Swap some ingredients for alternatives like natural sweeteners or use dark chocolate to make it a richer treat!
Perfect for Any Occasion
These bars are perfect for any occasion, be it a casual snack, a dessert for a picnic, or a sweet treat to bring to a potluck. They are a hit with both children and adults alike, making them the perfect addition to any gathering.
Storage-Friendly
Finally, one of my favorite aspects of these bars is their lasting freshness. Wrapped properly, they can be stored for up to a week and even frozen for longer periods! This means you can always have a delightful treat on hand when those sweet cravings strike.
What Goes Into Crunchy Peanut Butter Bars
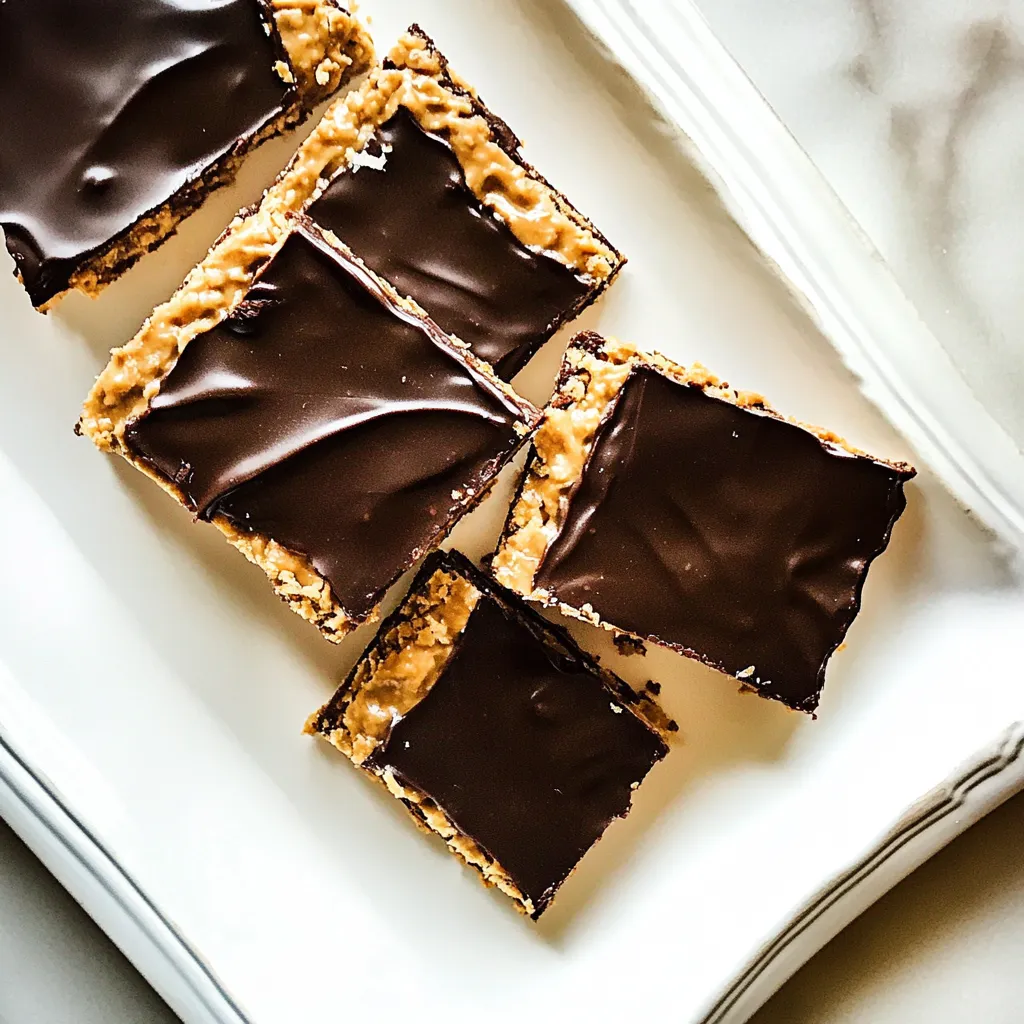
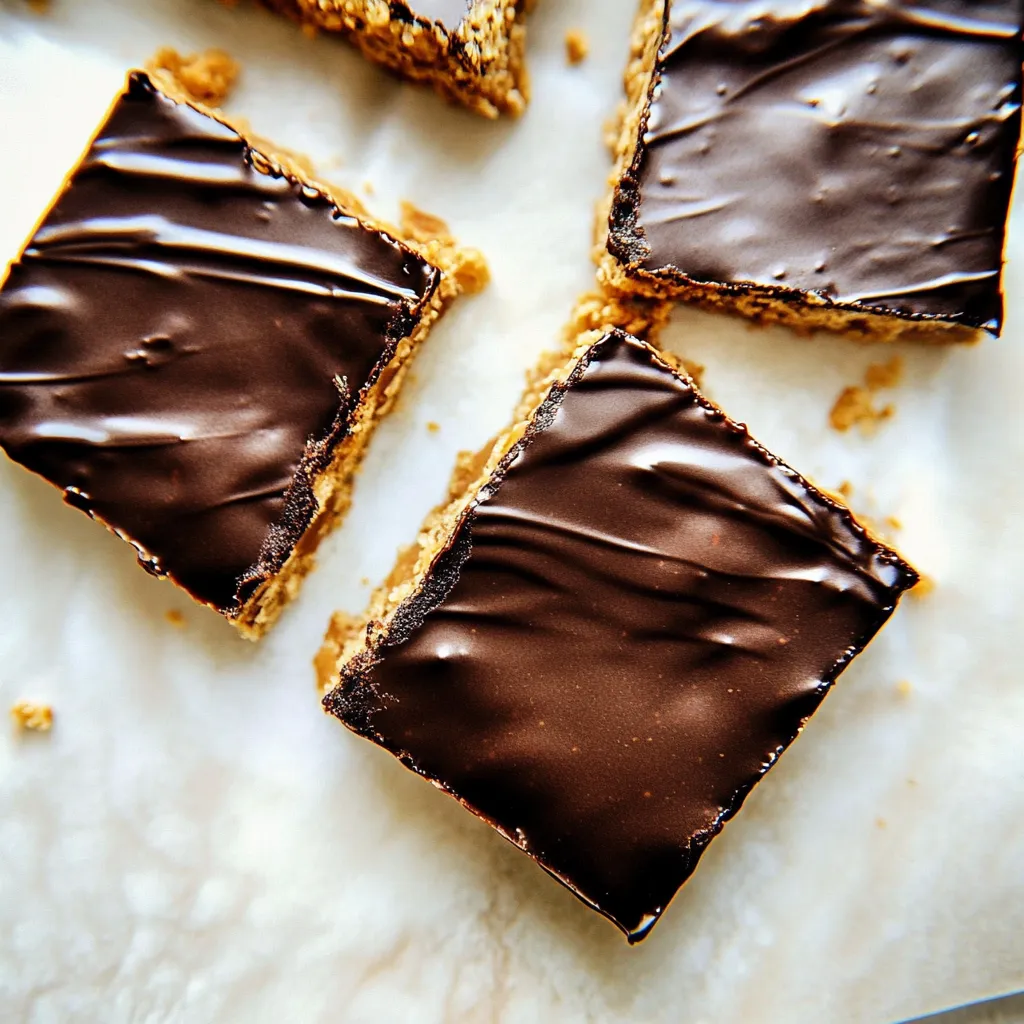
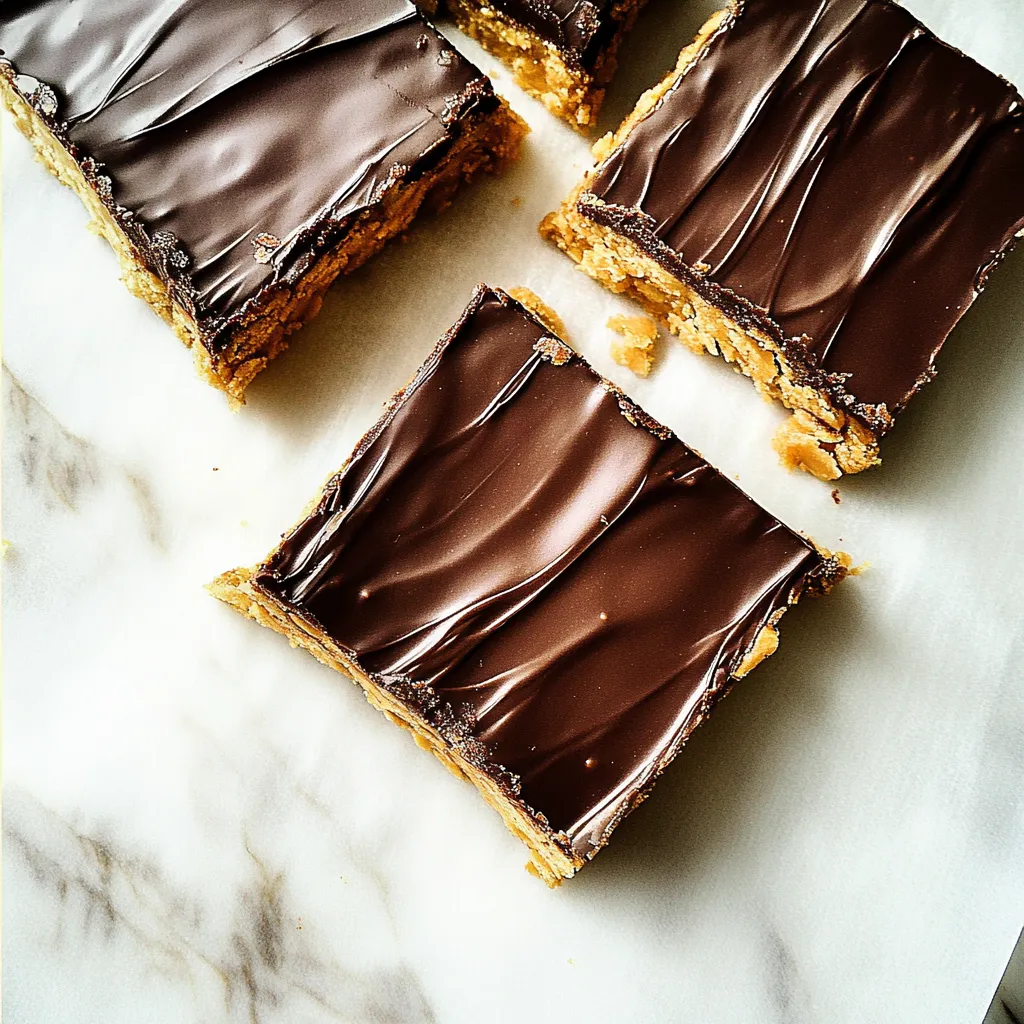
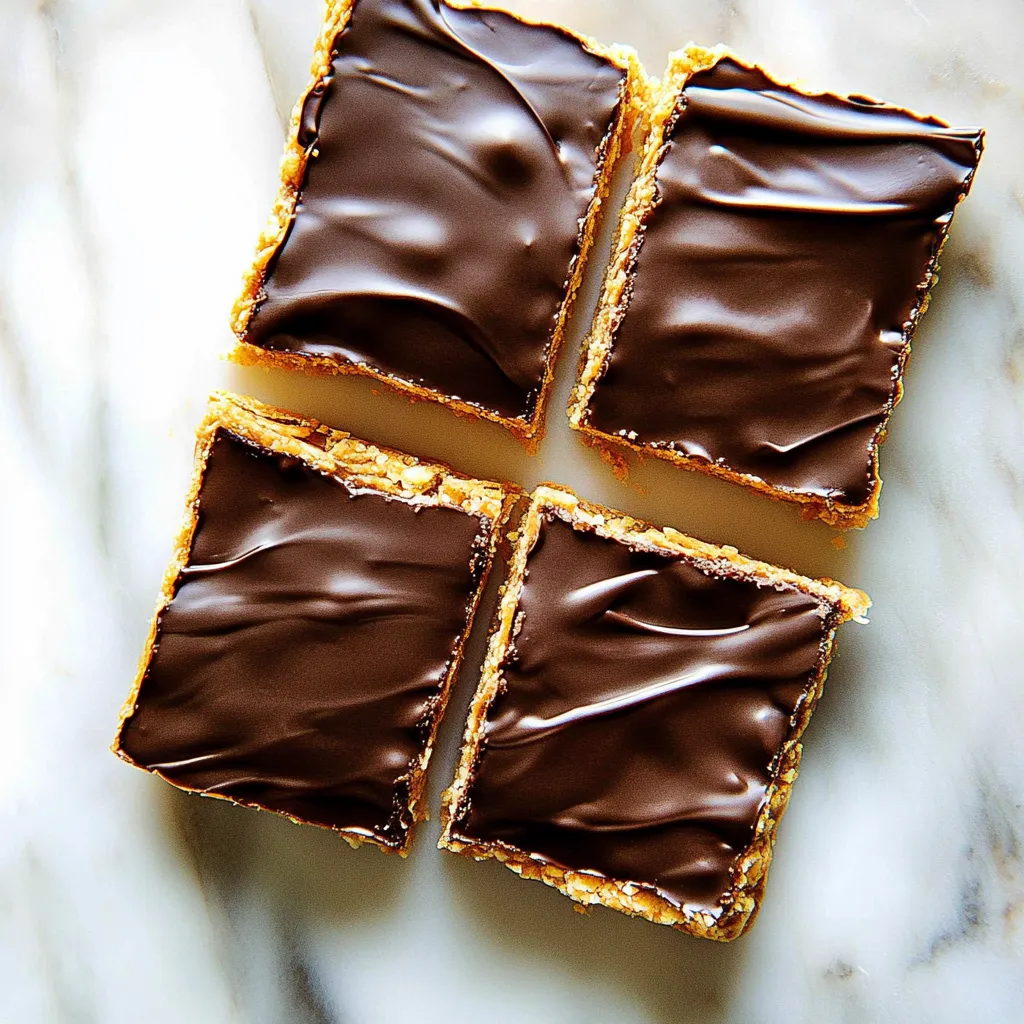
The beauty of these Crunchy Peanut Butter Bars lies in their straightforward ingredients. Each component plays a vital role, contributing to the overall flavor and texture. The base of melted salted butter and graham cracker crumbs creates a rich, buttery foundation, while the powdered sugar adds sweetness without weighing it down. The creamy peanut butter not only delivers that unmistakable taste but also provides binding, ensuring the bars hold together beautifully. Finally, the chocolate chips and coconut oil elevate the dish, adding a silky-smooth topping that contrasts perfectly with the crunchy base.
- ½ cup melted salted butter: This rich ingredient creates a decadent base for the bars, enhancing flavor and moisture.
- ½ cup graham cracker crumbs: They add a sweet, crunchy texture, forming the foundation of the bars.
- 1 cup powdered sugar: Contributes sweetness while helping to bind the mixture without making it overly heavy.
- ¾ cup creamy peanut butter: The star of the show, providing that classic peanut flavor we all love.
- ½ cup rice krispies cereal: Adds a delightful crunch to the bars, giving them a unique texture.
- 1 cup dark or milk chocolate chips: These melt beautifully to create a luscious topping that complements the peanut butter.
- 2 tablespoons coconut oil: Used to help melt the chocolate smoothly, adding a hint of tropical flavor.
Putting Together Crunchy Peanut Butter Bars
Making Crunchy Peanut Butter Bars is a delightful process that’s as enjoyable as the bars themselves. Gather your ingredients, and let’s get started on creating this delicious treat!
- Begin by lining an 8×8-inch baking sheet with foil or parchment paper. This ensures easy removal of your bars once they’ve set, making for a tidy presentation.
- In a large mixing bowl, combine the ½ cup melted salted butter, ½ cup graham cracker crumbs, 1 cup powdered sugar, and ¾ cup creamy peanut butter. Mix them well until fully combined. At this stage, the mixture should have a thick yet smooth consistency, almost like a dough.
- Add the ½ cup rice krispies cereal to the bowl. This is where the magic happens! Stir gently to incorporate the cereal without crushing it. You want to maintain that lovely crunch.
- Once combined, transfer the mixture into your prepared baking sheet. Press it down firmly into an even layer. Use a spatula or your hands to make sure it’s compacted well. This helps the bars hold their shape.
- Now, it’s time to prepare the chocolate topping. In a small microwave-safe bowl, add the 1 cup dark or milk chocolate chips and 2 tablespoons coconut oil. Microwave in bursts of 15 seconds, stirring in between. Be careful not to overheat the chocolate; you want it melted but not burnt.
- Once your chocolate is smooth and glossy, pour it over the peanut butter layer in the baking dish. Use a spatula to spread it evenly across the top, ensuring every bit of the base is covered in that chocolatey goodness.
- Let the bars sit at room temperature to set. For quicker results, you can place them in the refrigerator. It should take about one hour for the chocolate to firm up completely.
- Once set, gently lift the bars out of the baking dish using the edges of the foil or parchment paper. Place them on a cutting board.
- Using a sharp knife, cut the bars into squares or rectangles. Wipe the knife with a damp cloth between cuts for clean edges.
- Serve immediately or store in an airtight container at room temperature. Enjoy your homemade Crunchy Peanut Butter Bars!
Things Worth Knowing
- Cooling time is key: Allowing the bars to cool completely ensures they set properly and hold their shape when cut.
- Ingredient quality matters: Use high-quality peanut butter and chocolate for the best flavor. Natural peanut butter without added sugars or oils works beautifully.
- Customize with toppings: Feel free to sprinkle some sea salt on top of the chocolate before it sets for a sweet and salty flavor.
- Make ahead: These bars can be made a few days in advance and stored in the fridge. They actually taste better as they sit!
Substitutions and Tips
Whether you’re making Crunchy Peanut Butter Bars for yourself or a crowd, here are some tips to ensure they turn out perfectly every time.
- Storage: Keep your bars in an airtight container at room temperature for up to a week. If you want them to last longer, refrigerate them.
- Freezing: Yes, you can freeze these bars! Just wrap them tightly in plastic wrap, then foil, and store them in a ziplock bag. They can be frozen for up to three months.
- Pairing: These bars are delicious on their own but pair wonderfully with a cold glass of milk or a warm cup of coffee.
- Variations: Feel free to experiment with different nut butters, like almond or cashew, to switch up the flavor.
- Healthier options: Try using natural sweeteners like honey or agave syrup instead of powdered sugar for a healthier twist.
What to Serve Alongside Crunchy Peanut Butter Bars
When it comes to enjoying Crunchy Peanut Butter Bars, there are plenty of delightful options to enhance your experience.
- Cold Milk: Pairing these bars with a glass of cold milk is a classic choice that complements the sweetness and richness of the bars.
- Coffee: Enjoy them alongside your morning coffee for a delightful breakfast treat or afternoon pick-me-up.
- Fruit: Serve with fresh fruit like bananas or strawberries for a pleasant contrast to the sweetness of the bars.
- Ice Cream: For a decadent dessert, crumble these bars over a scoop of vanilla ice cream. The combination is heavenly!
- Picnics: These bars are easy to pack and make a fantastic addition to any picnic or outdoor gathering.
- Birthday Parties: They can be cut into fun shapes and decorated for a festive touch, perfect for birthdays or celebrations.
FAQ
Conclusion
In summary, Crunchy Peanut Butter Bars are an irresistible combination of creamy and crunchy textures that are simple to make and delicious to eat. They are perfect for any occasion, whether for a quick snack or a dessert at a gathering. I encourage you to try making them yourself; they’re sure to become a family favorite!
Crunchy Peanut Butter Bars
Equipment
- Frying Pan
- Mixing Bowl
- Wooden Spoon
Ingredients
- ½ cup melted salted butter
- ½ cup graham cracker crumbs
- 1 cup powdered sugar
- ¾ cup creamy peanut butter
- ½ cup rice krispies cereal
- 1 cup dark or milk chocolate chips
- 2 tablespoons coconut oil
Instructions
- Line an 8x8-inch baking sheet with foil or parchment paper.
- In a large bowl mix the ½ cup melted salted butter, ½ cup graham cracker crumbs, 1 cup powdered sugar, and ¾ cup creamy peanut butter. Stir in the ½ cup rice krispies cereal then press the mixture into the pan.
- In a small microwave-safe bowl, add the 1 cup dark or milk chocolate chips and 2 tablespoons coconut oil, and microwave in bursts of 15 seconds, stirring in between bursts.
- Pour the melted chocolate over the peanut butter layer and let it completely firm up before cutting into bars.
Notes
- Tip 1: Keep your bars in an airtight container at room temperature for up to a week. If you want them to last longer, refrigerate them.
- Tip 2: Yes, you can freeze these bars! Just wrap them tightly in plastic wrap, then foil, and store them in a ziplock bag. They can be frozen for up to three months.
- Tip 3: These bars are delicious on their own but pair wonderfully with a cold glass of milk or a warm cup of coffee.
- Tip 4: Feel free to experiment with different nut butters, like almond or cashew, to switch up the flavor.
- Tip 5: Try using natural sweeteners like honey or agave syrup instead of powdered sugar for a healthier twist.