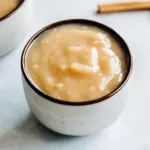
Coconut Milk Coffee Creamer
Every morning starts with a cup of coffee, doesn’t it? For me, it’s not just about the caffeine boost; it’s a ritual that sets the tone for the day. That’s why I love making my own coffee creamer, and the Coconut Milk Coffee Creamer is my go-to. The creamy texture of coconut milk combined with a hint of sweetness transforms my simple cup of coffee into something magical. I can still remember the first time I decided to try making my own creamer. I was tired of the artificial flavors and ingredients in store-bought versions. So, I embarked on a mission to create something that was both delicious and wholesome. This Coconut Milk Coffee Creamer has become a staple in my kitchen. It’s easy to whip up, and it makes every sip of coffee feel like a treat. Whether it’s a busy weekday morning or a relaxing weekend brunch, this creamer always hits the spot. You can customize it to suit your taste, adding more sweetness or trying different flavor variations. Trust me, once you try it, you’ll never go back!
Recipe Snapshot
5 mins
5 mins
0 mins
Medium
80 kcal
1 g
Gluten-Free, Low FODMAP
4 g
Blender, Mixing Bowl
Why This Coconut Milk Coffee Creamer Stands Out
Why I Love This Recipe
There are so many reasons to love the Coconut Milk Coffee Creamer. Firstly, it’s incredibly simple to make. You only need a few ingredients, which means less time spent in the kitchen and more time enjoying your coffee. Secondly, the flavor is unmatched! The rich and creamy coconut milk offers a delightful taste that pairs perfectly with coffee. You’ll be surprised at how much better it tastes compared to store-bought versions.
Healthier Alternative
Another reason I adore this recipe is that it’s a healthier alternative to traditional creamers. Most commercial creamers are loaded with sugar and artificial ingredients. With my homemade Coconut Milk Coffee Creamer, I can control the sweetness and avoid any unwanted additives. Plus, coconut milk is a great source of healthy fats, making it a nourishing choice for your morning brew.
Versatile and Customizable
This creamer is also incredibly versatile. You can easily adjust the sweetness level or add spices like cinnamon or nutmeg for an extra kick. If you’re feeling adventurous, try adding a splash of espresso or cocoa powder to create a mocha flavor. The possibilities are endless, and it’s all about what you enjoy!
Great for Any Occasion
Whether you’re hosting a brunch or just enjoying a quiet cup on your own, this Coconut Milk Coffee Creamer fits any occasion. It’s also perfect for entertaining guests who appreciate a good cup of coffee. Everyone will love the homemade touch!
Long-Lasting and Convenient
Finally, this creamer keeps well in the fridge! I love that I can make a batch ahead of time and have it ready for those busy mornings. Just shake it up before adding it to your coffee, and you’re good to go. You’ll enjoy a delicious, creamy cup without any hassle.
Recipe Ingredients for Coconut Milk Coffee Creamer
Creating the perfect Coconut Milk Coffee Creamer involves a few simple yet essential ingredients. Each component plays a crucial role in delivering the creamy texture and delightful flavor that makes this creamer so special. The use of coconut milk provides a rich, velvety base, while pure maple syrup adds just the right amount of sweetness. Together, these ingredients work harmoniously to elevate your coffee experience.
- Lite coconut milk (1 can, 14 ounces) – This forms the creamy base of the creamer. Lite coconut milk is ideal as it offers the same rich flavor with fewer calories.
- Pure vanilla extract (1/2 teaspoon) – Adds a warm, aromatic flavor that enhances the overall taste of your coffee.
- Pure maple syrup (2 teaspoons, more or less to taste) – This natural sweetener is perfect for balancing the flavors without overpowering the creamy texture.
Recipe Steps for Coconut Milk Coffee Creamer
Making your own Coconut Milk Coffee Creamer is a breeze! You’ll find that the steps are straightforward and require minimal equipment. All you need is a blender and a few simple ingredients. Let’s jump right in and create something delicious!
- First, gather all your ingredients: a can of lite coconut milk, pure vanilla extract, and pure maple syrup. Having everything ready will make the process smooth and efficient.
- Next, pour the entire can of lite coconut milk into the pitcher of your blender. Make sure to scrape out every last bit to maximize your yield!
- Add in the pure vanilla extract. This ingredient will infuse your creamer with a lovely aroma and flavor that complements the coffee beautifully.
- Now, it’s time to sweeten it up! Add the pure maple syrup. You can start with two teaspoons and adjust to your preference later.
- Secure the lid on your blender, and blend on high for about 30 seconds. Your goal is to achieve a smooth and creamy consistency.
- Once blended, taste the creamer. If you want it sweeter, feel free to add more pure maple syrup and blend for a few more seconds.
- After achieving the desired flavor, carefully pour the creamer into a clean, airtight container. I like to use a glass jar for easy storage and to keep it fresh.
- Label your container and store it in the refrigerator. It should keep well for several days, but I doubt it will last that long!
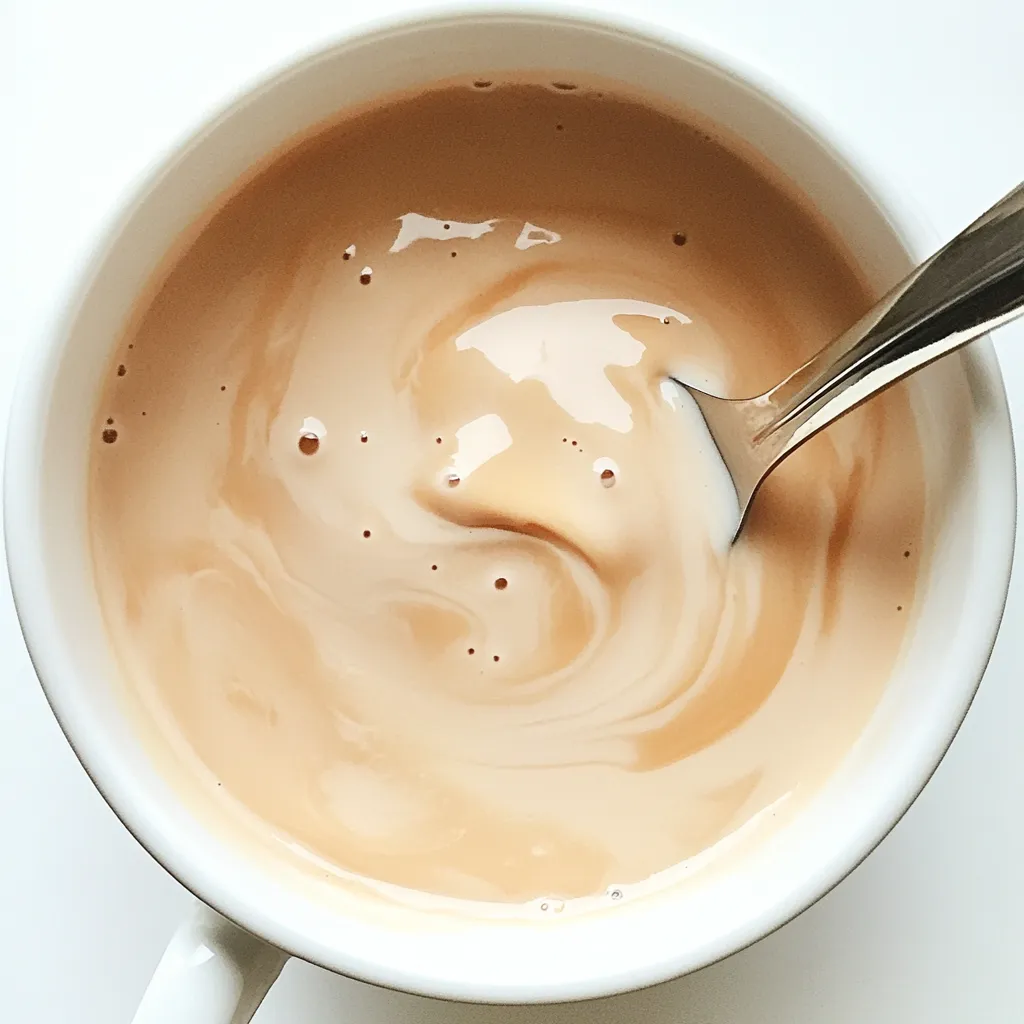
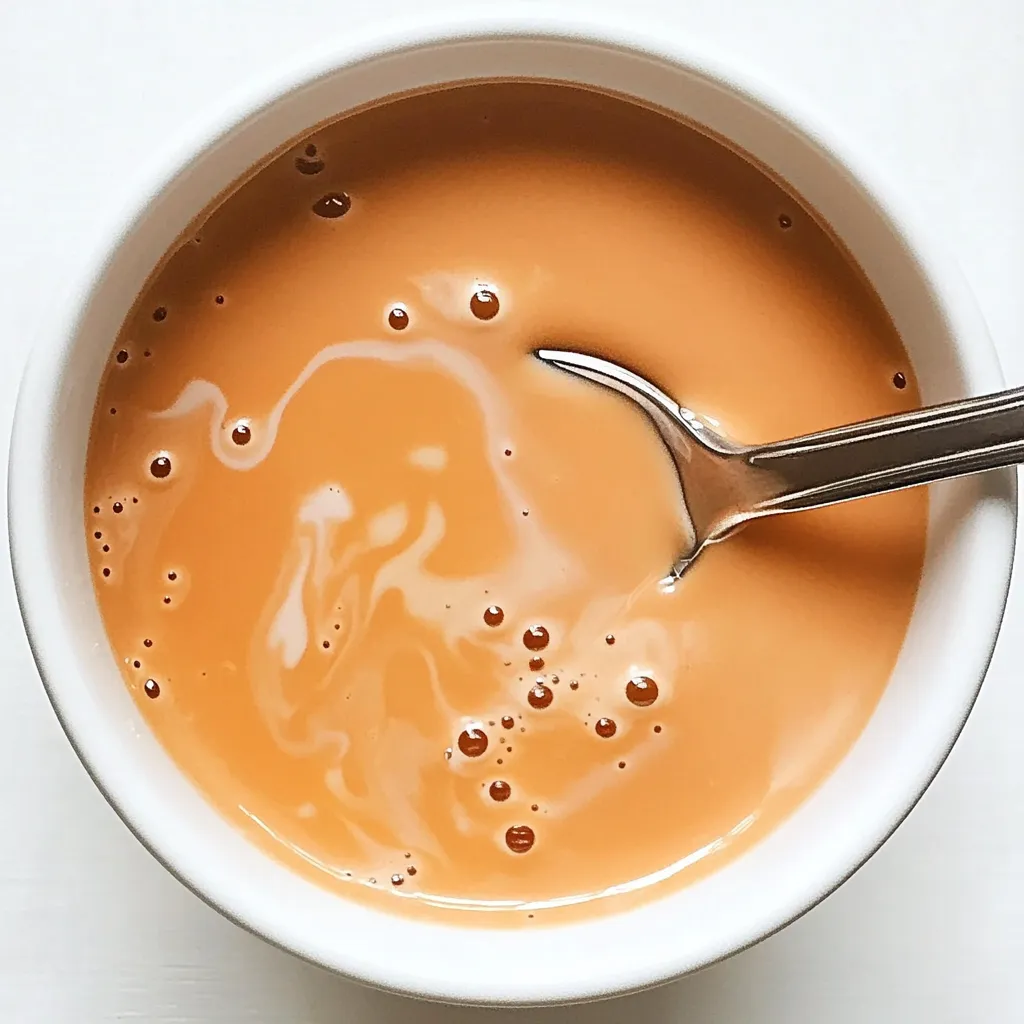
- When it’s time to enjoy your coffee, simply mix a couple of tablespoons of your Coconut Milk Coffee Creamer into your brew. Adjust the amount based on your taste preferences.
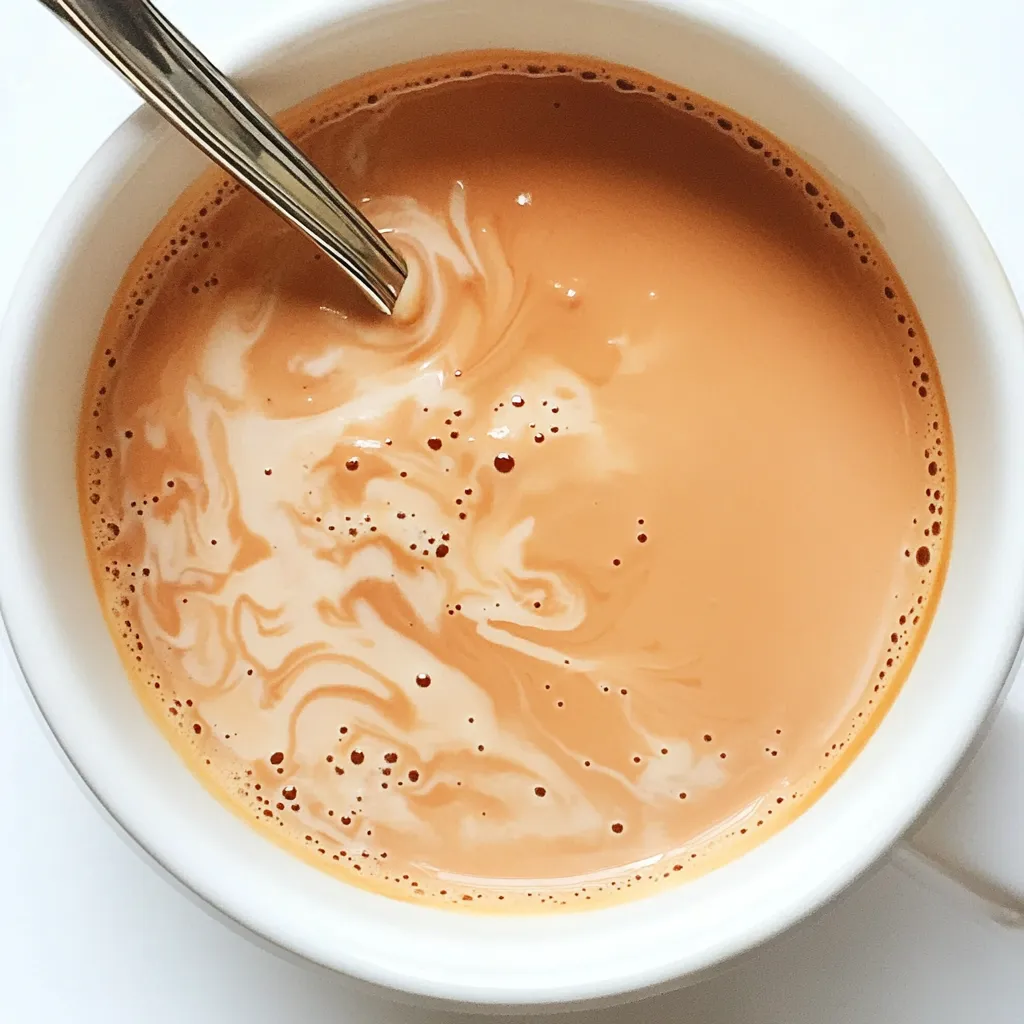
- Lastly, savor the rich, creamy flavor of your homemade coffee creamer and relish in the fact that you made it yourself!
Things Worth Knowing
- Homemade creamer typically has no preservatives, so it’s always best to consume it within a week.
- Blending the ingredients ensures a smooth texture, preventing any separation as it sits in the fridge.
- Experiment with different sweeteners like honey or agave syrup for a unique twist.
- Consider adding spices like cinnamon or nutmeg for extra flavor dimensions.
Helpful Hints
Here are some tips to get the most out of your Coconut Milk Coffee Creamer experience!
- Storage: Keep your homemade creamer in an airtight container in the refrigerator to maintain freshness.
- Freezing: You can freeze the creamer in ice cube trays for easy portioning. Just thaw as needed!
- Pairing: This creamer pairs beautifully with flavored coffees or lattes for an extra kick!
- Variations: Feel free to experiment with different flavors, such as hazelnut or caramel.
- Blend time: The longer you blend, the creamier the texture will be. Don’t rush it!
- Adjust sweetness: Start with less sweetener; you can always add more, but you can’t take it out!
Pairing Suggestions for Coconut Milk Coffee Creamer
Whether you’re enjoying a relaxing morning at home or hosting a brunch, there are plenty of ways to enjoy your Coconut Milk Coffee Creamer. Here are some fantastic pairing suggestions:
- Breakfast Pastries: Serve your coffee with flaky croissants or muffins for a delightful morning treat.
- Fruit Platters: Fresh fruit complements the creamy coffee flavor, making it a refreshing side.
- Brunch Dishes: This creamer works wonderfully with pancakes or waffles drizzled in syrup!
- Seasonal Treats: Consider pairing your coffee with seasonal desserts, such as pumpkin bread in the fall or lemon bars in the spring.
- Social Gatherings: It’s perfect for entertaining guests during casual coffee catch-ups or festive brunches.
- Storage Tips: Always keep the creamer in an airtight container to prolong its freshness for up to a week.
FAQ
Conclusion
The Coconut Milk Coffee Creamer is truly a game-changer for coffee lovers! It’s creamy, delicious, and easy to make at home. I encourage you to give it a try; you won’t be disappointed. Once you experience the delightful flavors of your own homemade creamer, you’ll wonder how you ever enjoyed coffee without it. So go ahead, whip up a batch today and elevate your coffee experience to new heights!

Coconut Milk Coffee Creamer
Equipment
- Blender
- Mixing Bowl
Ingredients
- 14 ounces lite coconut milk 1 can
- 1/2 teaspoon pure vanilla extract
- 2 teaspoons pure maple syrup more or less to taste
Instructions
- First, gather all your ingredients: a can of lite coconut milk, pure vanilla extract, and pure maple syrup. Having everything ready will make the process smooth and efficient.
- Next, pour the entire can of lite coconut milk into the pitcher of your blender. Make sure to scrape out every last bit to maximize your yield!
- Add in the pure vanilla extract. This ingredient will infuse your creamer with a lovely aroma and flavor that complements the coffee beautifully.
- Now, it’s time to sweeten it up! Add the pure maple syrup. You can start with two teaspoons and adjust to your preference later.
- Secure the lid on your blender, and blend on high for about 30 seconds. Your goal is to achieve a smooth and creamy consistency.
- Once blended, taste the creamer. If you want it sweeter, feel free to add more pure maple syrup and blend for a few more seconds.
- After achieving the desired flavor, carefully pour the creamer into a clean, airtight container. I like to use a glass jar for easy storage and to keep it fresh.
- Label your container and store it in the refrigerator. It should keep well for several days, but I doubt it will last that long!
- When it’s time to enjoy your coffee, simply mix a couple of tablespoons of your Coconut Milk Coffee Creamer into your brew. Adjust the amount based on your taste preferences.
- Lastly, savor the rich, creamy flavor of your homemade coffee creamer and relish in the fact that you made it yourself!
Notes
- Storage: Keep your homemade creamer in an airtight container in the refrigerator to maintain freshness.
- Freezing: You can freeze the creamer in ice cube trays for easy portioning. Just thaw as needed!
- Pairing: This creamer pairs beautifully with flavored coffees or lattes for an extra kick!
- Variations: Feel free to experiment with different flavors, such as hazelnut or caramel.
- Blend time: The longer you blend, the creamier the texture will be. Don’t rush it!
- Adjust sweetness: Start with less sweetener; you can always add more, but you can’t take it out!