

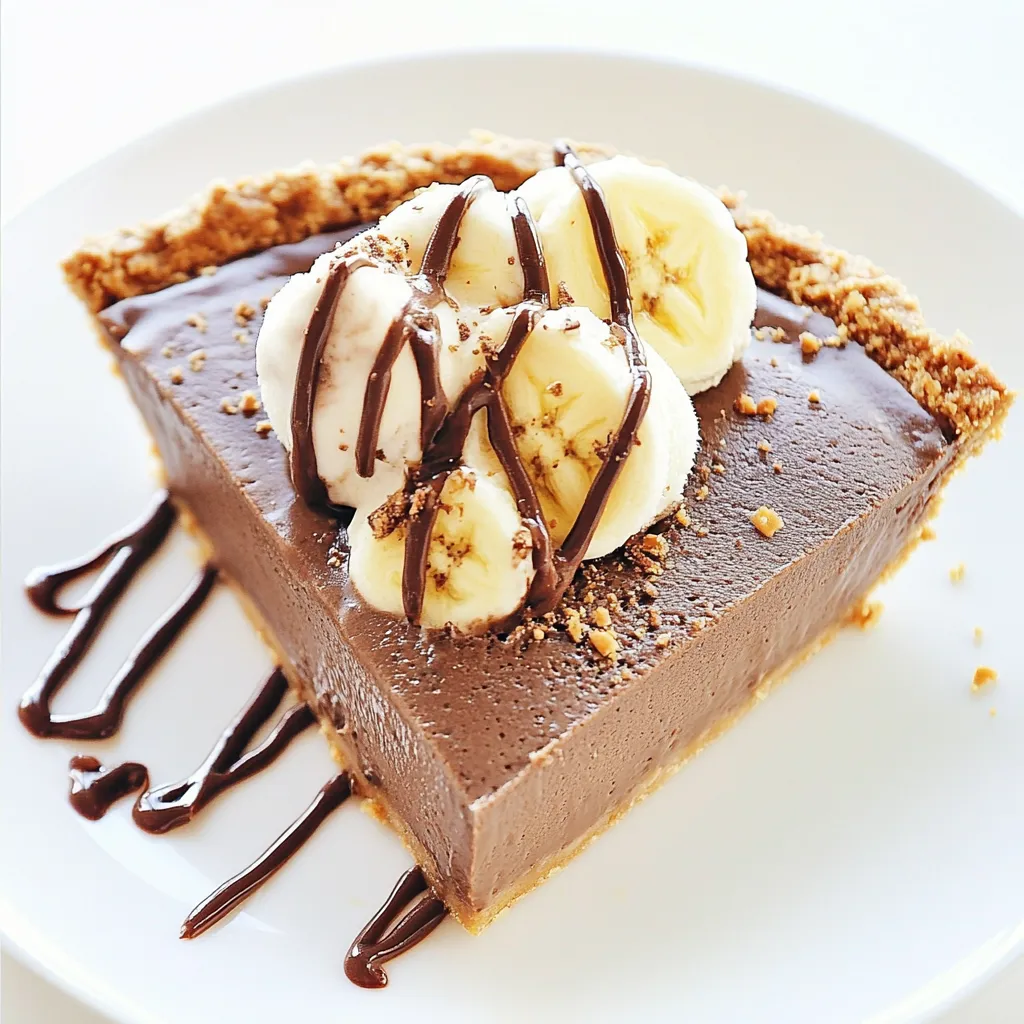
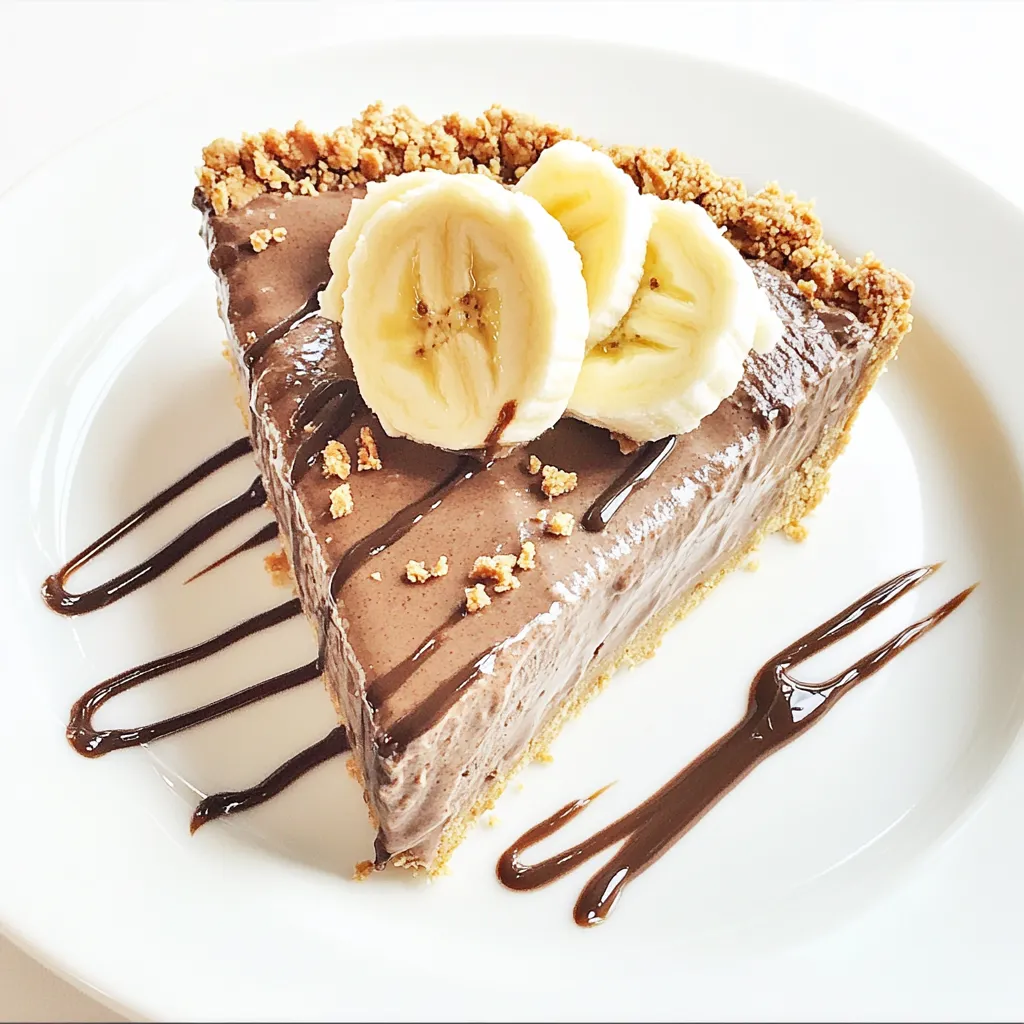
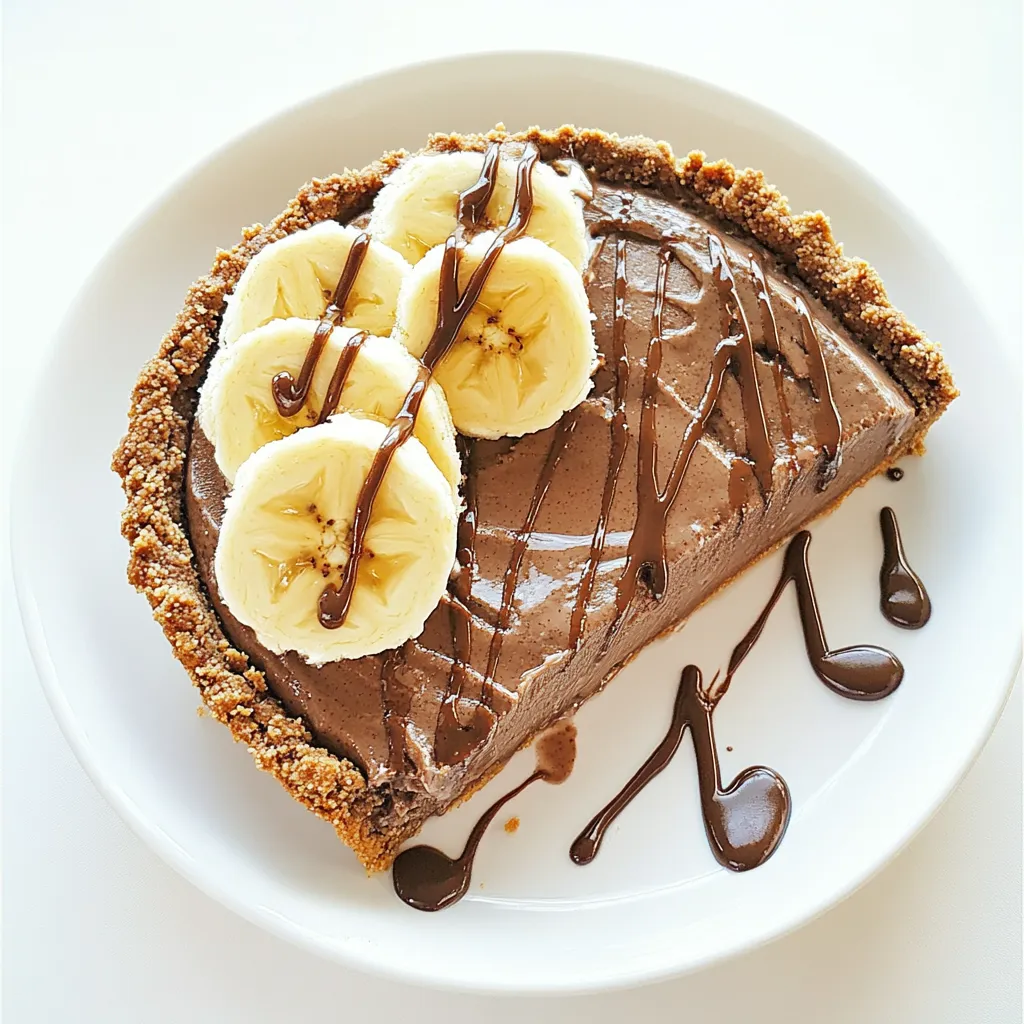
Chocolate Banana Ice Cream Pie
There’s nothing quite like a warm summer evening when the sun begins to set, and I’m thinking about a special treat to cool down the night. That’s when I whip up my favorite dessert: Chocolate Banana Ice Cream Pie. This delightful pie combines the rich flavors of chocolate, the sweetness of ripe bananas, and the creaminess of ice cream, all nestled in a rich peanut butter crust. It’s the perfect ending to a family barbecue or a casual get-together with friends. Each bite is a delicious reminder of sunny afternoons spent outdoors, laughing and savoring life’s little moments. I love making this pie because it’s not only a breeze to prepare but also brings smiles to everyone who takes a bite. Plus, it’s a fantastic way to use up those overripe bananas that might be lurking in your kitchen. So, grab your ingredients, and let’s get started!
Recipe Snapshot
31 mins
25 mins
6 mins
Medium
320 kcal
5 g
Gluten-Free, Low FODMAP
18 g
Frying Pan, Mixing Bowl, Wooden Spoon
Why This Chocolate Banana Ice Cream Pie Is a Winner
It’s a Crowd-Pleaser
One of the best aspects of Chocolate Banana Ice Cream Pie is that it’s a sure hit with everyone. Whether you’re entertaining kids, friends, or adults, this dessert has something for everyone. The combination of flavors is simply irresistible, and I’ve yet to encounter anyone who doesn’t go back for seconds!
Simple Preparation
Preparing this pie is a breeze. You don’t need to worry about baking or complicated steps; it’s all about mixing, folding, and freezing. I love how quickly I can put it together, leaving me more time to enjoy the company of my guests. Just make sure to allow enough time for the pie to freeze before serving!
A Unique Twist on Ice Cream
This dessert is a fun twist on traditional ice cream. Instead of serving ice cream in a bowl, you get to enjoy it in a pie form. The layers of creamy ice cream and sweet banana mixture offer a fantastic texture contrast with the crunchy peanut butter crust. It’s a delightful way to enjoy ice cream, especially on a hot day!
Healthier Ingredients
While indulgent, this pie can be made with healthier ingredients, too. I often use low-fat ice cream and adjust the amount of chocolate syrup I add. This way, I get to enjoy the sweet flavors without feeling too guilty. Plus, the fresh bananas add a healthy touch!
Perfect for Any Occasion
From birthday parties to barbecues, the Chocolate Banana Ice Cream Pie is a versatile dessert suitable for any occasion. It’s also a fantastic way to celebrate summer, making it an excellent option for holidays or simply a casual weeknight treat. Having a dessert that’s adaptable to different events makes it a staple in my dessert repertoire.
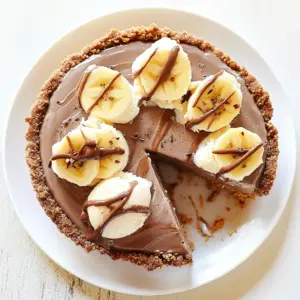
Impressive Presentation
Don’t underestimate the power of presentation. When you slice into this pie and reveal its creamy layers, it’s sure to impress your guests. You can even add a dollop of whipped cream and a few extra banana slices on top for a beautiful finish!
Recipe Ingredients for Chocolate Banana Ice Cream Pie
Let’s talk about the elements that come together to create this delightful dish. The key ingredients each play a vital role in crafting the perfect balance of flavors and textures. The combination of creamy ice cream, ripe bananas, and a crunchy peanut butter crust makes this dessert truly irresistible.
- 1¼ cups graham cracker crumbs – These form the base of your pie crust, providing a sweet, crunchy foundation.
- ½ cup honey, divided – This natural sweetener helps bind the crust and adds sweetness to the banana mixture.
- ⅓ cup creamy peanut butter – This ingredient gives the crust a rich, nutty flavor that complements the chocolate and bananas.
- 3 cups mashed ripe bananas – The star of the dish, ripe bananas add natural sweetness and creaminess to the filling.
- 2 cups chocolate ice cream, softened – This creamy layer brings chocolatey goodness that everyone loves.
- 8 tablespoons chocolate syrup – Drizzle this on top for an extra chocolate kick!
- Whipped cream and extra bananas, for garnish – These are optional but add a lovely finishing touch.
Cooking Method for Chocolate Banana Ice Cream Pie
The process of making this pie couldn’t be easier! Let’s dive into the steps that will lead you to a delightful dessert that will impress your family and friends. I’ll guide you through each step, ensuring you know what to look for as you create your masterpiece.
- Start by combining the graham cracker crumbs, ¼ cup of honey, and peanut butter in a mixing bowl. Use a fork or your hands to blend them well until everything is evenly combined. You want a crumbly yet sticky mixture that can hold together. Press this mixture firmly into the bottom and up the sides of a 9-inch pie plate, creating an even crust.
- In a small saucepan, take the remaining honey and add your mashed bananas. Set the heat to medium and cook for about 6 minutes, stirring often. You’ll notice the mixture thickening as it cooks. Once it reaches a nice texture, remove it from the heat and let it cool down. This will enhance the flavor and sweetness.
- Now for the fun part! In a large bowl, beat the softened chocolate ice cream with an electric mixer until it’s luscious and smooth. This step helps aerate the ice cream and makes it easier to fold in the banana mixture.
- Carefully fold the cooled banana mixture into the whipped ice cream. Use a spatula to combine them gently, being cautious not to deflate the ice cream. You want to maintain that fluffy texture.
- Once combined, spoon the mixture into the prepared crust. Spread it evenly across the crust, smoothing the top with a spatula.
- Cover the pie with plastic wrap or a lid and place it in the freezer. Allow it to freeze for at least 4 hours, or until it’s firm. This will ensure it holds its shape when you slice into it.
- When it’s time to serve, take the pie out of the freezer. Let it sit at room temperature for about 5 to 10 minutes to make slicing easier. Cut the pie into wedges using a sharp knife.
- For each serving, drizzle about 1 tablespoon of chocolate syrup over the top. This adds not only flavor but also a beautiful presentation to each slice. Serve immediately, and enjoy!
- Don’t forget to garnish with whipped cream and extra banana slices if desired. They add a lovely touch and enhance the visual appeal of your dessert.
Things Worth Knowing
- Use ripe bananas: Ripe bananas will have a sweeter flavor and a creamier texture, making them ideal for this dessert.
- Press firmly: When forming your crust, make sure to press the mixture firmly into the pie plate to ensure it holds its shape.
- Freeze well: Make sure the pie is fully frozen before serving to keep its structure intact when cut.
- Experiment with toppings: Feel free to add nuts or different fruits as toppings for added flavor and texture.
Change It Up
Here are some ways to put your unique spin on the Chocolate Banana Ice Cream Pie. Whether you want to mix up the flavors or try different techniques, these suggestions will keep things exciting!
- Storage: If you have leftovers, store the pie in an airtight container in the freezer. It can last up to a week!
- Freezing: You can freeze individual slices for a quick treat. Just wrap them tightly in plastic wrap and then foil.
- Pairing: This pie pairs wonderfully with fresh berries or a scoop of vanilla ice cream on the side.
- Flavor variations: Try using different flavors of ice cream, such as strawberry or cookie dough, to mix up the flavor profile.
- Serving size: This pie can be cut into smaller slices for a lighter dessert option.
Serving Ideas for Chocolate Banana Ice Cream Pie
- Summer Gatherings: This dessert shines at summer barbecues or pool parties, providing a refreshing end to hot days.
- Celebrations: Perfect for birthdays or special occasions, you can serve it with a side of party hats and balloons!
- Casual Dinners: It’s a delightful way to finish off a casual dinner with friends, leaving everyone satisfied.
- Picnics: Pack slices in a cooler for a sweet treat while enjoying nature.
- Comfort Food: Enjoy it as a comforting dessert after a long day; it’s sure to lift your spirits.
- Seasonal Celebrations: It’s a fantastic dessert for summer holidays, such as Independence Day or Labor Day.
FAQ
Conclusion
The Chocolate Banana Ice Cream Pie is truly a delightful dessert that combines rich chocolate, creamy bananas, and a crunchy peanut butter crust. It’s perfect for summer gatherings or any time you want to impress guests with minimal effort. I encourage you to try making this pie yourself; it’s easier than you think and absolutely delicious. Your family and friends will be raving about it for days to come!
Chocolate Banana Ice Cream Pie
Equipment
- Frying Pan
- Mixing Bowl
- Wooden Spoon
Ingredients
- 1¼ cups graham cracker crumbs
- ½ cup honey divided
- ⅓ cup creamy peanut butter
- 3 cups mashed ripe bananas
- 2 cups chocolate ice cream softened
- 8 tablespoons chocolate syrup
- 1 serving whipped cream and extra bananas, for garnish (if desired)
Instructions
- 1. Start by combining the graham cracker crumbs, ¼ cup of honey, and peanut butter in a mixing bowl. Use a fork or your hands to blend them well until everything is evenly combined. You want a crumbly yet sticky mixture that can hold together. Press this mixture firmly into the bottom and up the sides of a 9-inch pie plate, creating an even crust.
- 2. In a small saucepan, take the remaining honey and add your mashed bananas. Set the heat to medium and cook for about 6 minutes, stirring often. You'll notice the mixture thickening as it cooks. Once it reaches a nice texture, remove it from the heat and let it cool down. This will enhance the flavor and sweetness.
- 3. Now for the fun part! In a large bowl, beat the softened chocolate ice cream with an electric mixer until it’s luscious and smooth. This step helps aerate the ice cream and makes it easier to fold in the banana mixture.
- 4. Carefully fold the cooled banana mixture into the whipped ice cream. Use a spatula to combine them gently, being cautious not to deflate the ice cream. You want to maintain that fluffy texture.
- 5. Once combined, spoon the mixture into the prepared crust. Spread it evenly across the crust, smoothing the top with a spatula.
- 6. Cover the pie with plastic wrap or a lid and place it in the freezer. Allow it to freeze for at least 4 hours, or until it’s firm. This will ensure it holds its shape when you slice into it.
- 7. When it's time to serve, take the pie out of the freezer. Let it sit at room temperature for about 5 to 10 minutes to make slicing easier. Cut the pie into wedges using a sharp knife.
- 8. For each serving, drizzle about 1 tablespoon of chocolate syrup over the top. This adds not only flavor but also a beautiful presentation to each slice. Serve immediately, and enjoy!
- 9. Don't forget to garnish with whipped cream and extra banana slices if desired. They add a lovely touch and enhance the visual appeal of your dessert.
Notes
- Tip 1: Some grocery stores sell graham cracker crumbs near the prepared pie crusts in the baking aisle.
- Tip 2: If you can't find them, crush your own by placing graham crackers in a large ziploc and rolling them with a rolling pin until they dissolve into fine crumbs (or use a food processor).
- Tip 3: To lighten up this recipe, use chocolate nonfat or low fat ice cream, and less chocolate syrup.

