Spatchcock A Chicken
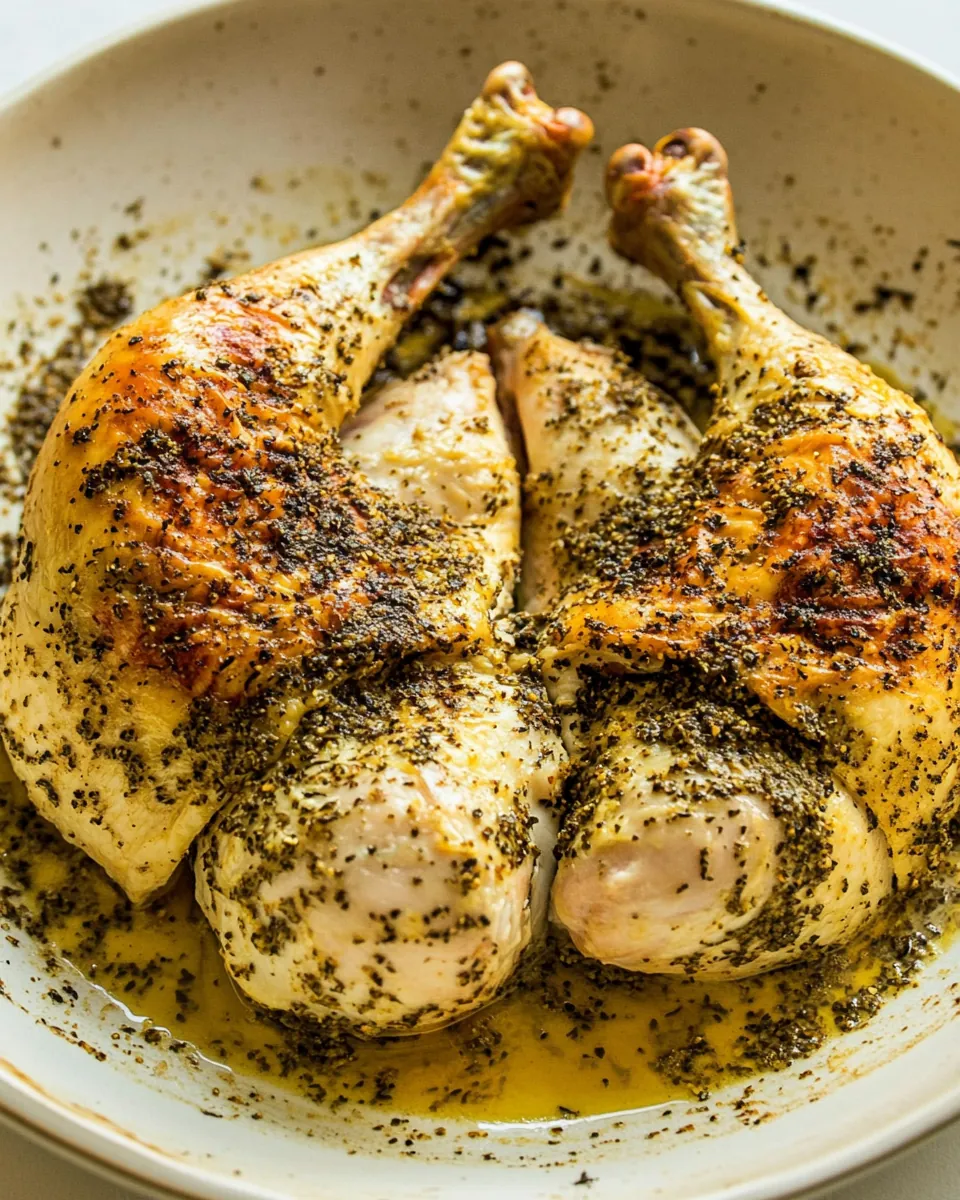
There’s something undeniably satisfying about cooking a whole bird, especially when it comes to Spatchcock A Chicken. I remember the first time I spatchcocked a chicken; I felt like a culinary wizard in my kitchen. The way the chicken lays flat on the baking tray makes it cook evenly and gets that extra crispy skin that I adore! Not to mention, it’s surprisingly easy once you get the hang of it. Imagine serving this mouthwatering dish at your dinner table, the aroma filling the air, while your family and friends marvel at how perfectly cooked it is. Every bite is juicy and packed with flavor, and you can take all the credit for it!
Recipe Snapshot
50 mins
15 mins
35 mins
Medium
400 kcal
30 g
Keto, Gluten-Free, Low FODMAP
30 g
Baking Sheet, Mixing Bowl, Chef’s Knife, Oven
The art of spatchcocking is a game-changer, and it’s become a staple in my cooking repertoire. The beauty of it is not just in how it looks but also in how it cooks! When I learned to spatchcock, I discovered how this technique allows the heat to circulate evenly around the chicken, cutting down on cooking time while also delivering that beautiful golden-brown finish. Plus, it opens up a world of flavor possibilities! I love experimenting with different marinades and seasonings, making every spatchcocked chicken its own special creation. This method is perfect for gatherings and makes an impressive centerpiece.
What I love the most, though, is how approachable it is for all skill levels. You don’t need to be a culinary expert to pull off the perfect Spatchcock A Chicken. With just a few simple ingredients and a sharp pair of kitchen shears, you can create a dish that looks like it came from a gourmet restaurant. If you’re looking for a recipe that’s sure to impress, grab your shears, and let’s get started!
Recipe Snapshot
50 mins
15 mins
35 mins
Medium
400 kcal
30 g
Keto, Gluten-Free, Low FODMAP
30 g
Baking Sheet, Mixing Bowl, Chef’s Knife, Oven
The Best Thing About This Spatchcock A Chicken
It’s Quick and Easy
Spatchcocking may sound daunting, but it’s incredibly straightforward. You can have your chicken ready for roasting in just a few minutes. The time and effort saved in preparation means you can spend more time enjoying your meal rather than working in the kitchen.
Perfectly Cooked Every Time
Flattening the chicken allows for even cooking, ensuring that all parts of the bird are beautifully roasted. Goodbye dry breast meat and hello juicy perfection!
Ideal for Flavor Infusion
When you spatchcock a chicken, it provides more surface area for marinades and rubs to penetrate. This means more flavor in every bite. You can use a variety of herbs, spices, and marinades to make it uniquely yours.
Impressive Presentation
There’s something visually striking about serving a spatchcocked chicken. It creates an impressive presentation that will wow your guests. It looks beautiful on the dinner table, making it perfect for gatherings and special occasions.
Versatile Cooking Method
Spatchcocking isn’t just for roasting in the oven; you can grill, smoke, or even air-fry your chicken. This versatility means you can adapt this method to any cooking style you prefer.
What’s In This Spatchcock A Chicken
When it comes to crafting the perfect Spatchcock A Chicken, the ingredients you choose make all the difference. Each element plays a pivotal role in creating a dish that’s not just delicious but also beautifully aromatic. The star of the show, of course, is the whole roasting chicken, which, when properly spatchcocked, cooks evenly and allows for incredible flavor absorption. The addition of butter creates a rich and golden skin, while fresh herbs like rosemary and thyme bring brightness and depth. A touch of lemon zest enhances the dish with a refreshing brightness, and the garlic adds a savory punch that complements the chicken perfectly.
- 4-5 pound whole roasting chicken: The main ingredient that will be transformed into a beautifully roasted dish. Look for a fresh chicken for the best flavor.
- 4 tablespoons melted butter: This will help crisp the skin and add a rich, savory flavor to the chicken.
- Zest of 1 lemon: This adds a bright and zesty flavor that cuts through the rich chicken and butter.
- 2-3 cloves garlic, minced: Garlic adds depth and enhances the overall flavor profile of the dish.
- 1 tablespoon fresh rosemary leaves, roughly chopped: Rosemary brings a lovely aroma and earthy flavor that pairs well with chicken.
- 1 tablespoon fresh thyme leaves, roughly chopped: Thyme adds a subtle, herbaceous note that complements the other flavors.
- Salt and pepper: Essential for seasoning the chicken, enhancing all the natural flavors.
The Method for Spatchcock A Chicken
Cooking your Spatchcock A Chicken is a journey of flavor and technique. The method I’ll share with you is straightforward but yields impressive results. Follow these steps closely, and you’ll have a mouthwatering chicken ready in no time!
- Preheat your oven to 450 degrees F. This high temperature is key to achieving that crispy skin that everyone loves.
- Unwrap your whole roasting chicken and remove any items stuffed inside the front and back cavities, including any plastic timer pop-up. This ensures even cooking and better flavor absorption.
- Take a close look at the bird. Identify the breast meat, and then flip the chicken over to locate the backbone. It’s time to break out your kitchen shears!
- Using strong kitchen shears, cut alongside the backbone from one end to the other. Keep the shears close to the backbone to avoid cutting off any meat. This is the step that truly turns your chicken into a spatchcock.
- Once you’ve removed the backbone, repeat the process on the other side to cut it out completely. This step may seem intimidating, but it’s very manageable with a good pair of shears.
- Open up the cavity of the chicken to expose the breastbone. Use a sharp knife to create a shallow incision through the flexible bone, being careful not to cut all the way through the breast meat. This will help the chicken flatten out when cooked.
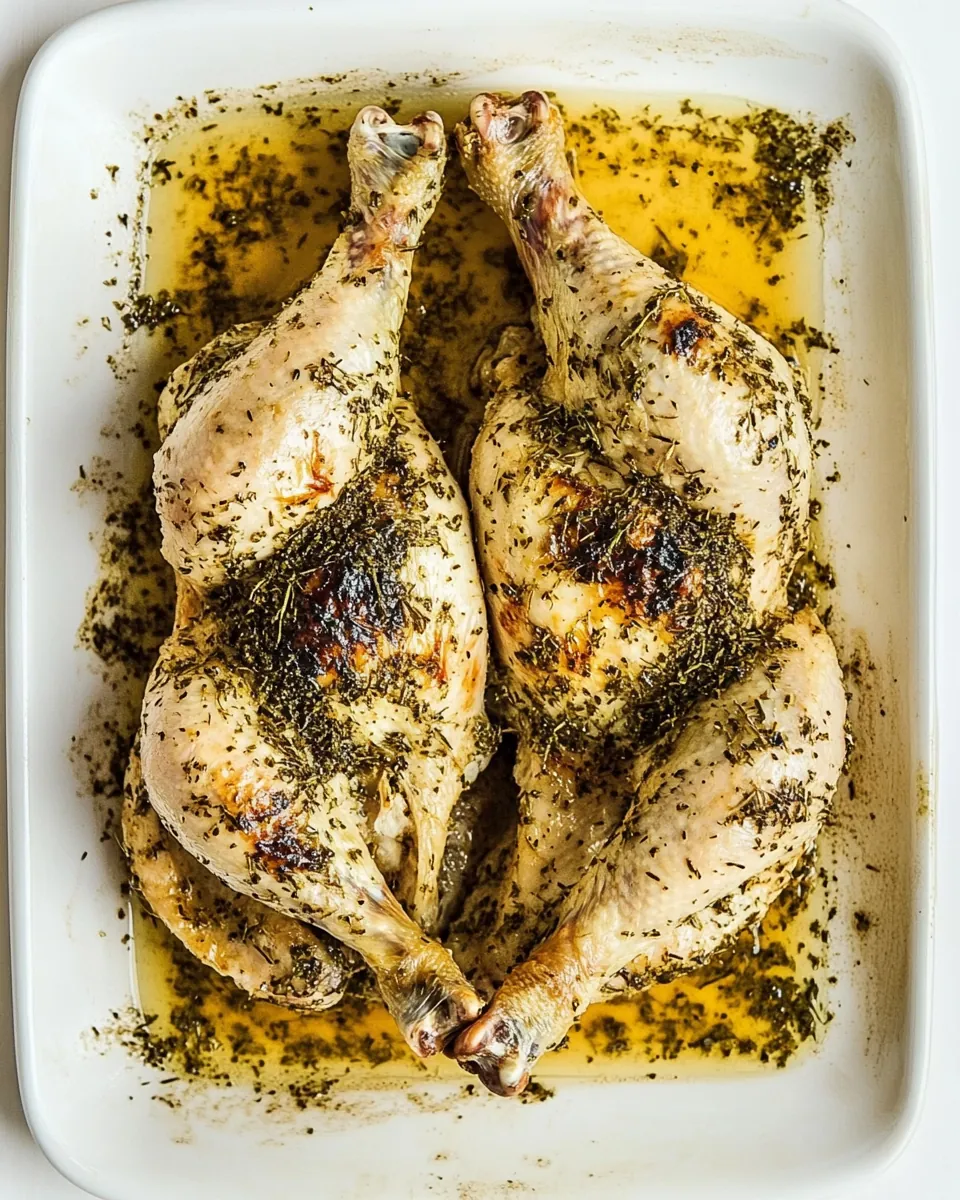
- Place the chicken breast-side-up on a rimmed baking sheet. Push the breasts down to flatten the chicken. You want to create that classic spatchcock shape, which encourages even cooking.
- Evaluate the wings; if they’re intact, you can either cut off the tips at the joints or tuck them under the breasts to prevent burning during cooking.
- Pat the chicken dry with paper towels. This will help the skin crisp up beautifully in the oven.
- In a small bowl, mix together the melted butter, lemon zest, minced garlic, fresh herbs, and a generous sprinkle of salt and pepper. This mixture will be the flavor hero of your chicken!
- Brush this mixture generously over the entire surface of the chicken, ensuring it gets into all the nooks and crannies.
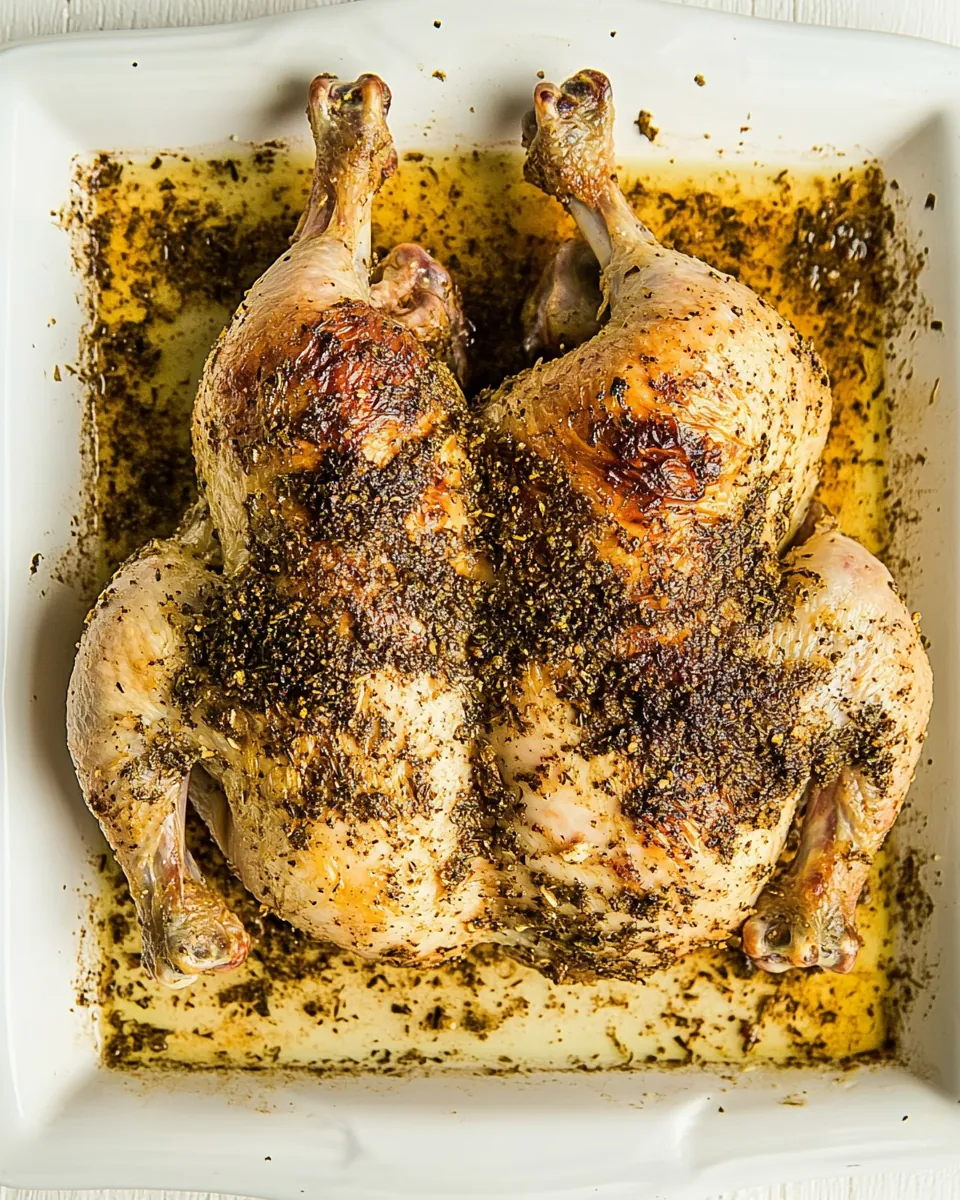
- Roast the chicken in the preheated oven for between 35 to 40 minutes. It’s done when the interior temperature reaches 165 degrees F. The aroma will be irresistible!
- Once cooked, allow the chicken to rest for 7 to 10 minutes before carving. This step is crucial as it lets the juices redistribute, ensuring every slice is juicy and tender. Enjoy!
Things Worth Knowing
- Ensure Sharp Shears: Use well-sharpened kitchen shears for cutting through the chicken bones. This makes the task easier and safer.
- Watch the Temperature: Always check the internal temperature to ensure the chicken is cooked through but not overdone. Aim for 165 degrees F.
- Rest Before Carving: Let the chicken rest after cooking for optimal juiciness. This also gives you time to prepare your side dishes!
- Flavor Variations: Experiment with different herbs and spices to create unique flavor profiles. Try adding smoked paprika or lemon thyme for a twist.
Ways to Adapt This Recipe
The beauty of Spatchcock A Chicken lies in its versatility. You can easily tailor it to your flavor preferences or dietary needs! Here are some great tips to consider.
- Storage: Store leftover roasted chicken in an airtight container in the refrigerator for up to three days. Reheat in the oven for the best texture.
- Freezing: You can freeze cooked chicken for up to three months. Make sure to separate the meat from the bones for easier thawing.
- Pairing: This dish pairs beautifully with roasted vegetables, a fresh salad, or creamy mashed potatoes. Get creative with your sides!
- Herb Infusion: For a more intense flavor, marinate the chicken with herbs and spices overnight before roasting.
- Grill It: Try grilling the spatchcocked chicken for a smoky flavor. Just adjust the cooking time accordingly.
What Goes Well With This Spatchcock A Chicken
Serving your Spatchcock A Chicken is an opportunity to create a memorable meal. Here are some ideal pairings and occasions to consider:
- Roasted Vegetables: Serve alongside seasonal roasted vegetables like carrots, Brussels sprouts, or asparagus for a complete meal.
- Fresh Salads: A light, crisp salad with vinaigrette balances the richness of the chicken.
- Holiday Gatherings: This dish makes an impressive centerpiece for holiday meals or family gatherings.
- Casual Dinners: Perfect for a cozy dinner at home, paired with crusty bread and a glass of your favorite drink.
- Picnic Option: Leftovers can be great for sandwiches or salads, making for an easy picnic meal.
- Seasonal Touches: In the fall, consider pairing it with roasted squash or in the summer with corn on the cob.
FAQ
Conclusion
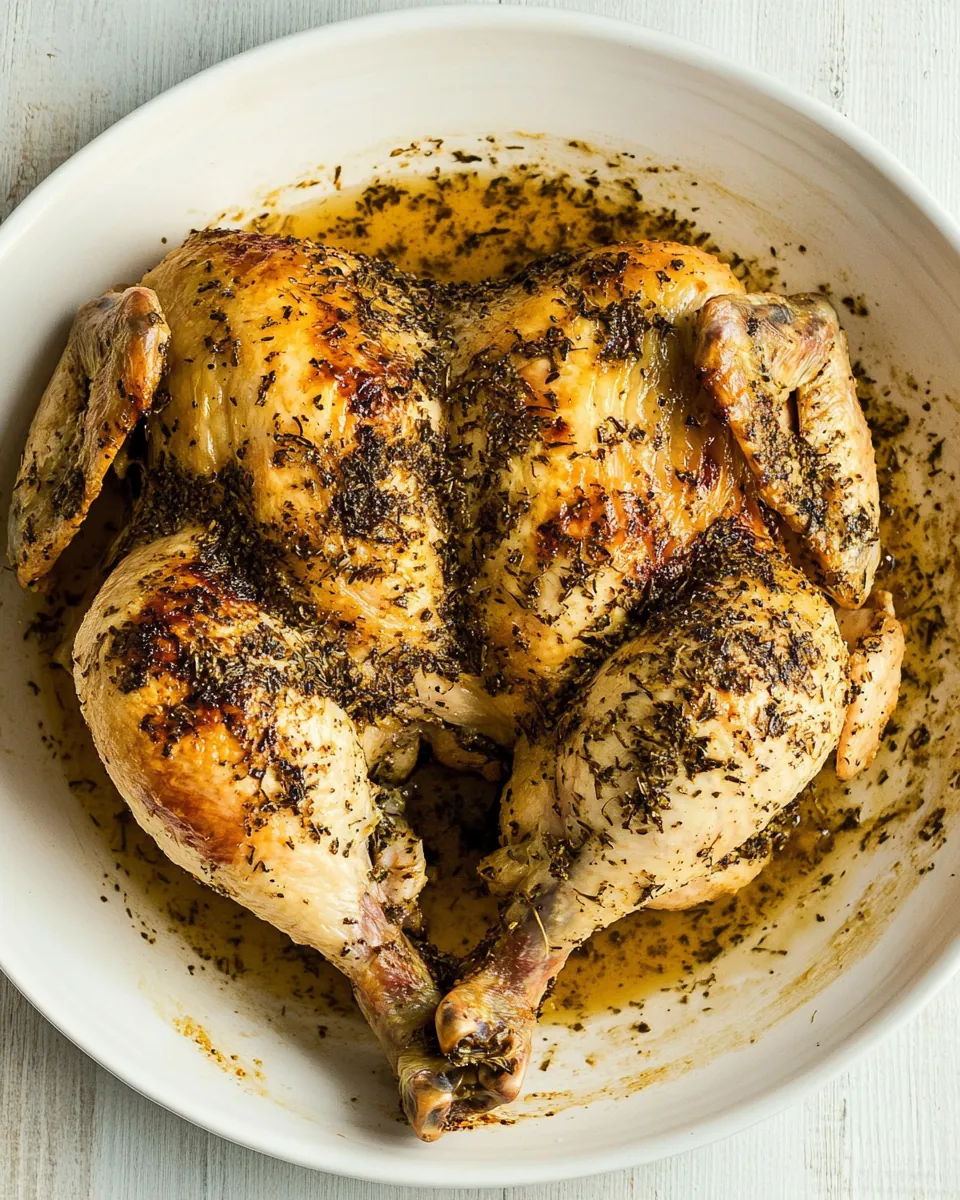
The Spatchcock A Chicken is more than just a meal; it’s a celebration of flavor and technique. The crispy skin, juicy meat, and beautifully roasted aroma will win over any crowd. I hope you give this recipe a try—it’s perfect for weeknight dinners or special occasions. You’ll be amazed at how simple it is to impress your family and friends!

Spatchcock A Chicken
Equipment
- Baking Sheet
- Mixing Bowl
- Chef's Knife
- Oven
Ingredients
- 4-5 pounds whole roasting chicken
- 4 tablespoons melted butter
- 1 unit Zest of 1 lemon
- 2-3 cloves garlic, minced
- 1 tablespoon fresh rosemary leaves, roughly chopped
- 1 tablespoon fresh thyme leaves, roughly chopped
- to taste Salt and pepper
Instructions
- Preheat your oven to 450 degrees F. This high temperature is key to achieving that crispy skin that everyone loves.
- Unwrap your whole roasting chicken and remove any items stuffed inside the front and back cavities, including any plastic timer pop-up. This ensures even cooking and better flavor absorption.
- Take a close look at the bird. Identify the breast meat, and then flip the chicken over to locate the backbone. It’s time to break out your kitchen shears!
- Using strong kitchen shears, cut alongside the backbone from one end to the other. Keep the shears close to the backbone to avoid cutting off any meat. This is the step that truly turns your chicken into a spatchcock.
- Once you’ve removed the backbone, repeat the process on the other side to cut it out completely. This step may seem intimidating, but it’s very manageable with a good pair of shears.
- Open up the cavity of the chicken to expose the breastbone. Use a sharp knife to create a shallow incision through the flexible bone, being careful not to cut all the way through the breast meat. This will help the chicken flatten out when cooked.
- Place the chicken breast-side-up on a rimmed baking sheet. Push the breasts down to flatten the chicken. You want to create that classic spatchcock shape, which encourages even cooking.
- Evaluate the wings; if they’re intact, you can either cut off the tips at the joints or tuck them under the breasts to prevent burning during cooking.
- Pat the chicken dry with paper towels. This will help the skin crisp up beautifully in the oven.
- In a small bowl, mix together the melted butter, lemon zest, minced garlic, fresh herbs, and a generous sprinkle of salt and pepper. This mixture will be the flavor hero of your chicken!
- Brush this mixture generously over the entire surface of the chicken, ensuring it gets into all the nooks and crannies.
- Roast the chicken in the preheated oven for between 35 to 40 minutes. It’s done when the interior temperature reaches 165 degrees F. The aroma will be irresistible!
- Once cooked, allow the chicken to rest for 7 to 10 minutes before carving. This step is crucial as it lets the juices redistribute, ensuring every slice is juicy and tender. Enjoy!
Notes
- Tip 1: Store leftover roasted chicken in an airtight container in the refrigerator for up to three days. Reheat in the oven for the best texture.
- Tip 2: You can freeze cooked chicken for up to three months. Make sure to separate the meat from the bones for easier thawing.
- Tip 3: This dish pairs beautifully with roasted vegetables, a fresh salad, or creamy mashed potatoes. Get creative with your sides!
- Tip 4: For a more intense flavor, marinate the chicken with herbs and spices overnight before roasting.
- Tip 5: Try grilling the spatchcocked chicken for a smoky flavor. Just adjust the cooking time accordingly.