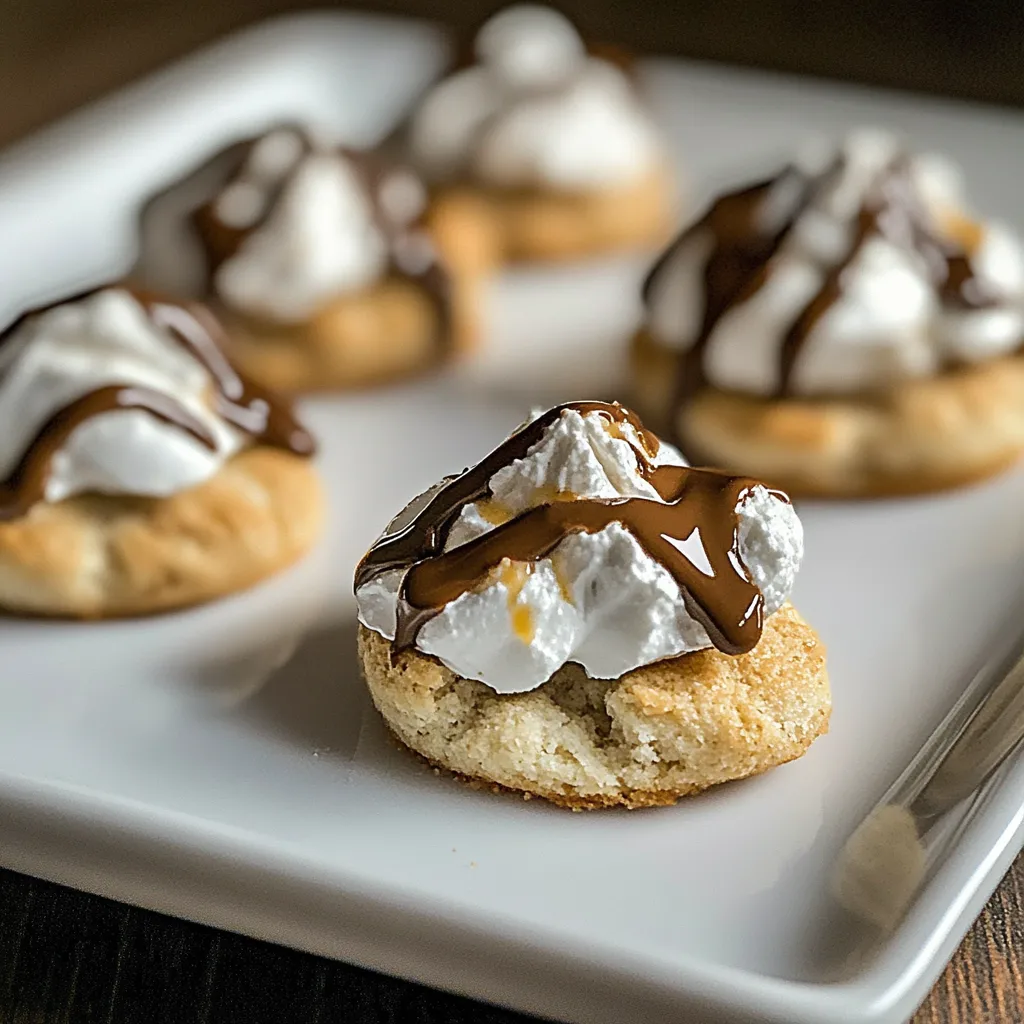
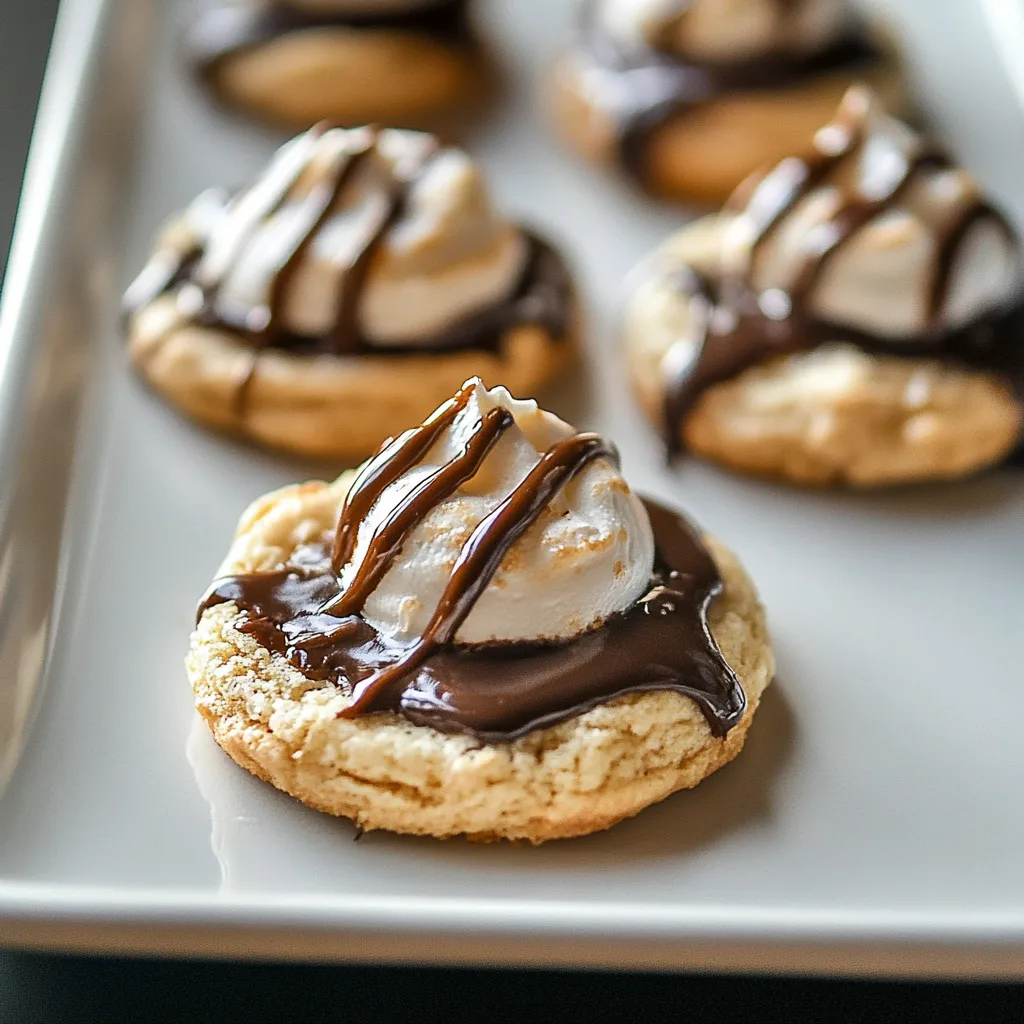
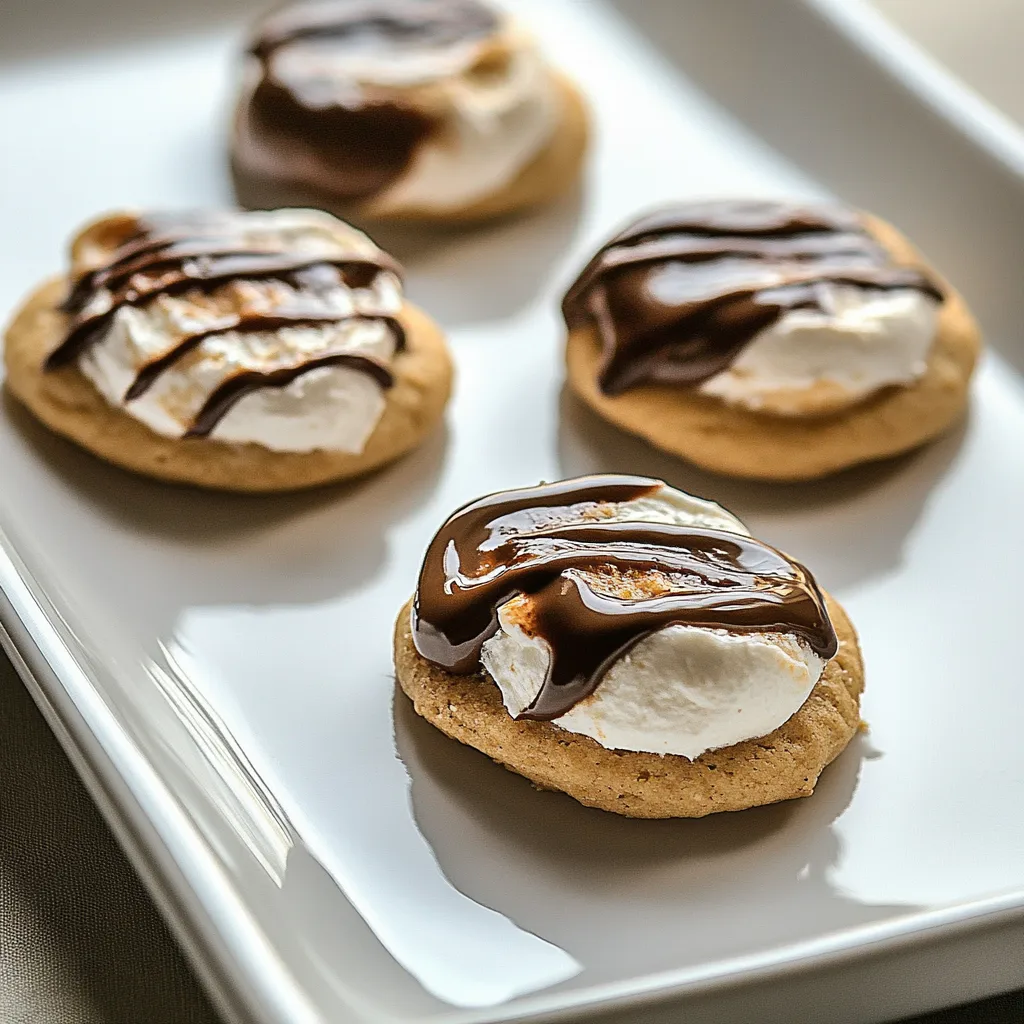
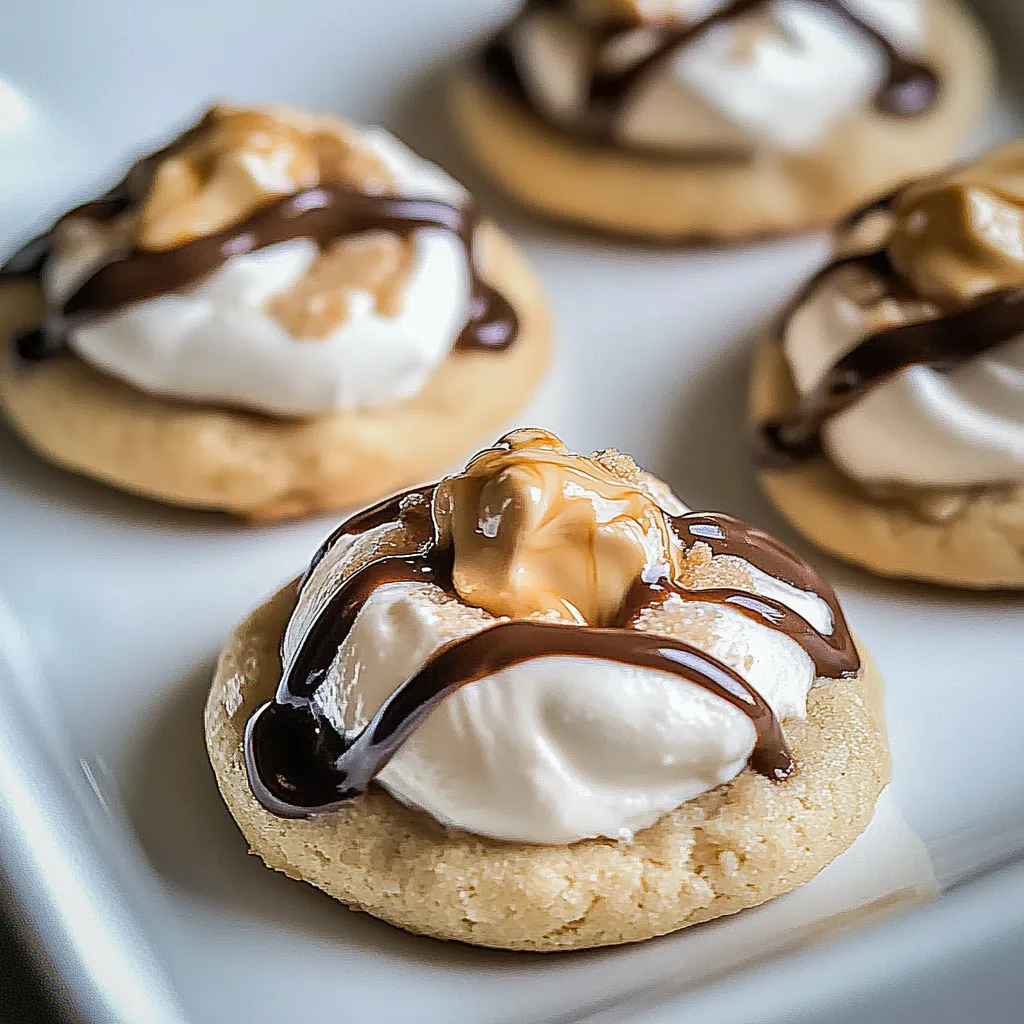
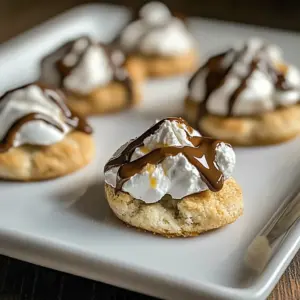
S’mores Thumbprints
As the cool autumn air rolls in, there’s nothing quite like the joy of baking a batch of S’mores Thumbprints. I remember cozying up in the kitchen with my family, the aroma of melting chocolate and toasted marshmallow filling the air. This delightful recipe blends the classic flavors of s’mores into a fun cookie form that evokes memories of campfire nights and laughter. Each bite is a harmonious mix of buttery cookie, sweet chocolate, and a gooey center that takes you back to those cherished moments. Whether you’re hosting a gathering or just indulging in some self-care, these cookies are sure to bring a smile to anyone’s face.
Recipe Snapshot
20 mins
10 mins
10 mins
Medium
130 kcal
1 g
Gluten-Free, Low FODMAP
6 g
Blender, Oven, Mixing Bowl, Baking Sheet
Why You’ll Love This S’mores Thumbprints
Comforting and Nostalgic
There’s something deeply comforting about the combination of chocolate, graham crackers, and marshmallows. The S’mores Thumbprints evoke memories of sitting around a campfire, making them a nostalgic treat that warms the heart.
Easy to Make
This recipe is straightforward enough to involve the kids, making it a wonderful family activity. Mixing, shaping, and baking the cookies can be a fun way to bond and create lasting memories together.
Perfect for Sharing
Whether you’re attending a potluck, hosting a party, or just want to share with friends, these cookies make for an impressive treat. They’re sure to be a hit and can spark conversations about everyone’s favorite s’mores stories.
Versatile and Customizable
Feel free to get creative! You can add different toppings or even experiment with different types of chocolate to personalize your S’mores Thumbprints to your liking.
Great for All Occasions
From birthday celebrations to cozy movie nights, these cookies fit beautifully into any occasion. They bring joy and sweetness wherever they go, making them a versatile choice for dessert.
What to Buy for S’mores Thumbprints
When it comes to baking these delightful cookies, the ingredients are as important as the love you put into them. The key players here are simple yet classic: butter, brown sugar, graham cracker crumbs, and chocolate. This unique combination not only creates a delicious cookie but also captures the essence of the campfire treat we all adore.
- 1 cup butter, softened: This is the foundation of your cookies, giving them a rich flavor and tender texture.
- 1/2 cup packed brown sugar: This adds sweetness and a hint of caramel flavor, enhancing the overall taste.
- 1 egg: Acts as a binder, helping to hold the cookie structure together.
- 1 teaspoon vanilla: A touch of vanilla elevates the flavor profile, making the cookies even more inviting.
- 1 1/3 cups all-purpose flour: The structure of the cookie comes from flour; it balances the other ingredients beautifully.
- 1 cup finely ground graham cracker crumbs: Essential for that classic s’mores flavor, this adds a unique texture to the cookies.
- 1/8 teaspoon salt: A pinch of salt is crucial as it enhances the sweetness and balances the flavors.
- 120 miniature marshmallows, about 1 1/4 cups: These provide the gooey center that’s characteristic of s’mores.
- 60 rectangles milk chocolate, from four 1.55-oz bars: The star topping of these cookies, melted chocolate provides that rich sweetness we love.
How to Assemble S’mores Thumbprints
Assembling your S’mores Thumbprints is a delightful process that fills the kitchen with warmth. Follow these steps for perfectly baked cookies that will impress everyone!
- Preheat your oven to 325°F and prepare a cookie sheet by lining it with parchment paper. This ensures the cookies don’t stick and helps with even baking.
- In a large bowl, combine butter and brown sugar. Using an electric mixer, beat on medium speed until the mixture turns light and fluffy. This usually takes about 2 to 3 minutes, and you’ll notice the color change.
- Add in the egg and vanilla. Beat until well blended, ensuring the egg is fully incorporated into the mixture.
- Next, add the flour, graham cracker crumbs, and salt. Mix on low speed for about a minute. Be careful not to over-mix; you want a stiff dough that holds its shape.
- Shape the dough into balls, using about a heaping teaspoon for each. Place them on the prepared cookie sheet with at least 2 inches between each cookie to allow for spreading.
- With your thumb or the back of a spoon, create an indentation in the center of each ball. This is where the magic will happen with the marshmallows and chocolate.
- Bake the cookies in the preheated oven for 8 to 10 minutes. Watch for the edges to turn slightly golden and the cookies to firm up.
- After baking, remove the cookies from the oven and immediately press 2 miniature marshmallows into the center of each cookie. Return the tray to the oven for an additional 2 to 3 minutes, just until the marshmallows are melted.
- Once out of the oven, let the cookies cool for about 2 to 3 minutes. Then, top each marshmallow with a rectangle of milk chocolate. Let it sit until the chocolate melts, and you can spread it gently over the marshmallow with the back of a spoon.
- Allow the cookies to cool completely on the baking sheet, letting the chocolate set before transferring them to a wire rack. Enjoy your freshly baked S’mores Thumbprints with a glass of milk or coffee!
Things Worth Knowing
- Let them cool: It’s best to let your cookies cool completely on the baking sheet to maintain their shape and allow the chocolate to set properly.
- Texture matters: You want a slightly crisp edge with a soft center, so don’t overbake them. The cookies should still be soft when you take them out of the oven.
- Experiment: Feel free to experiment with different types of chocolate or add toppings like nuts or peanut butter for a unique twist on the traditional s’mores flavor.
- Check the freshness: Always use fresh ingredients, especially butter and chocolate, as they significantly impact the flavor of the cookies.
Tips for Success
To ensure your S’mores Thumbprints are a hit, I’ve compiled some helpful tips you might find useful.
- Storage: Store your cookies in an airtight container at room temperature for up to a week. This will keep them soft and delicious.
- Freezing: You can freeze the cookies before baking. Just shape them into balls and place them in a freezer bag for up to three months. When you’re ready, bake them from frozen, adding a minute or two to the cooking time.
- Pairing: These cookies go wonderfully with a glass of milk, coffee, or even a scoop of vanilla ice cream for an indulgent treat.
- Don’t rush it: Allow the cookies to cool completely before moving them to avoid breaking or losing the shape.
- Adjust baking time: Every oven varies, so keep an eye on your cookies and adjust the baking time as necessary!
What to Pair With S’mores Thumbprints
When it comes to serving your delectable S’mores Thumbprints, there are plenty of delightful options to consider.
- Ice Cream: Serve with a scoop of vanilla ice cream for a delightful dessert experience that complements the warm cookies.
- Hot Chocolate: Pair these cookies with a warm cup of hot chocolate, adding a perfect touch of indulgence during colder months.
- Fresh Fruits: Consider serving with slices of fresh strawberries or bananas for a refreshing contrast to the sweetness of the cookies.
- Picnics: These cookies are perfect for picnics or outdoor gatherings, bringing that comforting campfire flavor wherever you go.
- Holiday Gatherings: They make great treats for holiday parties, providing a fun and nostalgic touch to any celebration.
- Lunchboxes: Pack them in lunchboxes for a sweet surprise that kids will love, perfect for school or day trips!
FAQ
Conclusion
The S’mores Thumbprints bring together the classic flavors of s’mores in a delightful cookie form, making them an irresistible treat. I encourage you to gather your loved ones and try making these cookies together; the joy of baking and sharing is truly special. Whether it’s for a cozy night in or a festive gathering, these cookies will surely create sweet memories that last a lifetime.
S'mores Thumbprints
Equipment
- Blender
- Oven
- Mixing Bowl
- Baking Sheet
Ingredients
- 1 cup Butter softened
- 1/2 cup Brown Sugar packed
- 1 large Egg
- 1 teaspoon Vanilla
- 1 1/3 cups All-Purpose Flour
- 1 cup Graham Cracker Crumbs finely ground
- 1/8 teaspoon Salt
- 120 miniature Marshmallows (about 1 1/4 cups)
- 60 rectangles Milk Chocolate (from four 1.55-oz bars)
Instructions
- Preheat your oven to 325°F and prepare a cookie sheet by lining it with parchment paper. This ensures the cookies don’t stick and helps with even baking.
- In a large bowl, combine butter and brown sugar. Using an electric mixer, beat on medium speed until the mixture turns light and fluffy. This usually takes about 2 to 3 minutes, and you’ll notice the color change.
- Add in the egg and vanilla. Beat until well blended, ensuring the egg is fully incorporated into the mixture.
- Next, add the flour, graham cracker crumbs, and salt. Mix on low speed for about a minute. Be careful not to over-mix; you want a stiff dough that holds its shape.
- Shape the dough into balls, using about a heaping teaspoon for each. Place them on the prepared cookie sheet with at least 2 inches between each cookie to allow for spreading.
- With your thumb or the back of a spoon, create an indentation in the center of each ball. This is where the magic will happen with the marshmallows and chocolate.
- Bake the cookies in the preheated oven for 8 to 10 minutes. Watch for the edges to turn slightly golden and the cookies to firm up.
- After baking, remove the cookies from the oven and immediately press 2 miniature marshmallows into the center of each cookie. Return the tray to the oven for an additional 2 to 3 minutes, just until the marshmallows are melted.
- Once out of the oven, let the cookies cool for about 2 to 3 minutes. Then, top each marshmallow with a rectangle of milk chocolate. Let it sit until the chocolate melts, and you can spread it gently over the marshmallow with the back of a spoon.
- Allow the cookies to cool completely on the baking sheet, letting the chocolate set before transferring them to a wire rack. Enjoy your freshly baked S'mores Thumbprints with a glass of milk or coffee!
Notes
- Storage: Store your cookies in an airtight container at room temperature for up to a week. This will keep them soft and delicious.
- Freezing: You can freeze the cookies before baking. Just shape them into balls and place them in a freezer bag for up to three months. When you're ready, bake them from frozen, adding a minute or two to the cooking time.
- Pairing: These cookies go wonderfully with a glass of milk, coffee, or even a scoop of vanilla ice cream for an indulgent treat.
- Don’t rush it: Allow the cookies to cool completely before moving them to avoid breaking or losing the shape.
- Adjust baking time: Every oven varies, so keep an eye on your cookies and adjust the baking time as necessary!