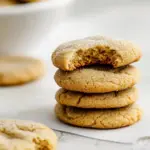
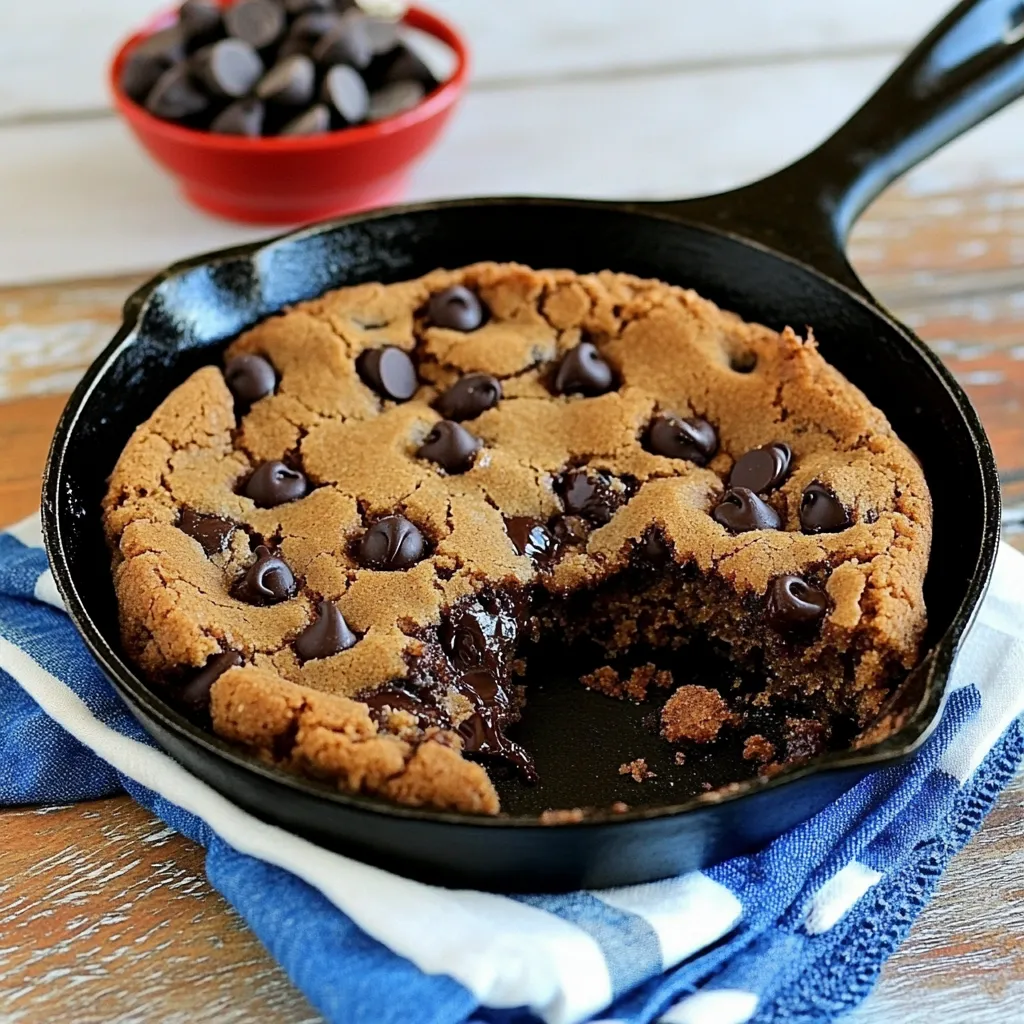
Skillet Chocolate Chip Cookies
There’s something truly magical about the aroma of freshly baked cookies wafting through your home, especially when those cookies are Skillet Chocolate Chip Cookies. I remember the first time I attempted to make them; it was a rainy afternoon, and I was craving something warm and comforting. As I mixed the ingredients, my heart swelled with anticipation. The thought of gooey chocolate chips melting in a warm, buttery cookie was almost too much to bear. That day, I discovered the joy of baking in a skillet, which not only adds a rustic charm but also creates the perfect texture with crispy edges and a chewy center.
Recipe Snapshot
40 mins
15 mins
25 mins
Medium
250 kcal
3 g
Gluten-Free, Low FODMAP
12 g
Mixing Bowl, Baking Sheet, Chef’s Knife, Wooden Spoon, Skillet, Whisk, Oven
Why This Skillet Chocolate Chip Cookies Shines
One-Pan Wonder
One of the things I adore about this recipe is how it simplifies the baking process. With just one skillet, you can mix, bake, and serve, reducing cleanup time significantly. This means more time to enjoy these delicious cookies with loved ones.
Perfect Texture
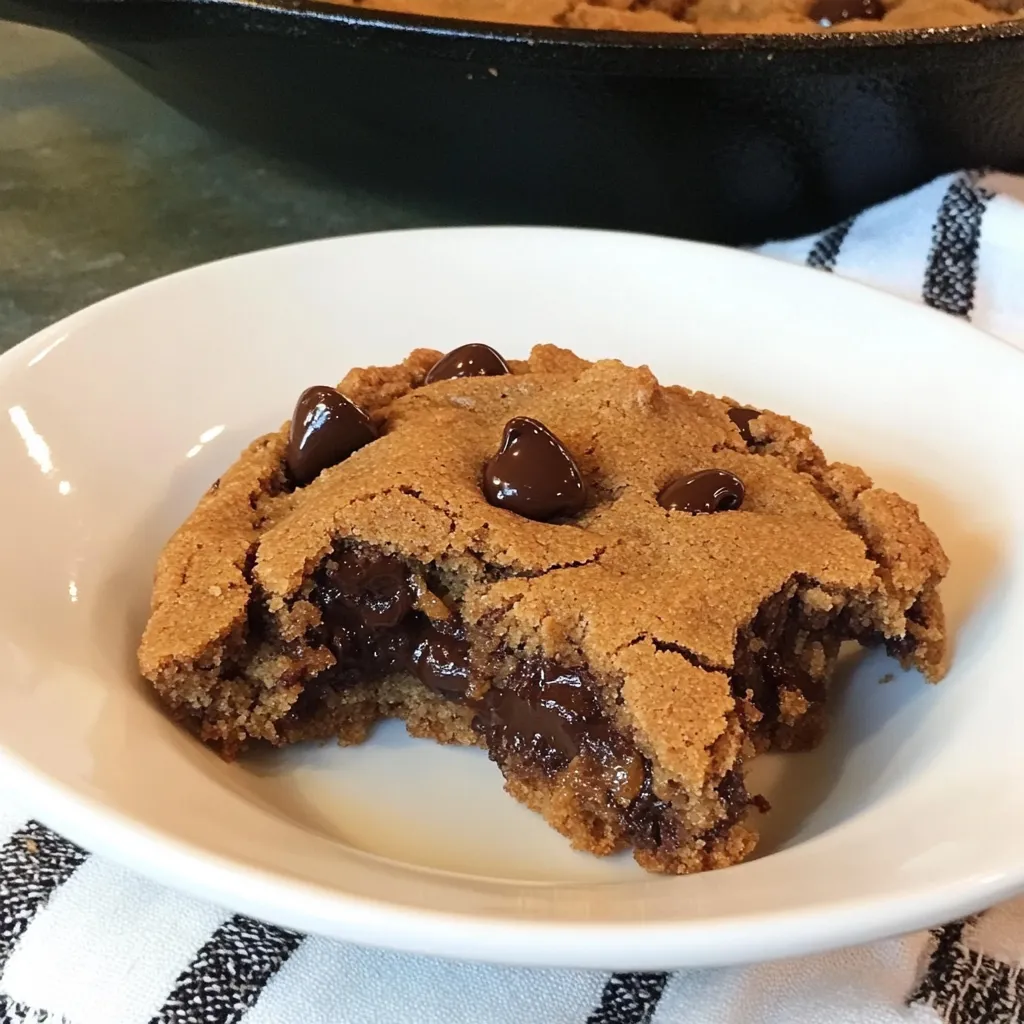
The combination of butter, brown sugar, and granulated sugar gives these cookies a texture that’s hard to resist. The outside becomes beautifully golden while the inside remains soft and chewy—a true cookie lover’s dream!
Customizable Delight
You can also customize the Skillet Chocolate Chip Cookies to your liking. Want to add nuts or swap out the chocolate chips for something like peanut butter chips? Go for it! This recipe is flexible and encourages experimentation.
Impressive Presentation
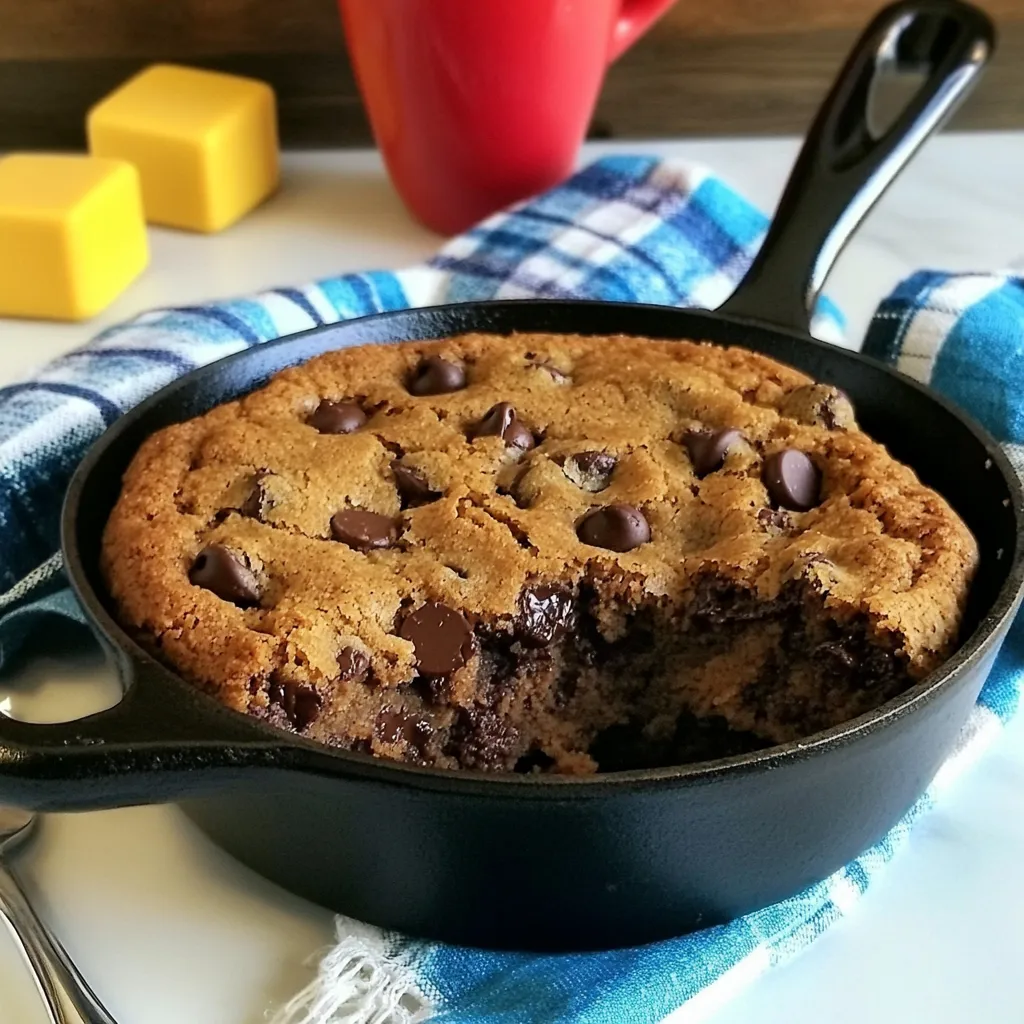
There’s something about serving cookies straight from the skillet that feels special. It transforms a simple treat into a dessert that looks impressive for gatherings or cozy nights in.
Quick and Easy
With a prep time of just 15 minutes, this recipe is perfect for spontaneous baking sessions. It’s a great option when you’re short on time but still want to whip up something delicious.
Family Favorite
This recipe has become a staple in my home, loved by both kids and adults alike. There’s nothing quite like the joy of sharing a warm cookie, and I often find myself making it for parties or family gatherings. Every bite is met with smiles and satisfied sighs.
Essential Ingredients for Skillet Chocolate Chip Cookies
The secret to perfect Skillet Chocolate Chip Cookies lies in the ingredients. Each one plays a vital role in creating that delicious flavor and texture we all crave. From the rich butter to the sweet chocolate chips, these ingredients harmonize beautifully, making each bite unforgettable.
- ½ cup (1 stick) unsalted butter, softened – This is the foundation of our cookie, providing rich flavor and a tender texture.
- ½ cup packed light brown sugar – Brown sugar adds moisture and contributes to that chewy texture we love.
- ¼ cup granulated white sugar – A little sweetness to balance the flavors perfectly.
- 1 large egg – Binding everything together and adding moisture.
- 1 tablespoon vanilla extract or vanilla bean paste – For that delightful vanilla flavor that makes cookies irresistible.
- 1 cup Gold Medal® All Purpose Flour – The base for our cookies that gives it structure.
- ½ cup oats – Adds a delightful texture and a bit of heartiness to each bite.
- ½ teaspoon baking powder – Helps the cookies rise just right.
- ½ teaspoon baking soda – A crucial ingredient for that perfect spread and lift.
- ½ teaspoon kosher salt – Enhances all the flavors and balances sweetness.
- 1¼ cups chocolate chips – The star of the show! Use semi-sweet or dark chips for a richer taste.
- Vanilla ice cream, for serving (optional) – To take your warm cookie experience to the next level.
Step by Step Instructions for Skillet Chocolate Chip Cookies
Making Skillet Chocolate Chip Cookies is a simple joy that you will love. With just a few steps, you can create a dessert that brings everyone together. Let’s dive into the deliciousness!
Preheat your oven to 350 degrees F. This is crucial for getting that perfect bake. Make sure your oven is ready before you mix the dough, as it helps the cookies set properly.
Spray a 9 or 10-inch cast iron skillet with nonstick spray. This ensures that your cookies won’t stick, making for easy removal and perfect presentation.
In a large bowl, combine the unsalted butter and both sugars using an electric mixer. Beat these together until the mixture is creamy and light—about 2 to 3 minutes. This step is important because it incorporates air into the batter, helping the cookies rise.
Add in the egg and vanilla, mixing until fully incorporated. You want these wet ingredients to blend seamlessly with the creamed butter and sugars.
In another bowl, whisk together the flour, oats, baking powder, baking soda, and kosher salt. This ensures even distribution of the leavening agents and salt, preventing clumps.
Gradually add the dry ingredients to the wet mixture, mixing until just combined. Overmixing here can lead to tough cookies, so stop as soon as you see no flour patches.
Gently fold in the chocolate chips until they are evenly distributed throughout the dough. Use a spatula to ensure an even mix without overworking the dough.
Scrape the cookie dough into the prepared skillet. Pat it down into an even layer using damp hands or hands sprayed with cooking spray. This helps to create a uniform cookie that bakes evenly.
Bake in the preheated oven for about 25 minutes, or until the cookie dough is set and lightly golden. Keep an eye on it; you want the edges to be firm while the center remains soft.
Once baked, remove from the oven and let cool for at least 20 minutes. This cooling period allows the cookie to firm up, making it easier to slice and serve. The aroma will be irresistible!
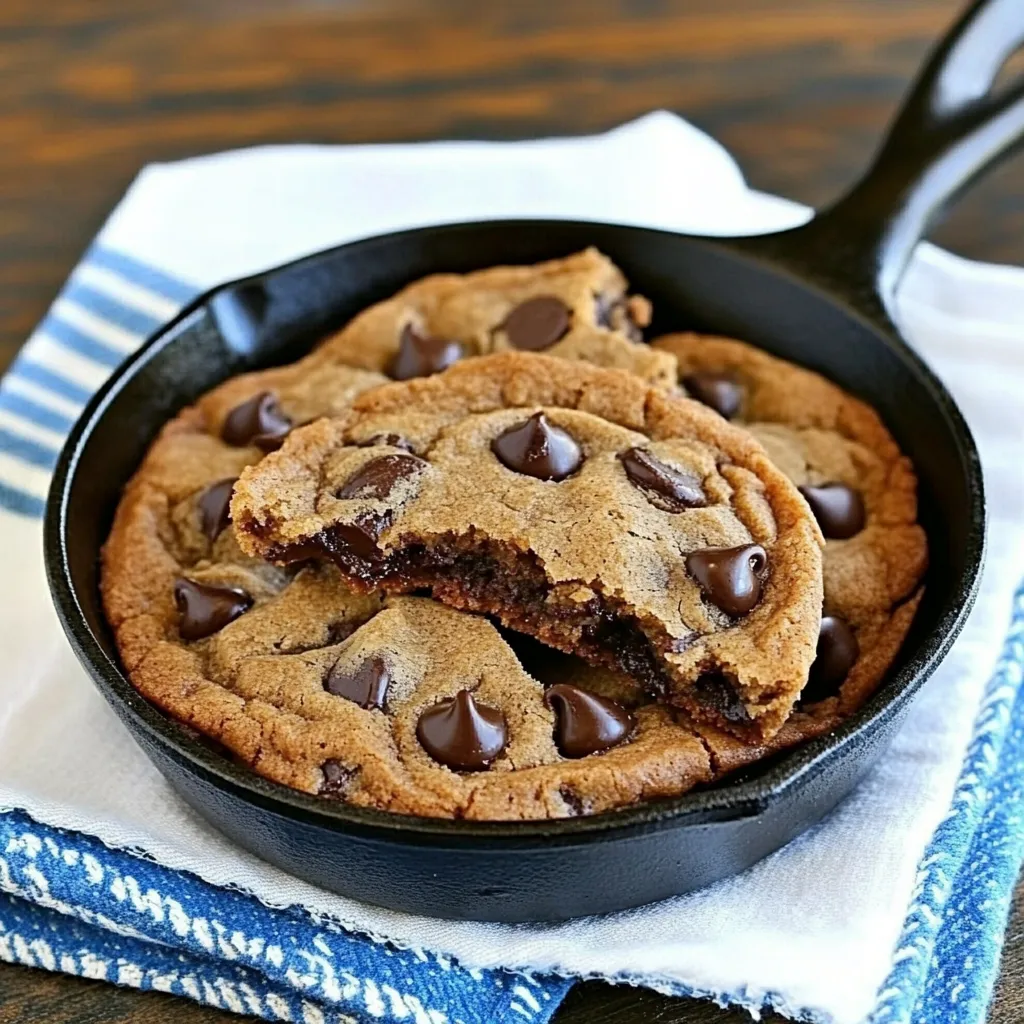
Cut and serve warm. If you want to take it up a notch, serve slices topped with vanilla ice cream for the ultimate treat!
Things Worth Knowing
- Use room temperature ingredients: This helps in achieving a creamy texture when mixing your butter and sugars.
- Don’t skip cooling: Allowing the cookies to cool in the skillet helps them set properly and makes for easier slicing.
- Watch the baking time: Every oven is different; keep an eye on the cookies as they bake to ensure they don’t overcook.
- Experiment with mix-ins: Feel free to add nuts or different types of chocolate for added flavor and texture.
Change It Up
If you’re looking to customize your Skillet Chocolate Chip Cookies, here are some great ideas to mix things up!
- Storage: Once cooled, store your cookies in an airtight container at room temperature for up to a week.
- Freezing: You can freeze the cookie dough for up to three months! Just scoop it into balls and freeze on a baking sheet before transferring to a bag.
- Pairing: These cookies are excellent with a glass of cold milk or a warm cup of coffee.
- Variety: Try adding different chocolate types like dark or white chocolate chips for a twist.
- Serving: For a fun dessert, serve slices with a drizzle of chocolate sauce.
Serving This Skillet Chocolate Chip Cookies
When it comes to serving Skillet Chocolate Chip Cookies, the possibilities are endless! Here are some delightful ideas:
- Warm and gooey: Serve slices warm right from the skillet, allowing the chocolate to melt slightly for an indulgent treat.
- Ice cream pairing: Top each serving with a scoop of vanilla ice cream for a delicious contrast between warm and cold.
- Perfect for gatherings: Bring the skillet to the table for a fun, communal dessert experience at parties or family gatherings.
- Great for any occasion: Whether it’s a casual weeknight or a special celebration, these cookies fit right in.
- Storage tips: If you have leftovers, store them in an airtight container to keep them fresh and chewy.
- Seasonal serving: These cookies are perfect for holiday gatherings, offering a comforting touch to your festive table.
FAQ
Conclusion
The Skillet Chocolate Chip Cookies are a delightful treat that combines convenience with incredible taste. They bring warmth and sweetness to any occasion, perfect for family gatherings or a cozy night in. I encourage you to try making these cookies—they are sure to become a favorite in your home!

Skillet Chocolate Chip Cookies
Equipment
- Mixing Bowl
- Baking Sheet
- Chef's Knife
- Wooden Spoon
- Skillet
- Whisk
- Oven
Ingredients
- ½ cup unsalted butter softened
- ½ cup packed light brown sugar
- ¼ cup granulated white sugar
- 1 large egg
- 1 tablespoon vanilla extract or vanilla bean paste
- 1 cup Gold Medal® All Purpose Flour
- ½ cup oats
- ½ teaspoon baking powder
- ½ teaspoon baking soda
- ½ teaspoon Kosher salt
- 1¼ cups chocolate chips
- vanilla ice cream for serving (optional)
Instructions
- Preheat your oven to 350 degrees F. This is crucial for getting that perfect bake. Make sure your oven is ready before you mix the dough, as it helps the cookies set properly.
- Spray a 9 or 10-inch cast iron skillet with nonstick spray. This ensures that your cookies won’t stick, making for easy removal and perfect presentation.
- In a large bowl, combine the unsalted butter and both sugars using an electric mixer. Beat these together until the mixture is creamy and light—about 2 to 3 minutes. This step is important because it incorporates air into the batter, helping the cookies rise.
- Add in the egg and vanilla, mixing until fully incorporated. You want these wet ingredients to blend seamlessly with the creamed butter and sugars.
- In another bowl, whisk together the flour, oats, baking powder, baking soda, and kosher salt. This ensures even distribution of the leavening agents and salt, preventing clumps.
- Gradually add the dry ingredients to the wet mixture, mixing until just combined. Overmixing here can lead to tough cookies, so stop as soon as you see no flour patches.
- Gently fold in the chocolate chips until they are evenly distributed throughout the dough. Use a spatula to ensure an even mix without overworking the dough.
- Scrape the cookie dough into the prepared skillet. Pat it down into an even layer using damp hands or hands sprayed with cooking spray. This helps to create a uniform cookie that bakes evenly.
- Bake in the preheated oven for about 25 minutes, or until the cookie dough is set and lightly golden. Keep an eye on it; you want the edges to be firm while the center remains soft.
- Once baked, remove from the oven and let cool for at least 20 minutes. This cooling period allows the cookie to firm up, making it easier to slice and serve. The aroma will be irresistible!
- Cut and serve warm. If you want to take it up a notch, serve slices topped with vanilla ice cream for the ultimate treat!