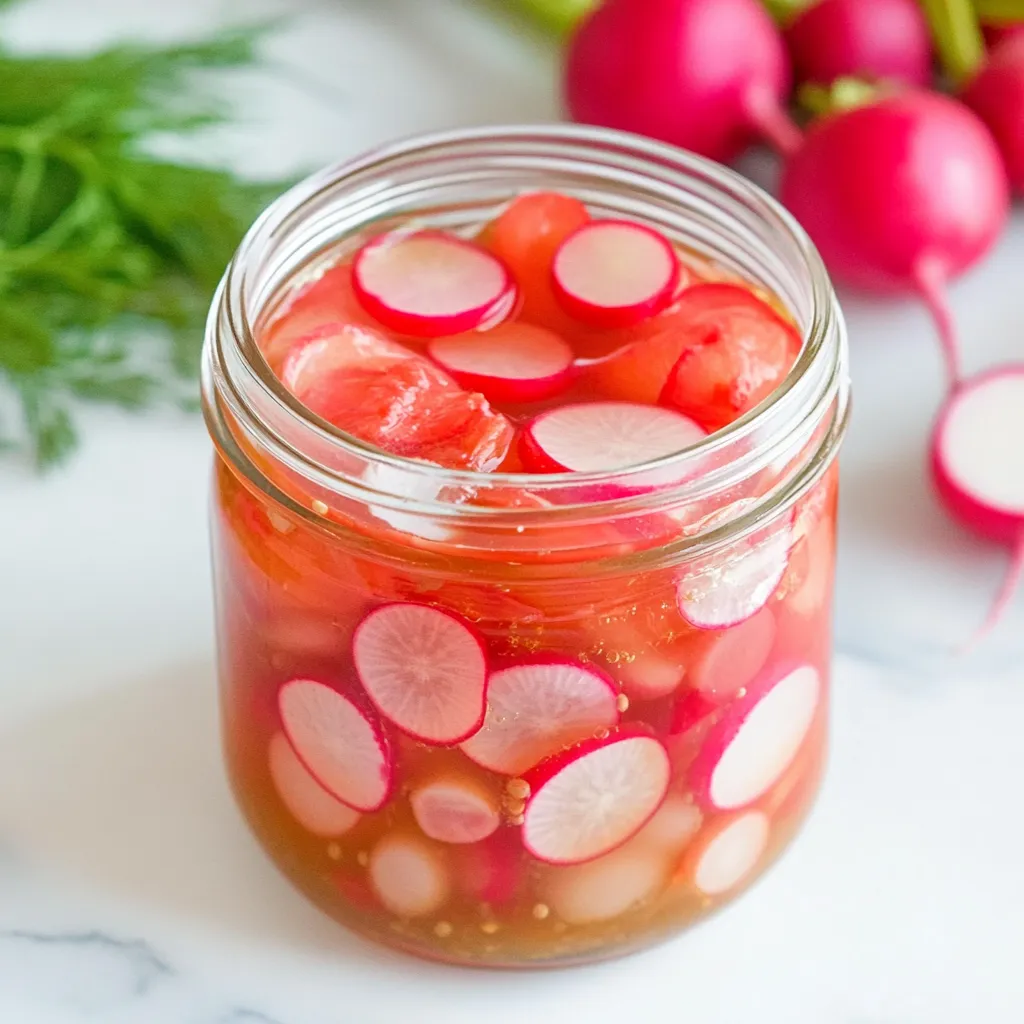
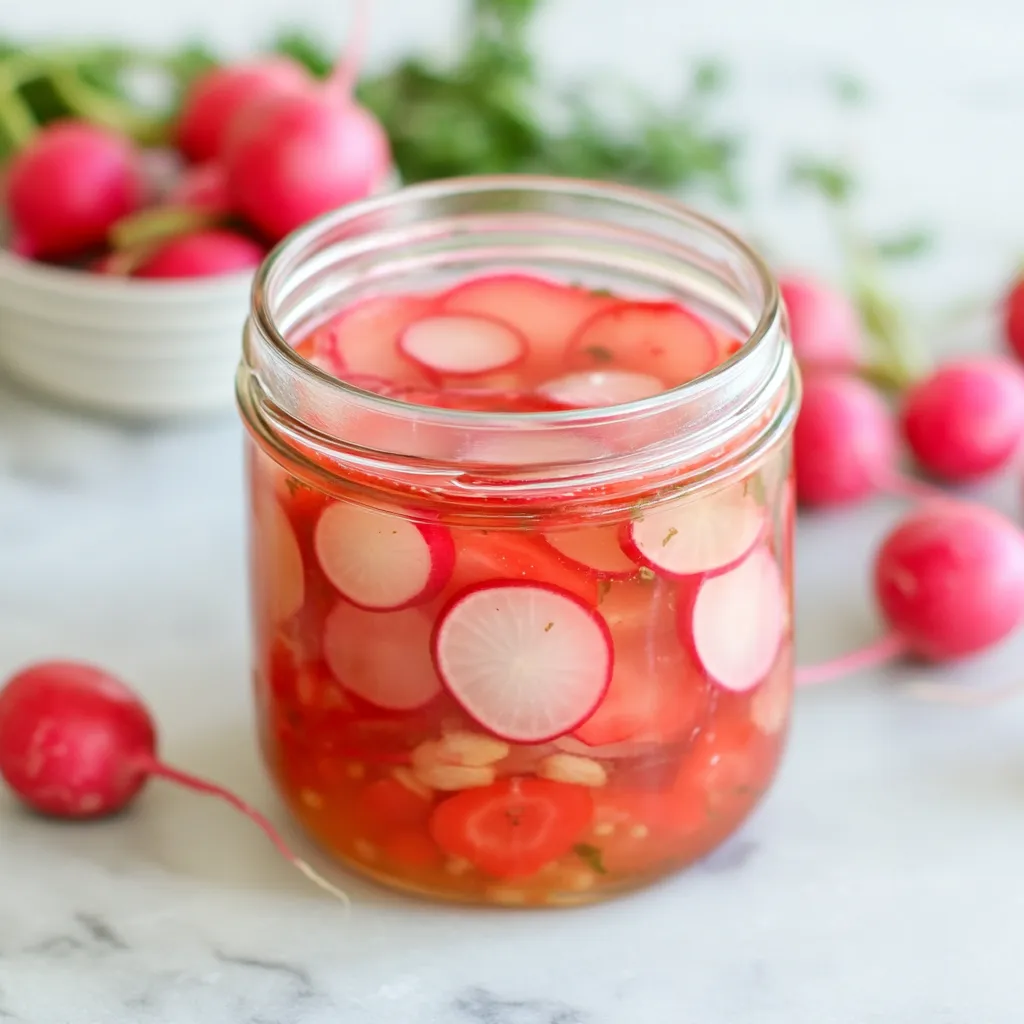
Quick Pickled Radishes
There’s something truly special about Quick Pickled Radishes. I remember the first time I tasted them at a small café, nestled in a cozy corner of my neighborhood. The crisp, tangy bite of the radishes paired so perfectly with my sandwich, I couldn’t help but ask for more. With their vibrant pink hue and satisfying crunch, these pickles instantly brightened up any dish. Now, I make them at home whenever I want that extra zing in my meals. Whether I’m having tacos, salads, or just snacking on their own, Quick Pickled Radishes have become a staple in my kitchen. The truth is, they’re easy to make and add a delightful burst of flavor that elevates any meal.
Recipe Snapshot
10 mins
5 mins
5 mins
Medium
20 kcal
0 g
Whole30, Vegan, Gluten-Free
0 g
28 ounce glass jars
Why Try This Quick Pickled Radishes
They’re Incredibly Easy to Make
One of the best things about Quick Pickled Radishes is just how simple they are to prepare. With minimal ingredients and a quick process, you can have a jar ready in no time. It’s a perfect recipe for beginners or anyone who wants to whip up something delicious without spending hours in the kitchen.
Versatility is Key
These pickled radishes are not just a side dish; they can enhance a variety of meals! I love adding them to tacos, salads, or even sandwiches. They provide a refreshing crunch and a pop of color that makes any dish visually appealing.
Health Benefits
Radishes are packed with nutrients and antioxidants, making Quick Pickled Radishes a healthy addition to your diet. They support digestion and can even help lower blood pressure. Plus, their low calorie count means you can enjoy them guilt-free!
Perfect for Meal Prep
If you’re into meal prepping like I am, these pickled radishes are a game changer. Make a big batch at the beginning of the week, and you’ll have a vibrant, flavorful addition to your meals ready to go. They also last for up to two weeks in the fridge!
Customizable Flavors
Another exciting aspect of making Quick Pickled Radishes is that you can customize the flavors to suit your taste. Want to add a hint of spice? Toss in some crushed red pepper flakes. Prefer a herbal touch? Fresh dill works wonders. You can truly make them your own!
Freshness Guaranteed
Unlike store-bought options, homemade pickled radishes ensure that you know exactly what’s in them. No preservatives, just wholesome ingredients. It’s fun to experiment with different types of radishes too; each variety brings a unique flavor profile.
What’s In This Quick Pickled Radishes
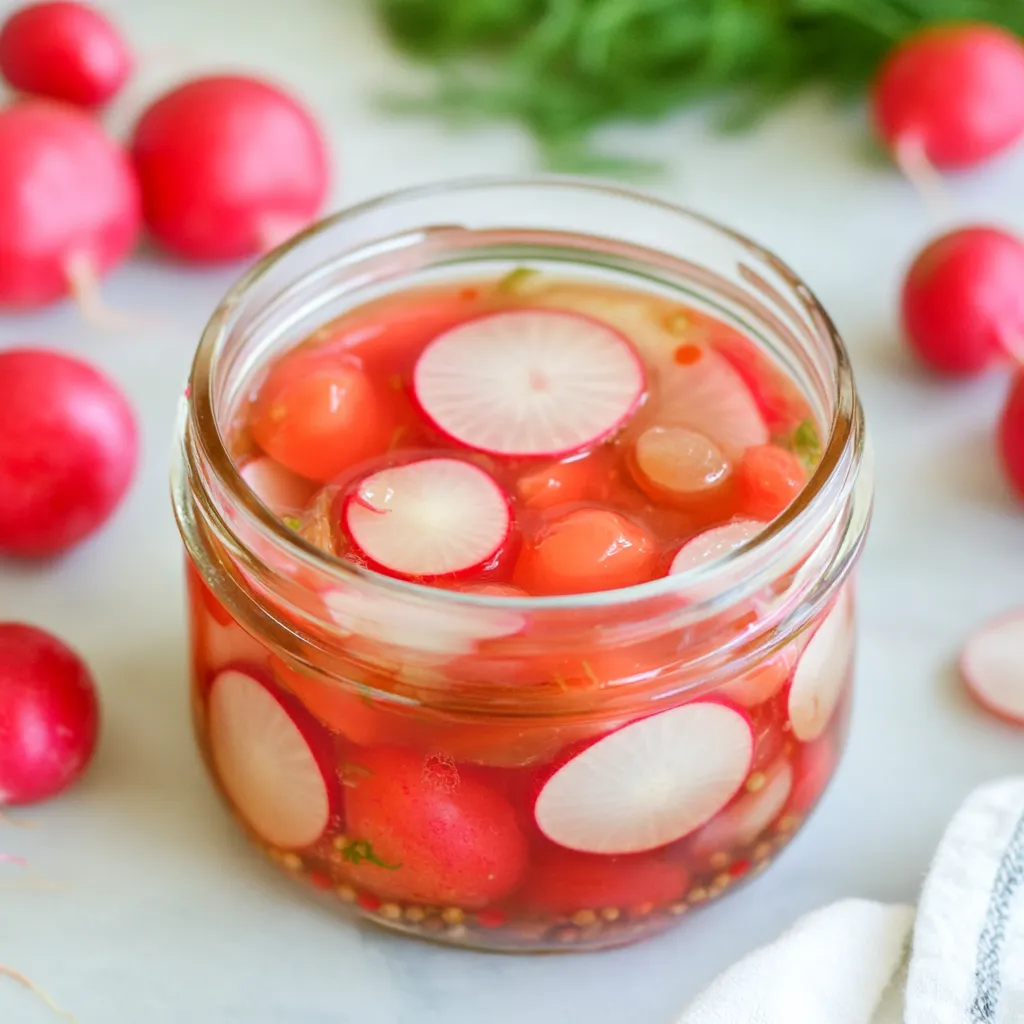
The ingredients for Quick Pickled Radishes are simple yet effective. Each element plays a key role, creating a perfect balance of flavors and textures. The star of the show is, of course, the radishes, which bring that satisfying crunch. The acidity from the white vinegar cuts through the heat, while kosher salt and granulated sugar enhance the overall taste, creating a deliciously tangy experience.
- 1 bunch radishes: These vibrant vegetables are the centerpiece of the recipe, offering a crisp texture and peppery flavor that shines through the pickling process.
- 1 teaspoon peppercorns: A dash of spice that adds depth to the brine, making each bite more exciting.
- 1 cup water: This is mixed with vinegar to create the pickling brine, balancing the acidity.
- 1 cup white vinegar: The main acid in the recipe, it gives the radishes their characteristic tangy flavor.
- 1 tablespoon kosher salt: Essential for flavor and preservation, kosher salt helps to draw out moisture from the radishes.
- 1 tablespoon granulated sugar: Adds a hint of sweetness that balances the acidity, making the pickles delightful.
The Method for Quick Pickled Radishes
Making Quick Pickled Radishes is a fun, straightforward process that anyone can master. Follow along as I guide you through each step, ensuring your pickles turn out perfectly every time. It’s all about timing and proper technique, so let’s dive in!
- Start by washing and drying 1 bunch radishes thoroughly. It’s important to remove any dirt, as you want your pickles to be clean and fresh. Once they’re dry, trim off the stems to prepare them for slicing.
- Using a mandoline or a very sharp knife, thinly slice the radishes into ⅛-inch thick pieces. The thinner you slice, the quicker they’ll pickle, resulting in a delightful crunch. Aim for uniform slices so they pickle evenly.
- Next, divide the sliced radishes evenly between either 2 pint-size jars or 1 quart-size jar. If you’re using 1 teaspoon peppercorns, divide them evenly between each jar of radishes to add a subtle spiciness that complements the pickles beautifully.
- In a medium saucepan, combine 1 cup water, 1 cup white vinegar, 1 tablespoon kosher salt, and 1 tablespoon granulated sugar. Place it over medium heat and stir occasionally. It’s crucial to dissolve the sugar and salt completely to ensure the best flavor in your pickles.
- Once dissolved, remove the mixture from the heat and let it cool slightly for about 5 minutes. This step is essential, as pouring hot liquid over the radishes can cook them, affecting their crunchiness.
- Carefully pour the cooled vinegar mixture over the radishes, ensuring it’s evenly distributed in both jars. Use a fork or spoon to push the radishes down, so they’re fully submerged in the brine.
- Let them sit at room temperature for about 10 minutes. This time allows the radishes to start absorbing the flavors of the brine.
- After the initial soaking, place the lids on the jars and refrigerate them for at least 30 minutes, although letting them sit for 2 hours is best. This additional time in the fridge helps to deepen the flavors.
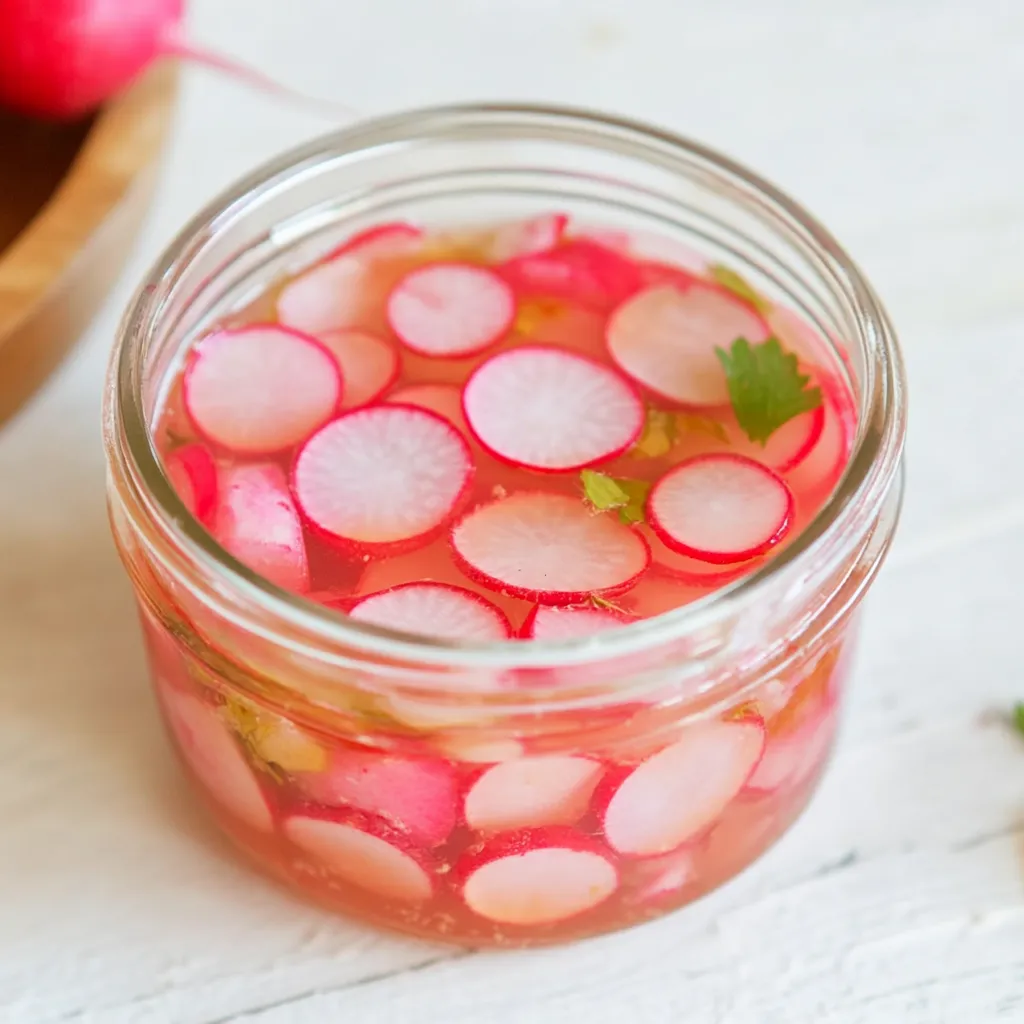
- Once they’ve finished pickling, your Quick Pickled Radishes are ready to serve! They can be stored in the refrigerator for up to 2 weeks, making them a fantastic addition to your meals throughout the week.
Things Worth Knowing
- Use fresh radishes: Freshness matters when making pickles, as old radishes can become soft and lose their crunch.
- Experiment with flavors: Feel free to add spices like mustard seeds or herbs like dill for a unique twist on the classic recipe.
- Adjust the sweetness: Depending on your preference, you can increase or decrease the amount of sugar in the brine.
- Pickling containers: Always use clean, sterilized jars to ensure your pickles stay fresh and safe to eat.
Pro Tips and Tweaks
Ready to elevate your pickling game? Here are some fantastic tips to ensure your Quick Pickled Radishes are a hit every time. Follow along, and you’ll become a pickling pro in no time!
- Storage: Keep your pickled radishes in the refrigerator in a sealed jar. They can last up to two weeks!
- Freezing: While typically pickles are not frozen, you can freeze the brine and add fresh radishes later for a quick pickling method.
- Pairing: These pickles go great with tacos, sandwiches, or salads! They add a delightful crunch and flavor.
- Flavor variations: Consider adding sliced jalapeños or garlic cloves to the brine for an extra kick.
- Change the vinegar: While white vinegar is standard, you can experiment with apple cider vinegar for a different flavor profile.
- Check the crunch: For optimal texture, consume the pickled radishes within two weeks for the best crunch!
Serving Ideas for Quick Pickled Radishes
When it comes to serving Quick Pickled Radishes, the options are endless! Here are some fantastic ideas to incorporate them into your meals:
- Tacos: Add pickled radishes to your favorite taco recipes for a crunchy, tangy contrast to the meat.
- Salads: Toss them into green salads to brighten up the flavors and add a pop of color.
- Sandwiches: Layer them in sandwiches or burgers for an exciting crunch and bit of acidity.
- Rice bowls: Use them as a colorful topping for rice bowls, adding both texture and a burst of flavor.
- Appetizers: Serve them alongside cheese and crackers for a refreshing snack.
- Charcuterie boards: Include them on charcuterie boards as a zesty complement to meats and cheeses.
- Meal prep: Keep a jar in the fridge for quick, healthy meal additions throughout the week.
FAQ
Conclusion
Overall, Quick Pickled Radishes are a delightful addition to any meal. With their tangy flavor and satisfying crunch, they’re sure to elevate your dishes in no time. I encourage you to give this recipe a try and enjoy the vibrant taste they bring to your table. It’s a simple yet rewarding culinary adventure that will leave your taste buds dancing with joy!

Quick Pickled Radishes
Equipment
- 28 ounce glass jars
Ingredients
- 1 bunch Radishes Fresh, vibrant radishes are the main ingredient.
- 1 teaspoon Peppercorns Adds spice to the pickles.
- 1 cup Water Used to create the brine.
- 1 cup White vinegar Provides the tanginess.
- 1 tablespoon Kosher salt Enhances flavor and preserves the radishes.
- 1 tablespoon Granulated sugar Balances the acidity with sweetness.
Instructions
- Start by washing and drying 1 bunch radishes thoroughly. It's important to remove any dirt, as you want your pickles to be clean and fresh. Once they’re dry, trim off the stems to prepare them for slicing.
- Using a mandoline or a very sharp knife, thinly slice the radishes into ⅛-inch thick pieces. The thinner you slice, the quicker they’ll pickle, resulting in a delightful crunch. Aim for uniform slices so they pickle evenly.
- Next, divide the sliced radishes evenly between either 2 pint-size jars or 1 quart-size jar. If you’re using 1 teaspoon peppercorns, divide them evenly between each jar of radishes to add a subtle spiciness that complements the pickles beautifully.
- In a medium saucepan, combine 1 cup water, 1 cup white vinegar, 1 tablespoon kosher salt, and 1 tablespoon granulated sugar. Place it over medium heat and stir occasionally. It’s crucial to dissolve the sugar and salt completely to ensure the best flavor in your pickles.
- Once dissolved, remove the mixture from the heat and let it cool slightly for about 5 minutes. This step is essential, as pouring hot liquid over the radishes can cook them, affecting their crunchiness.
- Carefully pour the cooled vinegar mixture over the radishes, ensuring it's evenly distributed in both jars. Use a fork or spoon to push the radishes down, so they’re fully submerged in the brine.
- Let them sit at room temperature for about 10 minutes. This time allows the radishes to start absorbing the flavors of the brine.
- After the initial soaking, place the lids on the jars and refrigerate them for at least 30 minutes, although letting them sit for 2 hours is best. This additional time in the fridge helps to deepen the flavors.
- Once they’ve finished pickling, your Quick Pickled Radishes are ready to serve! They can be stored in the refrigerator for up to 2 weeks, making them a fantastic addition to your meals throughout the week.