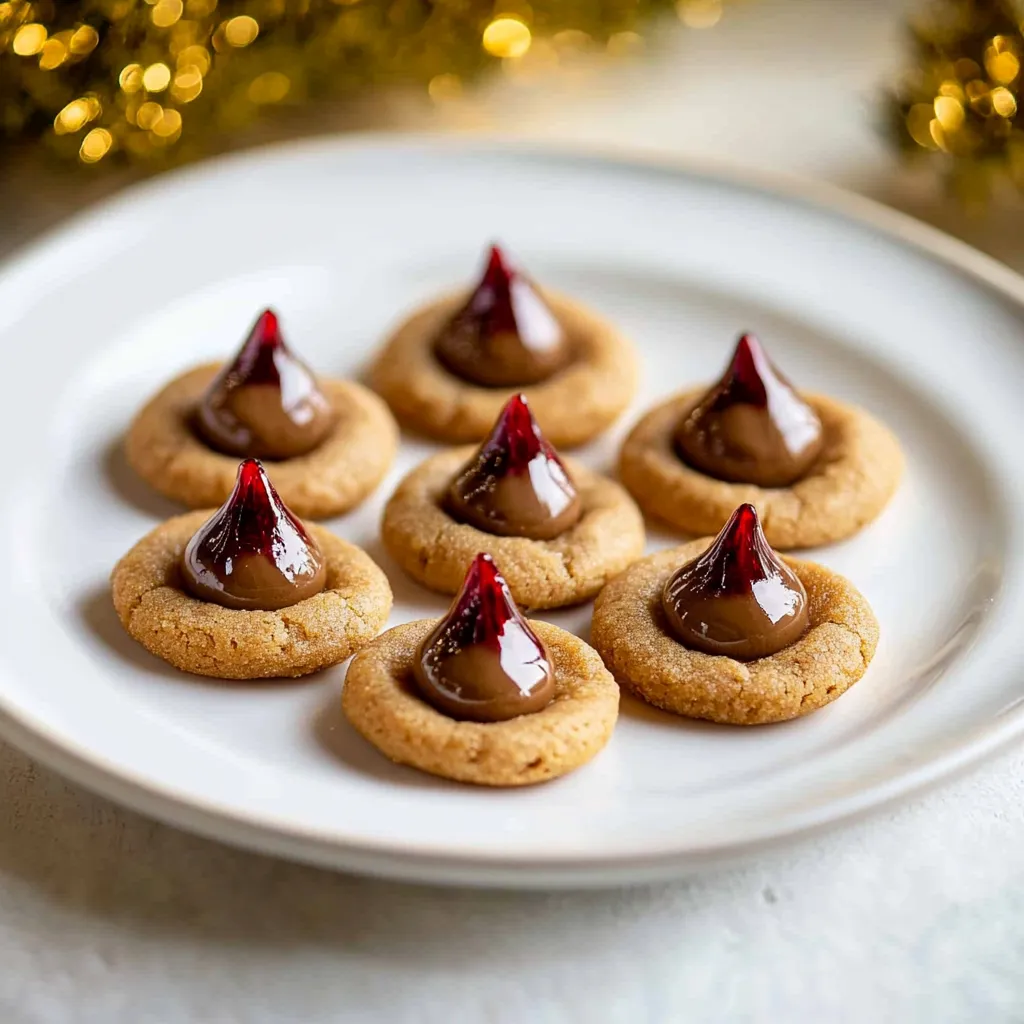
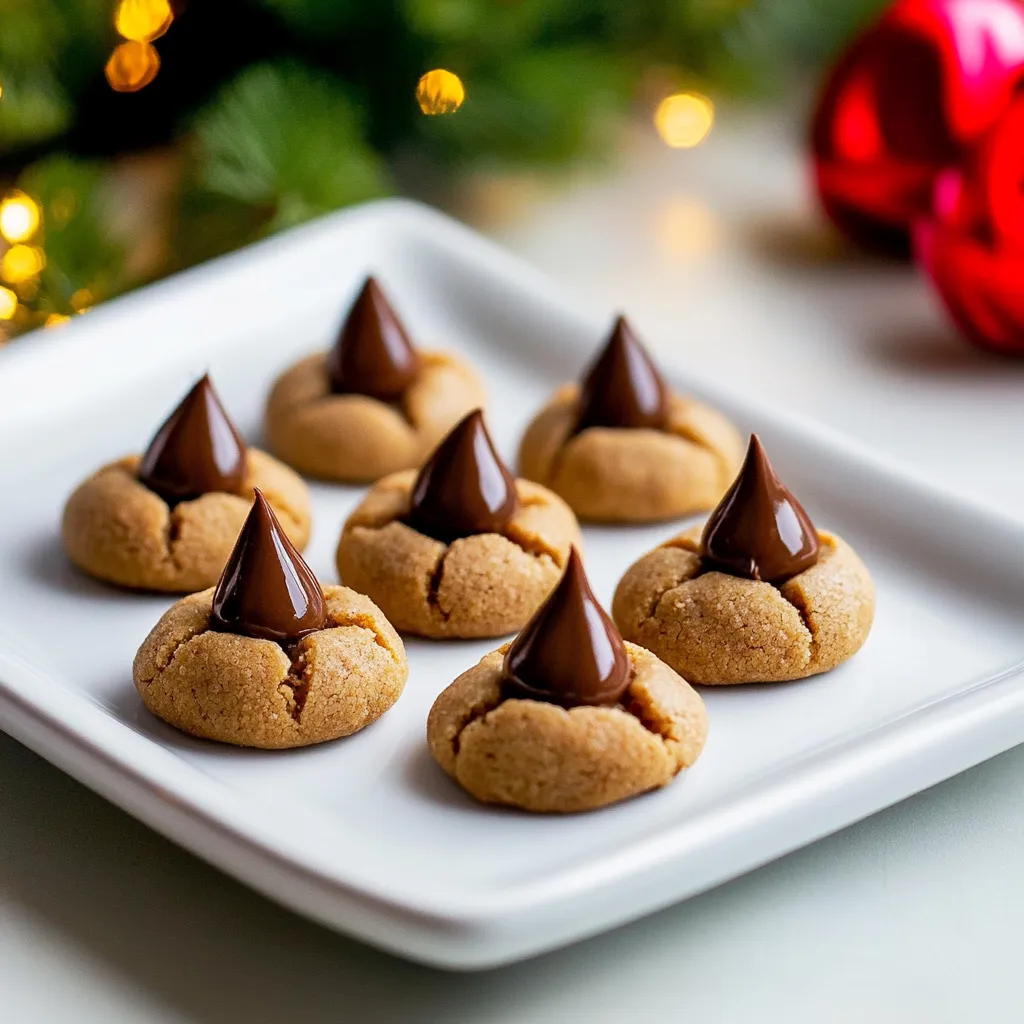
Peanut Butter Blossoms
There’s something so magical about making Peanut Butter Blossoms that takes me back to my childhood. I remember standing on a little stool, peering over the countertop as my mom and I mixed the dough together. The aroma of baking cookies would fill the kitchen, drawing the whole family in. What I love the most about these cookies is how they combine the rich, nutty flavor of peanut butter with the sweet surprise of a chocolate Hershey’s Kiss right in the center. It’s a moment of joy every time I take a bite. Whether it’s a holiday celebration or just a cozy evening at home, these cookies never fail to bring a smile to my face. They’re perfect for sharing during festive gatherings or simply treating yourself on a lazy afternoon.
Recipe Snapshot
45 mins
20 mins
25 mins
Medium
105 kcal
2 g
Gluten-Free, Low FODMAP
4 g
Mixing Bowl, Baking Sheet, Whisk, Blender, Oven
The Beauty of This Peanut Butter Blossoms
Classic Comfort
There’s something about Peanut Butter Blossoms that feels like a warm hug. These cookies are not just another sweet treat; they embody nostalgia, reminding many of their childhood baking experiences.
Easy and Fun to Make
Baking these cookies is an enjoyable experience. The process is straightforward, making it a perfect recipe for novice bakers. It’s a great way to introduce kids to the world of baking, and they can help roll the dough and press the chocolates!
Versatile for Any Occasion
While they’re often associated with Christmas, Peanut Butter Blossoms are delightful year-round. They’re perfect for birthday parties, bake sales, or just a casual afternoon snack.
A Crowd Favorite
These cookies have a way of vanishing at gatherings. Their unique combination of flavors and textures makes them appealing to both kids and adults. Everyone loves the crunchy exterior paired with the soft, chewy inside and that sweet Hershey’s Kiss on top.
Perfect for Gifting
Want to give a personal touch to your gifts? Bake a batch of these cookies, package them nicely, and you’ve got a thoughtful, homemade present that friends and family will cherish.
Deliciously Addictive
Once you take a bite of a freshly baked Peanut Butter Blossom, it’s hard to stop at just one. The combination of sweet and salty flavors is addictive, making it a challenge to keep these cookies around for long!
What You Need for Peanut Butter Blossoms
When it comes to baking Peanut Butter Blossoms, the ingredients play a crucial role in achieving that perfect taste and texture. Each ingredient has its own purpose: the all-purpose flour provides structure, while the unsalted butter adds richness. The peanut butter is obviously the star of the show, providing that classic flavor, and the Hershey’s Kisses are the delightful finishing touch. Together, they create a delightful harmony that makes these cookies so special.
- 1 1/2 cups (212g) all-purpose flour: This forms the base of the cookie, giving it structure and supporting the chewy texture.
- 3/4 tsp baking soda: This leavening agent helps the cookies rise and achieve that perfect texture.
- 1/4 tsp salt: A little salt enhances the flavors, balancing the sweetness.
- 1/2 cup (113g) unsalted butter: Softened but still slightly firm, it provides richness and moistness to the dough.
- 1/2 cup granulated sugar: This sweetens the cookies and contributes to their texture.
- 1/2 cup packed light-brown sugar: The molasses in brown sugar adds moisture and a hint of caramel flavor.
- 2/3 cup (165g) creamy peanut butter: The star ingredient that provides that distinctive flavor that everyone loves.
- 1 large egg: Binds the ingredients together and adds richness.
- 1 tsp vanilla extract: Adds depth and enhances the overall flavor of the cookies.
- 1/3 cup (70g) granulated sugar or cane sugar: This is used for rolling the cookie dough balls to add texture and sweetness.
- 36 Hershey’s Kisses milk chocolates: The iconic topping that adds a chocolatey surprise in every bite!
Peanut Butter Blossoms Instructions
Ready to dive into the baking process? Making Peanut Butter Blossoms is not only easy, but it’s also a lot of fun. You’ll love the process of mixing, rolling, and baking these delicious cookies. Just follow these detailed steps, and you’ll have a batch of delightful cookies in no time.
- Preheat your oven to 375 degrees Fahrenheit. While the oven is heating up, prepare your baking sheets by lining them with parchment paper or silicone baking mats. This step is crucial to prevent the cookies from sticking and ensures easy cleanup.
- In a small mixing bowl, whisk together all-purpose flour, baking soda, and salt for about 20 seconds. Set this mixture aside, as it will be added to the wet ingredients later.
- In the bowl of an electric stand mixer fitted with the paddle attachment, cream together unsalted butter, granulated sugar, and brown sugar until well combined. You want a light and fluffy texture, which usually takes a few minutes of mixing on medium speed.
- Next, mix in the creamy peanut butter until evenly incorporated. Then, blend in the egg and vanilla extract. Continue mixing until everything is well combined and smooth.
- Gradually add the flour mixture to the wet ingredients, mixing until just combined. Avoid overmixing to ensure the cookies stay tender. If the dough seems too wet, you can chill it for a bit in the refrigerator.
- Scoop dough out using an even tablespoon measuring spoon and shape it into balls. In a shallow bowl, place the granulated sugar for rolling. Roll each ball in the sugar to coat evenly. This step adds a beautiful sparkle and sweetness to the cookies.
- Transfer the sugar-coated balls to the prepared baking sheets, spacing them about 1.5 inches apart. This spacing is important to allow for some spreading while baking.
- Bake one sheet at a time in the preheated oven for about 7 to 9 minutes. You want the cookies to be nearly set but still soft in the center.
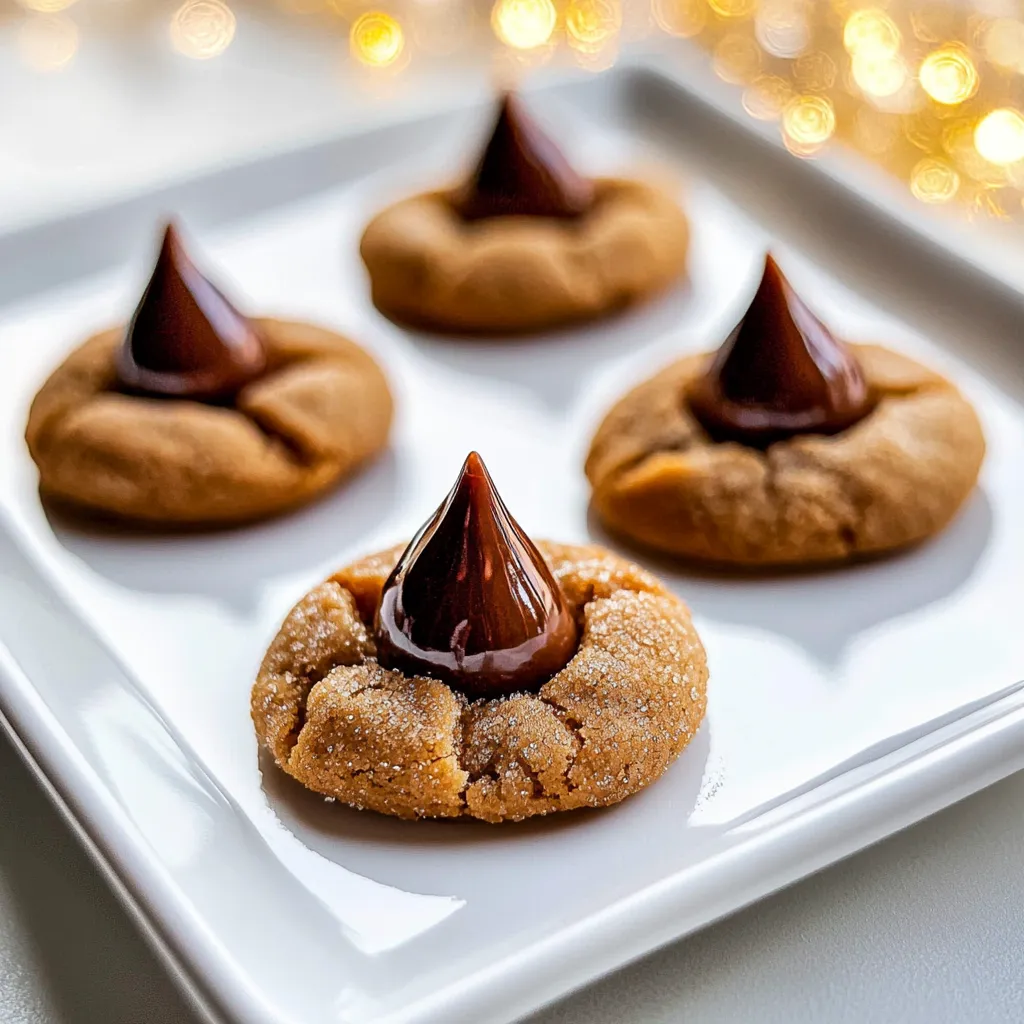
- While the cookies are baking, unwrap all the Hershey’s Kisses. Once the cookies are out of the oven, immediately press one chocolate into the center of each cookie while they’re still warm. The warmth will help the chocolate melt slightly, making it stick better.
- After pressing the chocolates in, transfer the cookies to a wire rack to cool. For quicker setting, place them in the fridge or freezer for 5 to 10 minutes.
- Store the cookies in an airtight container at room temperature to keep them fresh. Enjoy your delicious Peanut Butter Blossoms!
Things Worth Knowing
- Chilling the Dough: If your dough is sticky, don’t hesitate to chill it for about 30 minutes. This makes it easier to handle and shape into balls.
- Don’t Overbake: Keep a close eye on the cookies while they bake. They should appear slightly underbaked when you take them out of the oven, as they continue to set while cooling.
- Chocolate Sealing: If you’ve had issues with the Hershey’s Kisses coming off, try adding a small dab of peanut butter to the bottom of each chocolate before pressing it into the cookie.
- Storage Life: These cookies can be stored in an airtight container for up to one week. They may also be frozen for longer storage.
Helpful Notes about Peanut Butter Blossoms
When it comes to perfecting your Peanut Butter Blossoms, a few helpful notes can make all the difference. Whether you’re a first-time baker or a seasoned pro, these tips will enhance your baking experience.
- Storage: Keep your cookies in an airtight container at room temperature to maintain their freshness. If you notice they’re getting too soft, keep them in the fridge for a firmer texture.
- Freezing: Yes, you can freeze these cookies! Bake them, let them cool completely, and then store them in a single layer in a freezer-safe container. They’ll stay good for up to three months!
- Pairing: Serve your Peanut Butter Blossoms with a cold glass of milk or a warm cup of coffee for a perfect treat!
- Experiment with Mix-ins: Feel free to add in some chopped nuts or even chocolate chips to the dough for a personal twist on this classic recipe.
- Serving Size: These cookies are quite rich, so you may want to serve them alongside some fresh fruit to balance the sweetness.
- Gift Idea: These cookies make a great gift! Consider packaging them in decorative tins or boxes for the holidays.
Serving Suggestions
When it comes to enjoying Peanut Butter Blossoms, the serving possibilities are endless. Here are some suggestions to enhance your experience:
- Perfect for Parties: These cookies are a hit at any gathering! Serve them on a dessert table alongside other treats like brownies and fruit tarts for a sweet spread.
- Holiday Treats: Their festive shape and flavors make them a classic choice for Christmas parties. Pair them with eggnog or hot cocoa to make the evening even cozier!
- Snack Time: They’re also perfect as an after-school snack. Pair them with a glass of milk for a delightful treat.
- Lunchbox Addition: Include a few in lunches for a sweet surprise. They add a fun touch to kids’ lunchboxes along with fresh fruit.
- Seasonal Celebrations: These cookies fit well into various seasonal celebrations, from birthdays to potlucks. Serve them with themed decorations for an extra special touch!
- Storage Tips: If you have leftovers, store them in an airtight container at room temperature to enjoy later. They can last up to a week!
FAQ
Conclusion
The magic of Peanut Butter Blossoms lies in their perfect balance of flavor and texture. From the nutty goodness of the peanut butter to the melty chocolate kiss, every bite is a treat. I encourage you to try this recipe and experience the joy of baking these delightful cookies. They are bound to bring happiness to your home, just like they do in mine!

Peanut Butter Blossoms
Equipment
- Mixing Bowl
- Baking Sheet
- Whisk
- Blender
- Oven
Ingredients
- 1 1/2 cups all-purpose flour
- 3/4 tsp baking soda
- 1/4 tsp salt
- 1/2 cup unsalted butter
- 1/2 cup granulated sugar
- 1/2 cup packed light-brown sugar
- 2/3 cup creamy peanut butter
- 1 large egg
- 1 tsp vanilla extract
- 1/3 cup granulated sugar
- 36 Hershey's Kisses milk chocolates
Instructions
- Preheat your oven to 375 degrees Fahrenheit. While the oven is heating up, prepare your baking sheets by lining them with parchment paper or silicone baking mats. This step is crucial to prevent the cookies from sticking and ensures easy cleanup.
- In a small mixing bowl, whisk together all-purpose flour, baking soda, and salt for about 20 seconds. Set this mixture aside, as it will be added to the wet ingredients later.
- In the bowl of an electric stand mixer fitted with the paddle attachment, cream together unsalted butter, granulated sugar, and brown sugar until well combined. You want a light and fluffy texture, which usually takes a few minutes of mixing on medium speed.
- Next, mix in the creamy peanut butter until evenly incorporated. Then, blend in the egg and vanilla extract. Continue mixing until everything is well combined and smooth.
- Gradually add the flour mixture to the wet ingredients, mixing until just combined. Avoid overmixing to ensure the cookies stay tender. If the dough seems too wet, you can chill it for a bit in the refrigerator.
- Scoop dough out using an even tablespoon measuring spoon and shape it into balls. In a shallow bowl, place the granulated sugar for rolling. Roll each ball in the sugar to coat evenly. This step adds a beautiful sparkle and sweetness to the cookies.
- Transfer the sugar-coated balls to the prepared baking sheets, spacing them about 1.5 inches apart. This spacing is important to allow for some spreading while baking.
- Bake one sheet at a time in the preheated oven for about 7 to 9 minutes. You want the cookies to be nearly set but still soft in the center.
- While the cookies are baking, unwrap all the Hershey's Kisses. Once the cookies are out of the oven, immediately press one chocolate into the center of each cookie while they’re still warm. The warmth will help the chocolate melt slightly, making it stick better.
- After pressing the chocolates in, transfer the cookies to a wire rack to cool. For quicker setting, place them in the fridge or freezer for 5 to 10 minutes.
- Store the cookies in an airtight container at room temperature to keep them fresh. Enjoy your delicious Peanut Butter Blossoms!