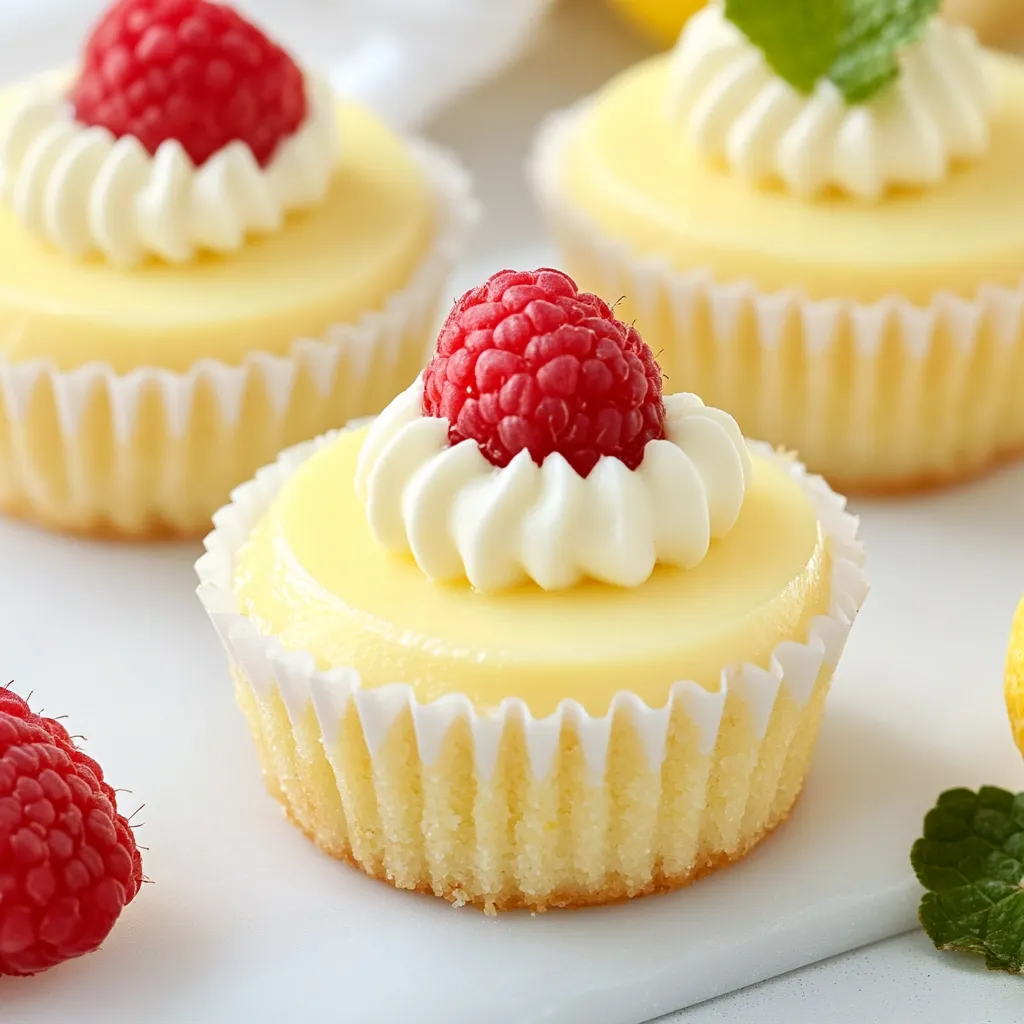
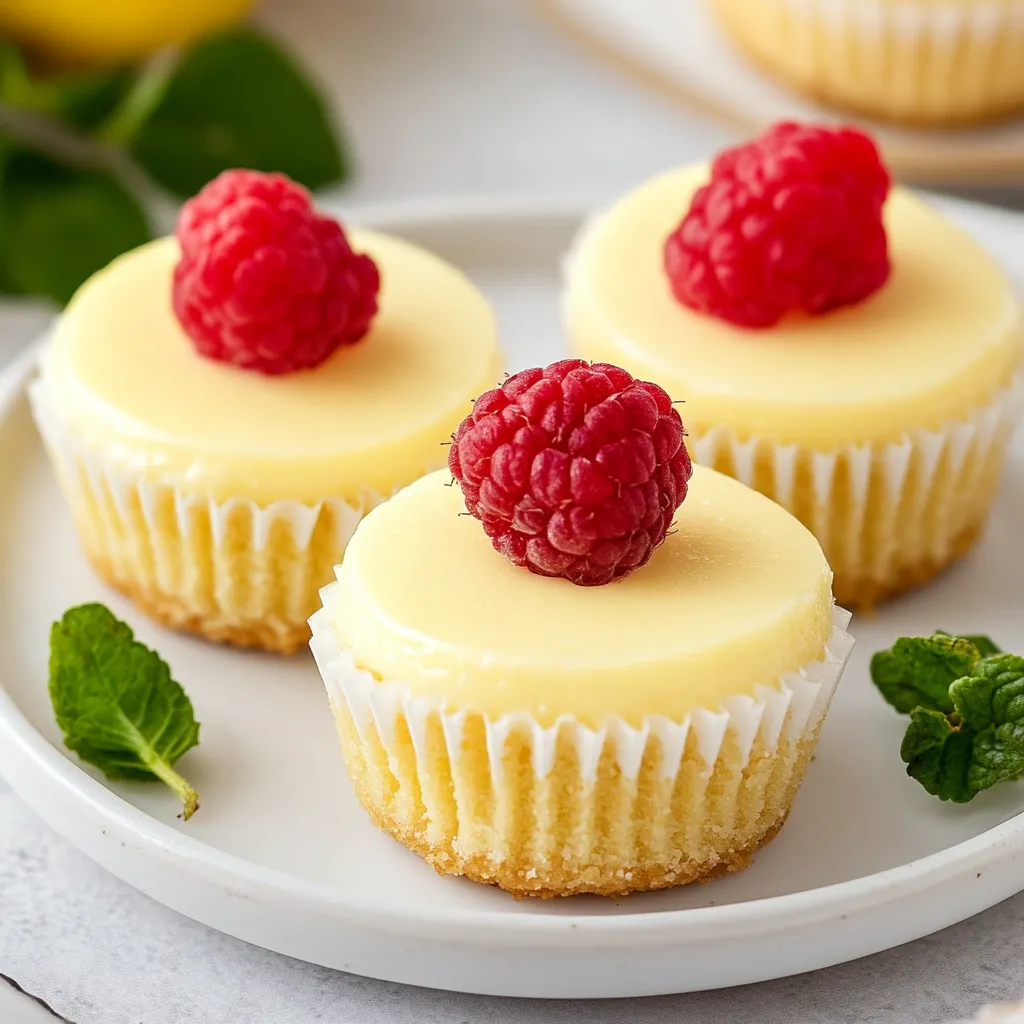
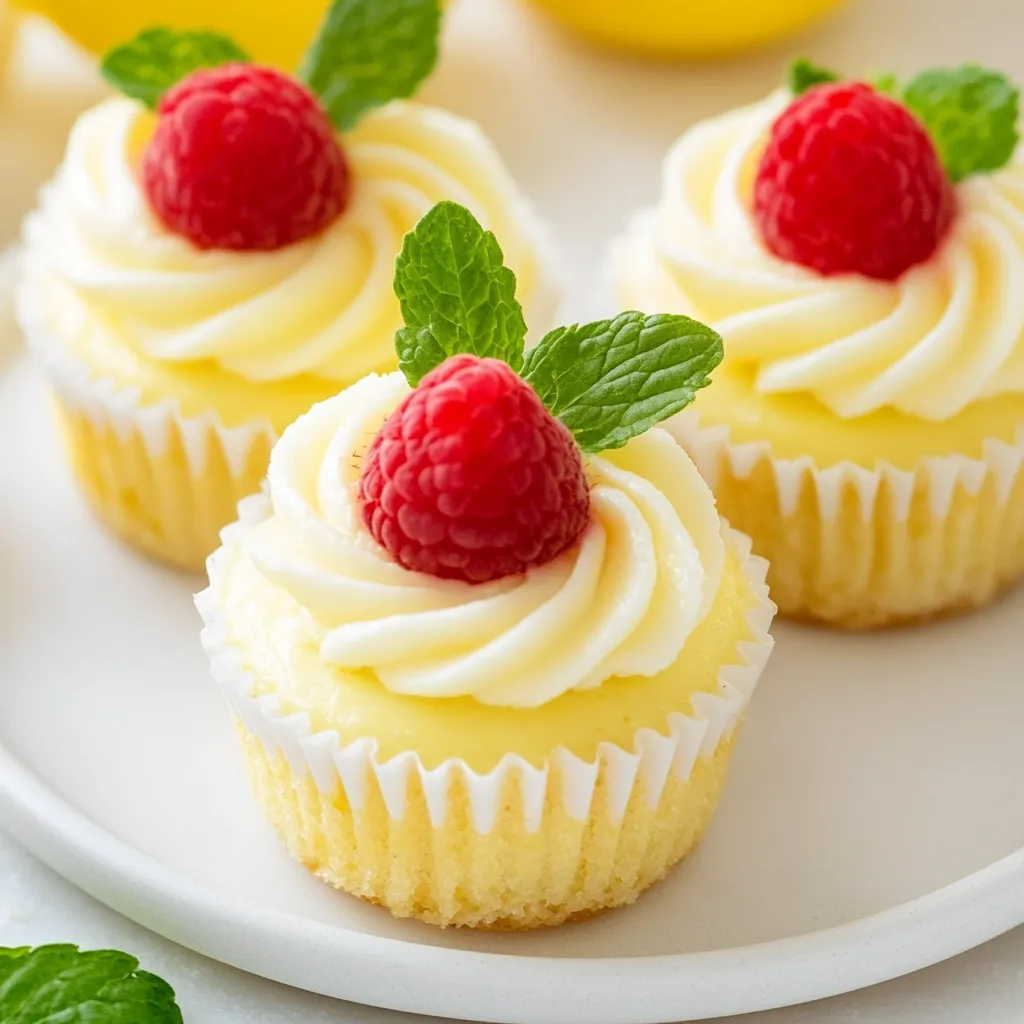
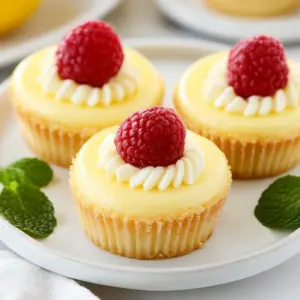
Mini Lemon Cheesecakes
There’s something truly special about indulging in Mini Lemon Cheesecakes on a sunny afternoon. I remember the first time I made them; the kitchen filled with the bright aroma of fresh lemons, and it felt like spring had arrived early. These little bites of heaven are not just desserts; they’re memories waiting to be made. Each cheesecake is a perfect blend of creamy goodness with a burst of citrus zest, making them an ideal treat for gatherings or simply to enjoy on your own. Trust me, once you take that first bite, you’ll be transported to a blissful state, and you’ll find it hard to stop at just one! Whether you’re celebrating a special occasion or just need a pick-me-up, these cheesecakes are the answer.
Recipe Snapshot
37 mins
15 mins
22 mins
Medium
210 kcal
3 g
Vegan, Gluten-Free, AIP
11 g
Standard cupcake/muffin tin, KitchenAid stand mixer, Microplane/zester
Why We Love This Mini Lemon Cheesecakes
1. Perfect for Any Occasion
One of the best things about Mini Lemon Cheesecakes is their versatility. They can be served at birthday parties, holiday gatherings, or even as a special treat during a quiet evening at home. Their bright flavor and elegant presentation make them a crowd-pleaser at any event.
2. A Burst of Fresh Flavor
The combination of fresh lemon juice and zest in these cheesecakes brings a refreshing tang that perfectly balances the creaminess. Every bite is like a bright ray of sunshine, invigorating your taste buds and making you feel alive. It’s a flavor that’s both familiar and exciting, which is what makes these cheesecakes so delightful.
3. Easy to Make
Don’t worry if you’re not a professional baker; these cheesecakes are surprisingly easy to whip up. With just a few ingredients and straightforward steps, you can create something that looks and tastes gourmet. The satisfaction of making something so delicious on your own is truly rewarding.
4. Individual Portions
Serving desserts in individual portions not only makes them more appealing but also allows each guest to have their own personal cheesecake. Plus, it adds a touch of elegance to your dessert table. No need for slicing or messy servings; each cheesecake is perfectly portioned and ready to enjoy!
5. Customize Your Toppings
While these cheesecakes are delightful on their own, they’re also a blank canvas for creativity. You can top them with fresh berries, a drizzle of lemon curd, or even a sprinkle of crushed cookies. This versatility allows you to adapt the dessert to fit any occasion or personal taste.
6. Make Ahead of Time
Another fantastic aspect of Mini Lemon Cheesecakes is that they can be made in advance. Simply prepare them the night before, stick them in the fridge, and you’ll have a delicious dessert waiting for you when you need it. This makes hosting a breeze and allows you to enjoy your time with guests instead of being stuck in the kitchen.
What to Buy for Mini Lemon Cheesecakes
When it comes to making Mini Lemon Cheesecakes, the quality of your ingredients really matters. Using fresh ingredients ensures that your cheesecakes are bursting with flavor. The cream cheese needs to be at room temperature for the best texture, and fresh lemons are essential for that zesty punch. Here’s what you’ll need to create these delightful treats.
- 16 ounces of cream cheese (room temperature) – This is the base of your cheesecake and provides the creamy texture that we all love.
- ⅔ cup of granulated sugar – Sweetness is key, balancing the tartness of the lemon.
- Zest of one large lemon – This adds intense lemon flavor and aroma.
- 2 large eggs (room temperature) – Eggs help bind the ingredients and create a rich texture.
- 2 teaspoons of pure vanilla extract – A hint of vanilla complements the flavors beautifully.
- 1 tablespoon of freshly squeezed lemon juice – More lemon flavor and acidity for balance.
- 12 vanilla wafer cookies – These serve as a delightful crust for the cheesecakes.
- 1 cup of store-bought or homemade lemon curd – A delicious topping choice that adds more lemony goodness.
- Fresh raspberries (optional) – For garnish and an extra burst of flavor.
How to Make Mini Lemon Cheesecakes
Making Mini Lemon Cheesecakes is a fun and rewarding process! With just a few simple steps, you’ll have delightful mini desserts ready to impress your friends and family. Let’s get started!
- Preheat your oven to 325°F and line twelve muffin cups with paper baking liners. This will ensure that your cheesecakes come out easily and maintain their shape.
- In the bowl of a stand mixer or a large bowl, beat cream cheese for about two minutes until it is smooth and creamy. This step is crucial for achieving that rich texture.
- In a medium bowl, combine granulated sugar and lemon zest. Use your fingertips to mix them until the sugar becomes moist and fragrant. This helps to release the oils from the zest, enhancing the flavor.
- Gradually add the lemon sugar to the cream cheese mixture and mix until it’s light and fluffy. You want to achieve a creamy and airy consistency.
- Next, add in the eggs, vanilla, and lemon juice, mixing until everything is smooth. Make sure not to overmix at this stage.
- Place one vanilla wafer cookie (flat side down) in the bottom of each muffin cup. This will act as the crust for each cheesecake.
- Spoon the cheesecake batter into each cup, filling them about two-thirds full. This allows room for the cheesecakes to rise a bit while baking.
- Bake in the preheated oven for 22 to 24 minutes. The centers should be almost set but still slightly jiggly. They’ll firm up as they cool.
- Once baked, cool the cheesecakes in the pan on a wire rack for a bit. They will deflate in the centers as they cool, which is normal and creates a perfect little spot for toppings.
- Refrigerate the cheesecakes for at least four hours, or overnight if you have the time. This helps them set properly before serving.
- Just before serving, garnish your cheesecakes with lemon curd and fresh raspberries, or any other toppings you prefer. Enjoy!
Things Worth Knowing
- Room Temperature Ingredients: Ensure that both the cream cheese and eggs are at room temperature. This helps them blend more seamlessly, creating a smoother texture.
- Don’t Overbake: Keep a close eye on the cheesecakes as they bake. They should be set around the edges but still slightly jiggly in the center. Overbaking can lead to a dry texture.
- Chill Thoroughly: Allow enough time for the cheesecakes to chill in the refrigerator. This step is crucial for achieving the right texture.
- Customizable Toppings: Feel free to get creative with your toppings! Options like flavored sauces or different fruits can add a unique twist each time you make them.
Change It Up
If you’re looking to add a personal touch to your Mini Lemon Cheesecakes, here are some fun ideas to consider!
- Storage: Keep your cheesecakes in an airtight container in the refrigerator for up to three days. This will help maintain their freshness.
- Freezing: Yes, you can freeze these mini cheesecakes! Store them in an airtight container for up to one month. Just be sure to wait to add any toppings until you’re ready to serve.
- Variations: Try adding different flavors to your cheesecake batter, like a hint of orange zest or a splash of coconut milk for a tropical twist!
- Garnishing: Experiment with different toppings. Besides lemon curd, consider using whipped cream, chocolate shavings, or a fruit compote.
- Serving Ideas: These cheesecakes pair wonderfully with a cup of tea or coffee, making them the perfect afternoon treat.
Serve This Mini Lemon Cheesecakes With
When it comes to serving Mini Lemon Cheesecakes, there are plenty of delightful options to consider!
- Fresh Fruit: Serve with a side of seasonal fresh berries like strawberries or blueberries for a refreshing contrast.
- Tea or Coffee: Pair these cheesecakes with a cup of herbal tea or freshly brewed coffee to balance the sweetness.
- Special Occasions: These cheesecakes are perfect for celebrations like birthdays or baby showers; they add a touch of elegance to any dessert table.
- Picnics: Pack these cheesecakes for a picnic – they’re portable and loved by all.
- Brunch Gatherings: These mini cheesecakes would be a fantastic addition to a brunch spread, alongside pastries and fresh juices.
- Seasonal Tables: They are particularly delightful during spring and summer when fresh lemons are in season.
FAQ
Conclusion
The Mini Lemon Cheesecakes are not just a treat; they’re a little burst of joy in every bite. I hope you’ll give this recipe a try and experience the delightful combination of creamy cheesecake and tangy lemon for yourself. They’re easy to make and perfect for any occasion, so don’t hesitate to whip up a batch soon. You won’t be disappointed!
Mini Lemon Cheesecakes
Equipment
- Standard cupcake/muffin tin
- KitchenAid stand mixer
- Microplane/zester
Ingredients
- 16 ounces cream cheese room temperature
- ⅔ cup granulated sugar
- 1 large lemon zest from a large lemon
- 2 large eggs room temperature
- 2 teaspoons pure vanilla extract
- 1 tablespoon freshly squeezed lemon juice
- 12 vanilla wafer cookies
- 1 cup lemon curd store bought or homemade
- 1 fresh raspberries optional
Instructions
- Preheat your oven to 325°F and line twelve muffin cups with paper baking liners. This will ensure that your cheesecakes come out easily and maintain their shape.
- In the bowl of a stand mixer or a large bowl, beat cream cheese for about two minutes until it is smooth and creamy. This step is crucial for achieving that rich texture.
- In a medium bowl, combine granulated sugar and lemon zest. Use your fingertips to mix them until the sugar becomes moist and fragrant. This helps to release the oils from the zest, enhancing the flavor.
- Gradually add the lemon sugar to the cream cheese mixture and mix until it’s light and fluffy. You want to achieve a creamy and airy consistency.
- Next, add in the eggs, vanilla, and lemon juice, mixing until everything is smooth. Make sure not to overmix at this stage.
- Place one vanilla wafer cookie (flat side down) in the bottom of each muffin cup. This will act as the crust for each cheesecake.
- Spoon the cheesecake batter into each cup, filling them about two-thirds full. This allows room for the cheesecakes to rise a bit while baking.
- Bake in the preheated oven for 22 to 24 minutes. The centers should be almost set but still slightly jiggly. They’ll firm up as they cool.
- Once baked, cool the cheesecakes in the pan on a wire rack for a bit. They will deflate in the centers as they cool, which is normal and creates a perfect little spot for toppings.
- Refrigerate the cheesecakes for at least four hours, or overnight if you have the time. This helps them set properly before serving.
- Just before serving, garnish your cheesecakes with lemon curd and fresh raspberries, or any other toppings you prefer. Enjoy!
Notes
- Storage: Keep your cheesecakes in an airtight container in the refrigerator for up to three days. This will help maintain their freshness.
- Freezing: Yes, you can freeze these mini cheesecakes! Store them in an airtight container for up to one month. Just be sure to wait to add any toppings until you’re ready to serve.
- Variations: Try adding different flavors to your cheesecake batter, like a hint of orange zest or a splash of coconut milk for a tropical twist!
- Garnishing: Experiment with different toppings. Besides lemon curd, consider using whipped cream, chocolate shavings, or a fruit compote.
- Serving Ideas: These cheesecakes pair wonderfully with a cup of tea or coffee, making them the perfect afternoon treat.