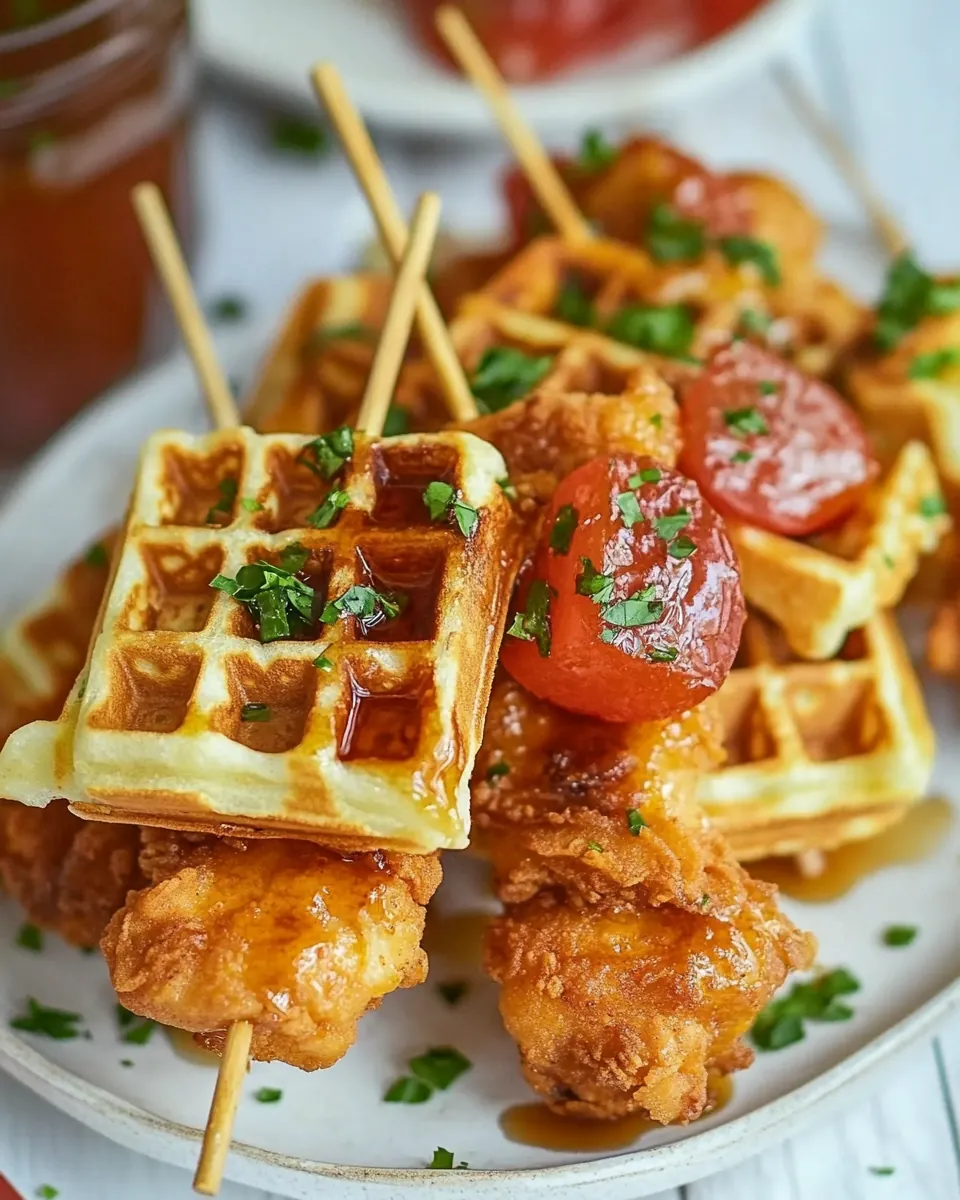
Mini Chicken and Waffles Recipe
There’s something irresistibly fun about serving up a dish like Mini Chicken and Waffles Recipe. Picture a cozy gathering where everyone is munching on these delightful bites, and you can’t help but smile. I fondly remember the first time I saw these unique creations at a friend’s barbecue. They brought a playful twist to the classic chicken and waffles, transforming the meal into finger food that everyone could enjoy. The combination of crispy, juicy fried chicken nestled between warm, fluffy waffles is simply divine. This dish is not just about flavor; it’s about creating memories with loved ones over a meal that sparks joy and laughter.
Recipe Snapshot
40 mins
20 mins
20 mins
Hard
450 kcal
25 g
Gluten-Free
20 g
Skillet, Whisk
Why This Mini Chicken and Waffles Recipe Works
It’s All About the Flavor
What makes the Mini Chicken and Waffles Recipe stand out is the explosion of flavors. You get the savory crunch of the chicken, perfectly seasoned, alongside the sweetness of the waffles drizzled with maple syrup. It’s a delightful contrast that dances on your palate, leaving you craving more.
Perfect for Any Occasion
This dish is versatile enough to grace any table, whether it’s a casual brunch, a festive gathering, or even a game day snack. The Mini Chicken and Waffles Recipe appeals to people of all ages, making it a hit at family functions and parties alike.
Fun to Make
There’s something incredibly satisfying about preparing these bites from scratch. From whipping up the batter to frying the chicken, each step is an adventure. You can even involve the kids in the kitchen, making it a fun family activity.
Great for Sharing
These mini delights are designed for sharing. Skewering the chicken and waffles makes for easy serving, and it invites everyone to dig in together. The communal aspect of food is something I cherish, and this recipe fosters that spirit beautifully.
Appealing Presentation
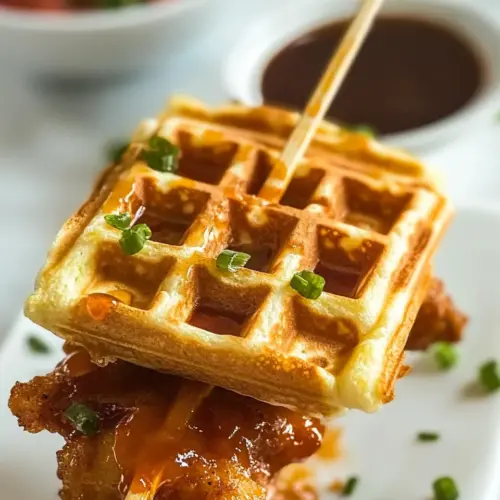
Let’s not forget about presentation. The sight of these adorable skewers is enough to make anyone’s mouth water. When plated up with a side of maple syrup for dipping, they become a culinary centerpiece that looks as fabulous as it tastes.
Customizable
Another fantastic aspect of this recipe is its adaptability. You can add spices to the chicken batter or even create themed variations for different occasions. Get creative and make these mini treats your own!
Essential Ingredients for Mini Chicken and Waffles Recipe
The key to a successful Mini Chicken and Waffles Recipe lies in its simple yet effective ingredients. Using fresh and quality components elevates the dish, ensuring every bite is delicious. The combination of crispy fried chicken with the soft, sweet waffles is a match made in culinary heaven.
- 1 2/3 cups all-purpose flour – This serves as the base for your waffle batter, providing structure and texture.
- ½ cup powdered sugar – Adds sweetness to the batter, making the waffles delightful and light.
- ¾ teaspoon kosher salt – Enhances the flavors of the other ingredients.
- ¾ teaspoon baking soda – Helps the waffles rise and become fluffy.
- ¾ teaspoon baking powder – Works alongside baking soda for the perfect rise.
- 2 cups cultured low-fat buttermilk – Adds moisture and a slight tang to the batter.
- ¼ cup 4 tablespoons unsalted butter, melted – Provides richness and moisture to the waffle batter.
- 3 large egg whites – They help the batter achieve an airy texture.
- 2 teaspoons vanilla extract – A touch of sweetness and aroma.
- Canola Oil for frying – Necessary for achieving the perfect crispy chicken.
- 1 teaspoon kosher salt – For seasoning the chicken.
- ½ teaspoon freshly ground black pepper – Adds a slight kick to the chicken.
- 4-6 chicken breast tenders, skinless & boneless – The main protein, perfect for frying.
- ½ cup all-purpose flour – Used for coating the chicken before frying.
- 1 teaspoon mustard powder – A secret ingredient that boosts flavor.
- ¼ teaspoon ground garlic or garlic powder – For a touch of savory depth.
- ½ teaspoon sweet paprika – Adds color and a hint of sweetness.
- 1/8 teaspoon cayenne pepper – Gives a mild heat to the chicken.
- ¾ cup cold soda water – Helps keep the batter light and crispy.
- Maple syrup for dipping or drizzling – The sweet finishing touch for your dish.
How to Prepare Mini Chicken and Waffles Recipe
Preparing the Mini Chicken and Waffles Recipe is a joyous experience that fills your kitchen with delightful aromas. Follow along as we create this dish step-by-step, ensuring each bite is packed with flavor!
- Set your waffle iron to MEDIUM temperature. Let it preheat while you prepare the batter. A properly heated waffle iron ensures that your waffles cook evenly and get that perfect golden color.
- In a large mixing bowl, whisk together 1 2/3 cups all-purpose flour, ½ cup powdered sugar, ¾ teaspoon kosher salt, ¾ teaspoon baking soda, and ¾ teaspoon baking powder. Mixing the dry ingredients thoroughly helps to achieve a consistent batter.
- Next, add in 2 cups cultured low-fat buttermilk, ¼ cup melted unsalted butter, 3 large egg whites, and 2 teaspoons vanilla extract to the bowl. Whisk everything together until smooth. Make sure there are no lumps, as this will affect the texture of your waffles.
- Once your batter is well mixed, monitor the waffle iron. It’s ready when the indicator light shows a consistent red, signaling it’s hot enough for cooking.
- For a traditional 9-inch waffle maker, use about half of the batter for each waffle. Follow the specific instructions for your iron. Close the lid and cook until the waffle is golden brown and still steaming. It usually takes about 4 to 5 minutes.
- Repeat the process with the remaining batter, placing each cooked waffle on a plate. As they come off the iron, the waffles should be crispy on the outside and soft on the inside.
- Prepare for frying by placing a cooling rack over a baking sheet. This will catch any excess oil from the chicken.
- In a heavy skillet, heat 2 cups of oil to 375°F. Use a thermometer for accuracy to avoid under or overcooked chicken. The oil should be shimmering, signaling it’s hot enough for frying.
- Season the chicken tenders on both sides with 1 teaspoon kosher salt and ½ teaspoon freshly ground black pepper. Seasoning is crucial for flavor; don’t skip this step!
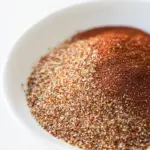
- In a medium dish, whisk together ½ cup all-purpose flour, 1 teaspoon mustard powder, ¼ teaspoon ground garlic, ½ teaspoon sweet paprika, and 1/8 teaspoon cayenne pepper. This blend will be the coating for your chicken.
- Dredge each seasoned chicken tender in the flour mixture, ensuring it’s fully coated. Allow any excess to drip off before frying. This process will create a delicious crust.
- Carefully lower the chicken into the hot oil, frying until golden brown on one side, then flip using tongs. Fry on the other side until it’s also golden brown and fully cooked through. The internal temperature should read 160°F. Remember, the chicken will continue cooking once removed from the heat.
- Transfer the chicken to the cooling rack to drain away excess oil. This helps maintain that nice crispy texture.
- While the chicken cools, cut each cooked waffle square into fourths. Also, cut each chicken tender into fourths, making them easier to assemble.
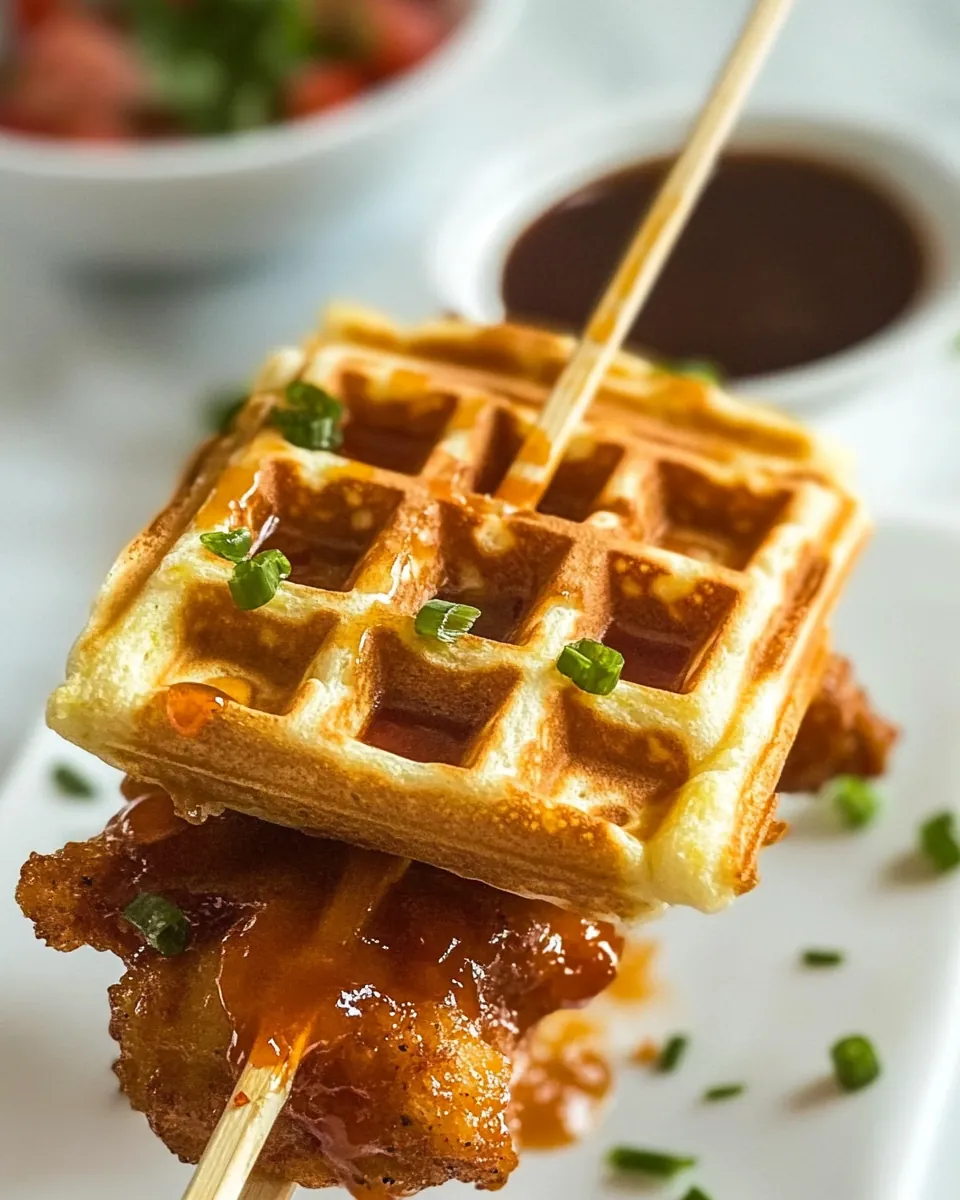
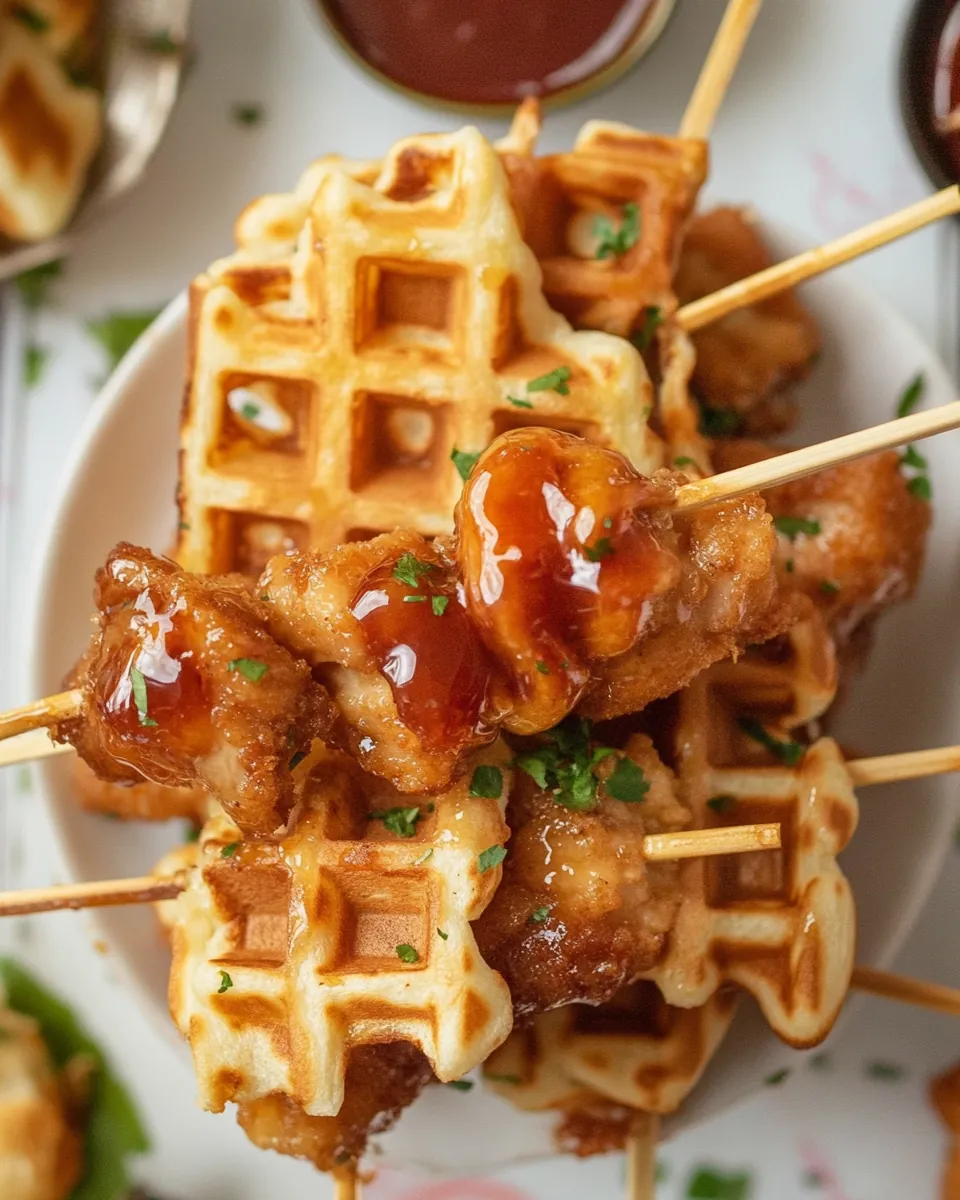
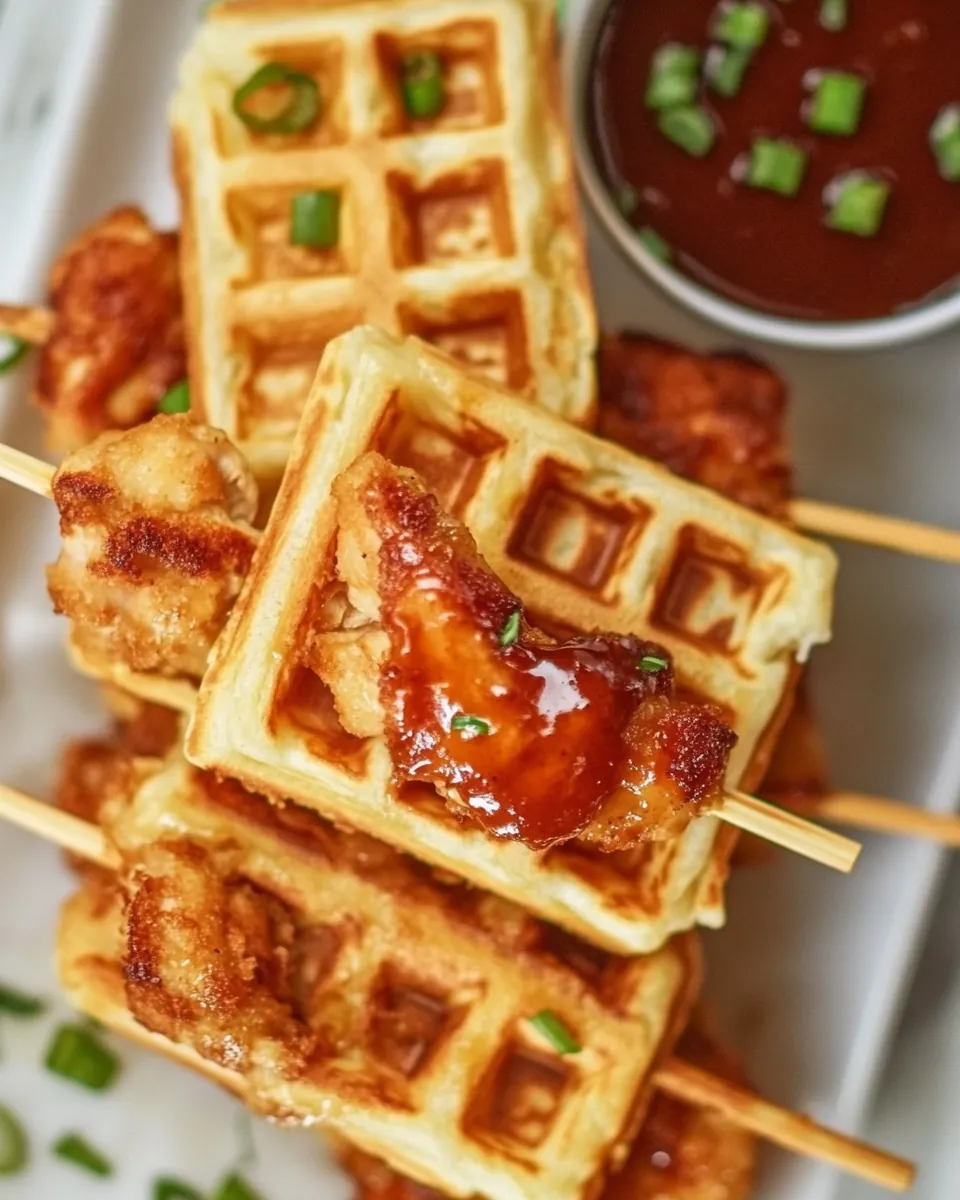
- Now it’s time to assemble! Skewer one piece of chicken between two mini waffle squares onto an appetizer skewer. This presentation is not just fun; it makes for easy serving!
- Serve immediately with a side of maple syrup for dipping or drizzled over the chicken waffle appetizers. Enjoy every bite of this delightful creation!
Things Worth Knowing
- Ensure the oil is hot enough before frying the chicken to get a crispy exterior.
- Use a thermometer for accurately checking the temperature of the oil and chicken.
- Let the waffles cool slightly on a wire rack to prevent them from getting soggy.
- Experiment with flavors by adding spices to your batter or chicken coating for a unique twist.
Making Adjustments
There’s always room for creativity in the kitchen! Here are some tips to help you make the Mini Chicken and Waffles Recipe your own.
- Storage: Keep leftover waffles and chicken in an airtight container in the fridge for up to 3 days. Reheat in the oven for the best texture.
- Freezing: Waffles can be frozen for up to a month. Individually wrap each waffle in plastic, then store in a freezer bag.
- Pairing: Try serving these mini delights with a side of fresh fruit or a light salad for a balanced meal.
- Spice it up: Feel free to add your favorite spices or herbs to the chicken coating for a flavor boost.
- Try different syrups: Maple syrup is great, but consider using fruit-based syrups for a fun twist!
How to Serve Mini Chicken and Waffles Recipe
When it comes to serving the Mini Chicken and Waffles Recipe, presentation and occasion play important roles. Here’s how to do it right:
- Perfect for brunch: These mini bites are exceptional for brunch gatherings, adding a fun twist to the menu.
- Game day treat: Serve them as an appetizer during game day or casual get-togethers.
- Kid-friendly: The mini size makes them ideal for children’s parties. They are easy to handle and fun to eat.
- Garnish options: Consider garnishing with fresh herbs for added color and flavor. A sprinkle of parsley or chives can elevate the presentation.
- Serving style: Present them on a large platter with small bowls of syrup for dipping to encourage sharing.
- Seasonal events: They are also great for seasonal festivities, making them a perfect addition to holiday celebrations.
FAQ
Conclusion
The Mini Chicken and Waffles Recipe perfectly combines comfort and fun, creating a dish that’s sure to impress your family and friends. With its crispy chicken and fluffy waffles, it’s a delightful treat for any occasion. So why not give it a try? You’ll love the process of making these mini bites just as much as the experience of enjoying them together with loved ones!
Mini Chicken and Waffles Recipe
Equipment
- Skillet
- Whisk
Ingredients
- 1 2/3 cups all-purpose flour
- ½ cup powdered sugar
- ¾ teaspoon kosher salt
- ¾ teaspoon baking soda
- ¾ teaspoon baking powder
- 2 cups cultured low-fat buttermilk
- ¼ cup 4 tablespoons unsalted butter, melted
- 3 large egg whites
- 2 teaspoons vanilla extract
- Canola Oil for frying
- 1 teaspoon kosher salt
- ½ teaspoon freshly ground black pepper
- 4-6 chicken breast tenders, skinless & boneless
- ½ cup all-purpose flour
- 1 teaspoon mustard powder
- ¼ teaspoon ground garlic or garlic powder
- ½ teaspoon sweet paprika
- 1/8 teaspoon cayenne pepper
- ¾ cup cold soda water Note: The cold soda water keeps the batter light and crispy.
- Maple syrup for dipping or drizzling
Instructions
- Set waffle iron to MEDIUM temperature. Let it preheat while you prepare the batter. A properly heated waffle iron ensures that your waffles cook evenly and get that perfect golden color.
- In a large mixing bowl, whisk together 1 2/3 cups all-purpose flour, ½ cup powdered sugar, ¾ teaspoon kosher salt, ¾ teaspoon baking soda, and ¾ teaspoon baking powder. Mixing the dry ingredients thoroughly helps to achieve a consistent batter.
- Next, add in 2 cups cultured low-fat buttermilk, ¼ cup melted unsalted butter, 3 large egg whites, and 2 teaspoons vanilla extract to the bowl. Whisk everything together until smooth. Make sure there are no lumps, as this will affect the texture of your waffles.
- Once your batter is well mixed, monitor the waffle iron. It’s ready when the indicator light shows a consistent red, signaling it’s hot enough for cooking.
- For a traditional 9-inch waffle maker, use about half of the batter for each waffle. Follow the specific instructions for your iron. Close the lid and cook until the waffle is golden brown and still steaming. It usually takes about 4 to 5 minutes.
- Repeat the process with the remaining batter, placing each cooked waffle on a plate. As they come off the iron, the waffles should be crispy on the outside and soft on the inside.
- Prepare for frying by placing a cooling rack over a baking sheet. This will catch any excess oil from the chicken.
- In a heavy skillet, heat 2 cups of oil to 375°F. Use a thermometer for accuracy to avoid under or overcooked chicken. The oil should be shimmering, signaling it’s hot enough for frying.
- Season the chicken tenders on both sides with 1 teaspoon kosher salt and ½ teaspoon freshly ground black pepper. Seasoning is crucial for flavor; don’t skip this step!
- In a medium dish, whisk together ½ cup all-purpose flour, 1 teaspoon mustard powder, ¼ teaspoon ground garlic, ½ teaspoon sweet paprika, and 1/8 teaspoon cayenne pepper. This blend will be the coating for your chicken.
- Dredge each seasoned chicken tender in the flour mixture, ensuring it’s fully coated. Allow any excess to drip off before frying. This process will create a delicious crust.
- Carefully lower the chicken into the hot oil, frying until golden brown on one side, then flip using tongs. Fry on the other side until it’s also golden brown and fully cooked through. The internal temperature should read 160°F. Remember, the chicken will continue cooking once removed from the heat.
- Transfer the chicken to the cooling rack to drain away excess oil. This helps maintain that nice crispy texture.
- While the chicken cools, cut each cooked waffle square into fourths. Also, cut each chicken tender into fourths, making them easier to assemble.
- Now it’s time to assemble! Skewer one piece of chicken between two mini waffle squares onto an appetizer skewer. This presentation is not just fun; it makes for easy serving!
- Serve immediately with a side of maple syrup for dipping or drizzled over the chicken waffle appetizers. Enjoy every bite of this delightful creation!
Notes
- Tip 1: Keep leftover waffles and chicken in an airtight container in the fridge for up to 3 days. Reheat in the oven for the best texture.
- Tip 2: Waffles can be frozen for up to a month. Individually wrap each waffle in plastic, then store in a freezer bag.
- Tip 3: Try serving these mini delights with a side of fresh fruit or a light salad for a balanced meal.
- Tip 4: Feel free to add your favorite spices or herbs to the chicken coating for a flavor boost.
- Tip 5: Maple syrup is great, but consider using fruit-based syrups for a fun twist!