Lupini Beans
Whenever I think of healthy snacking, Lupini Beans come to mind! These little legumes are not only packed with protein but they also have a delightful nutty flavor that’s hard to resist. I remember the first time I tried them. I was at a cozy Mediterranean restaurant, and I was curious about this dish that was served as a starter. As soon as I took my first bite, I was hooked! The combination of the beans with lemon and spices was simply irresistible. I couldn’t believe how versatile they were! After that experience, I decided to recreate the magic at home. The best part? They are incredibly easy to make and can be enjoyed in so many ways.
When making Lupini Beans, I love how they can be a healthy snack or a unique side dish. Whether you enjoy them chilled, sprinkled with fresh herbs, or as an addition to salads, they are sure to impress. They also have a wonderful crunch, making them an excellent alternative to chips or other processed snacks. Plus, they’re a great conversation starter when you serve them at gatherings!
You can personalize your Lupini Beans with different spices or serve them alongside your favorite dips. They can easily take center stage on a charcuterie board or be the surprise ingredient in your next salad. I often find myself making a big batch to have on hand for quick meals or snacks throughout the week. And with all the nutrition they offer, it’s a win-win!
So, whether you’re looking for a new snack idea or want to impress guests at your next dinner party, give Lupini Beans a try. You won’t regret it!
Recipe Snapshot
35 mins
5 mins
30 mins
Easy
150 kcal
12 g
Keto, Paleo, Whole30
5 g
Large Pot, Mixing Bowl, Chef’s Knife
Why This Lupini Beans Works
Nutritious and Delicious
First and foremost, the health benefits of Lupini Beans are fantastic. They are low in calories yet high in protein, making them an excellent choice for anyone looking to maintain or lose weight while still satisfying their hunger.
Versatile Ingredient
These beans can be seasoned in numerous ways. You can go for a Mediterranean flair with lemon and herbs or spice things up with chili powder. The possibilities are endless!
Perfect for Entertaining
When you have friends over, serving Lupini Beans can be a great way to introduce something new. They are a conversation starter and can be served in various styles, from elegant appetizers to casual snacks.
Easy Preparation
Making Lupini Beans is straightforward. You simply soak them, boil, and season. It requires minimal effort, and you can have a delicious dish ready in no time!
Great for Meal Prep
Since they store well, you can prepare a batch and keep them in the fridge for quick meals throughout the week. They are a fantastic addition to salads or as a side dish for lunch or dinner.
Unique Flavor Profile
The distinct nutty flavor of Lupini Beans makes them stand out. It’s a taste that’s different from the usual beans and legumes you might be familiar with.
Ingredients Required for Lupini Beans
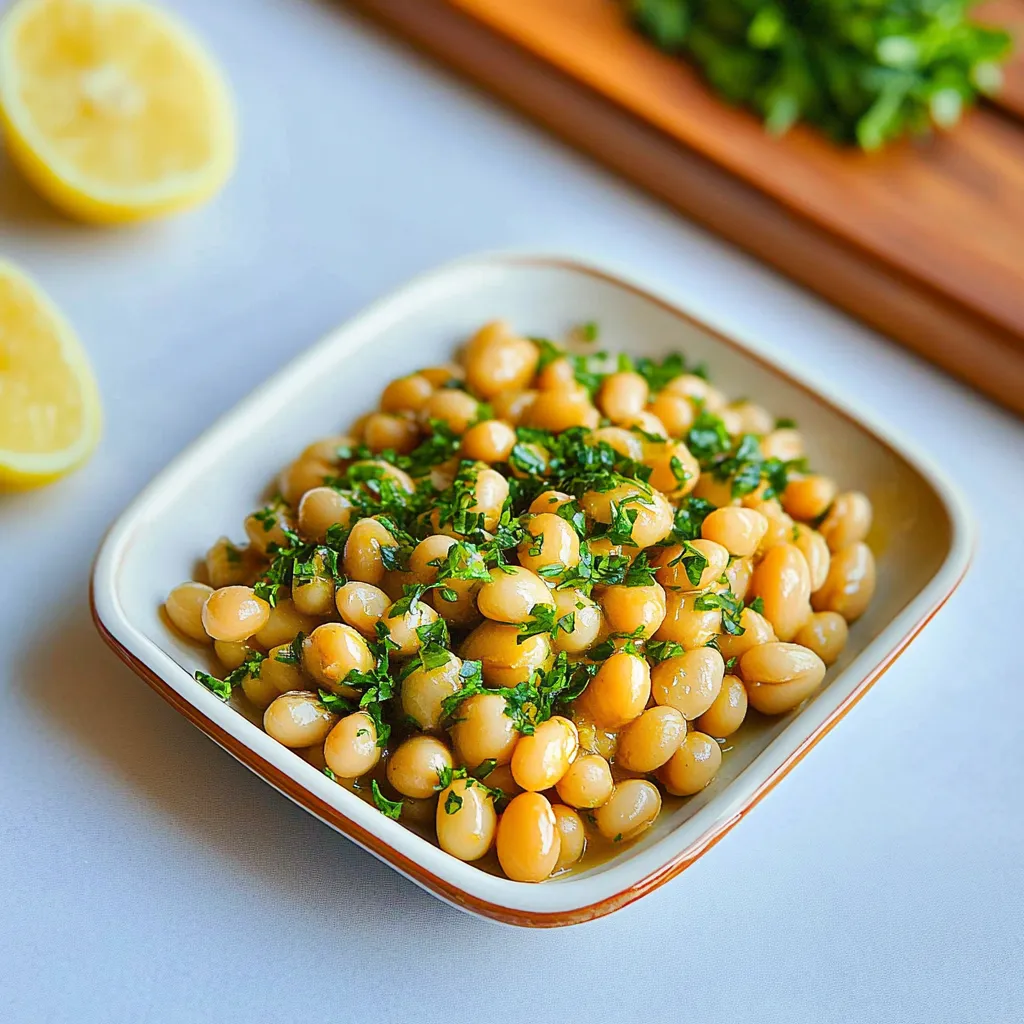
The ingredients for Lupini Beans are simple yet effective. Each one plays a key role in bringing out the flavors and enhancing the overall dish. The main ingredient, of course, is the lupini beans, which are rich in protein and fiber. Then, we add lemon for that zesty kick, ground cumin for warmth, parsley for freshness, and salt to elevate all the flavors. Together, these ingredients create a delicious and healthy dish.
- 3 cups (540g) dried lupini beans: These beans are the star of the dish. They are high in protein and fiber, making them a nutritious option for snacking or as a side dish.
- 1 lemon: Juiced to add a fresh and zesty flavor that complements the beans perfectly.
- 1 tablespoon ground cumin: This spice adds warmth and depth, enhancing the overall flavor profile of the dish.
- 20 grams parsley: Chopped for garnish, bringing a pop of color and freshness to the dish.
- 1 teaspoon salt: Essential for bringing out the other flavors and making the dish more enjoyable.
Step by Step Instructions for Lupini Beans
Making Lupini Beans is a breeze! Follow these easy steps and you’ll have a delicious dish ready in no time. Let’s get started!
- Begin by soaking the lupini beans in water for a few hours. This helps to soften them and makes them easier to cook. You might notice that they begin to swell slightly, which is a good sign!
- Once the beans have soaked, it’s time to bring a pot of water to a boil. Add a generous amount of salt to the boiling water. This will infuse flavor into the beans as they cook.
- Gently add the soaked lupini beans to the boiling water. Cook them until they’re soft enough to eat, which usually takes around 30 minutes. Keep an eye on them as cooking time can vary based on the variety.
- After cooking, drain the beans and rinse them under cold water to stop the cooking process. This will help them retain their texture and prevent them from becoming too mushy.
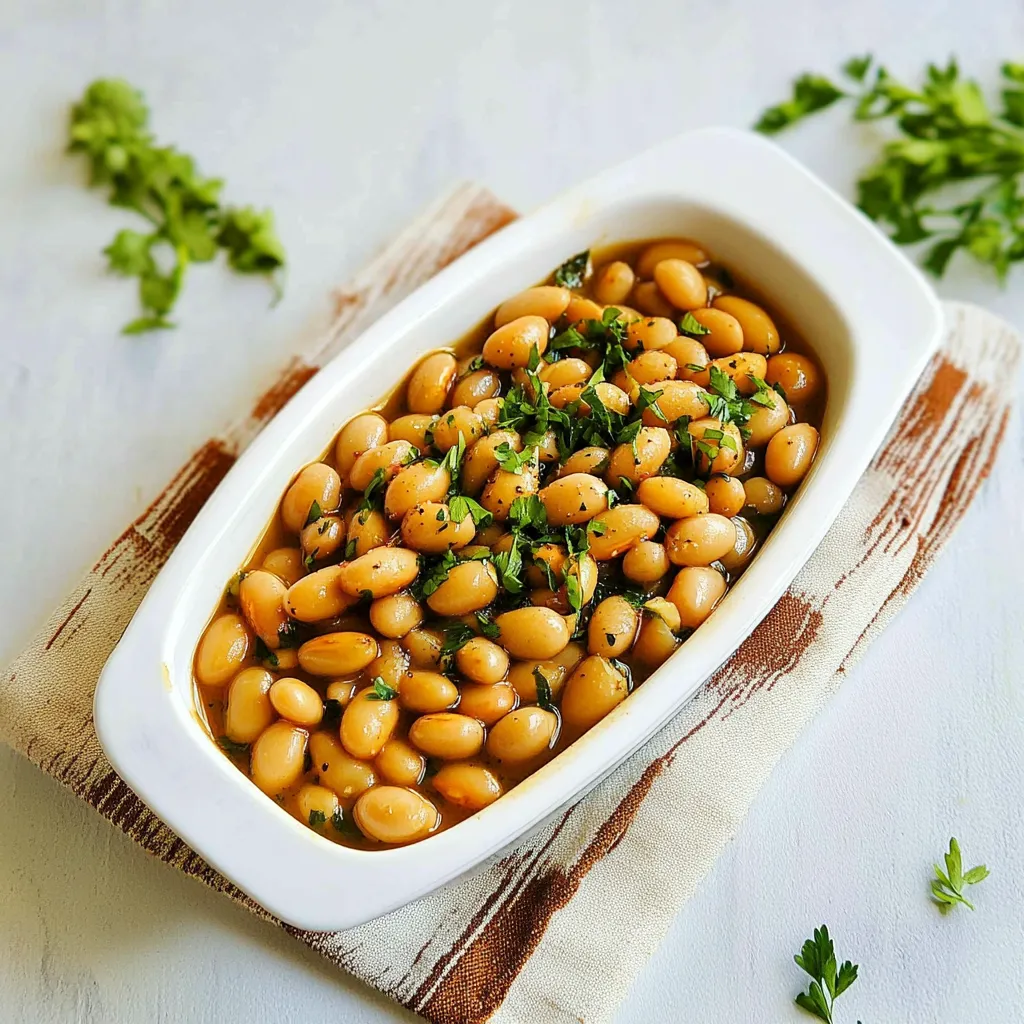
- In a mixing bowl, combine the rinsed lupini beans with freshly squeezed lemon juice, ground cumin, and salt. Gently mix everything together to ensure the seasoning is evenly distributed.
- Finally, sprinkle the chopped parsley over the top of the mixture. This adds a lovely color and fresh flavor that brightens the dish. Give it one last gentle toss.
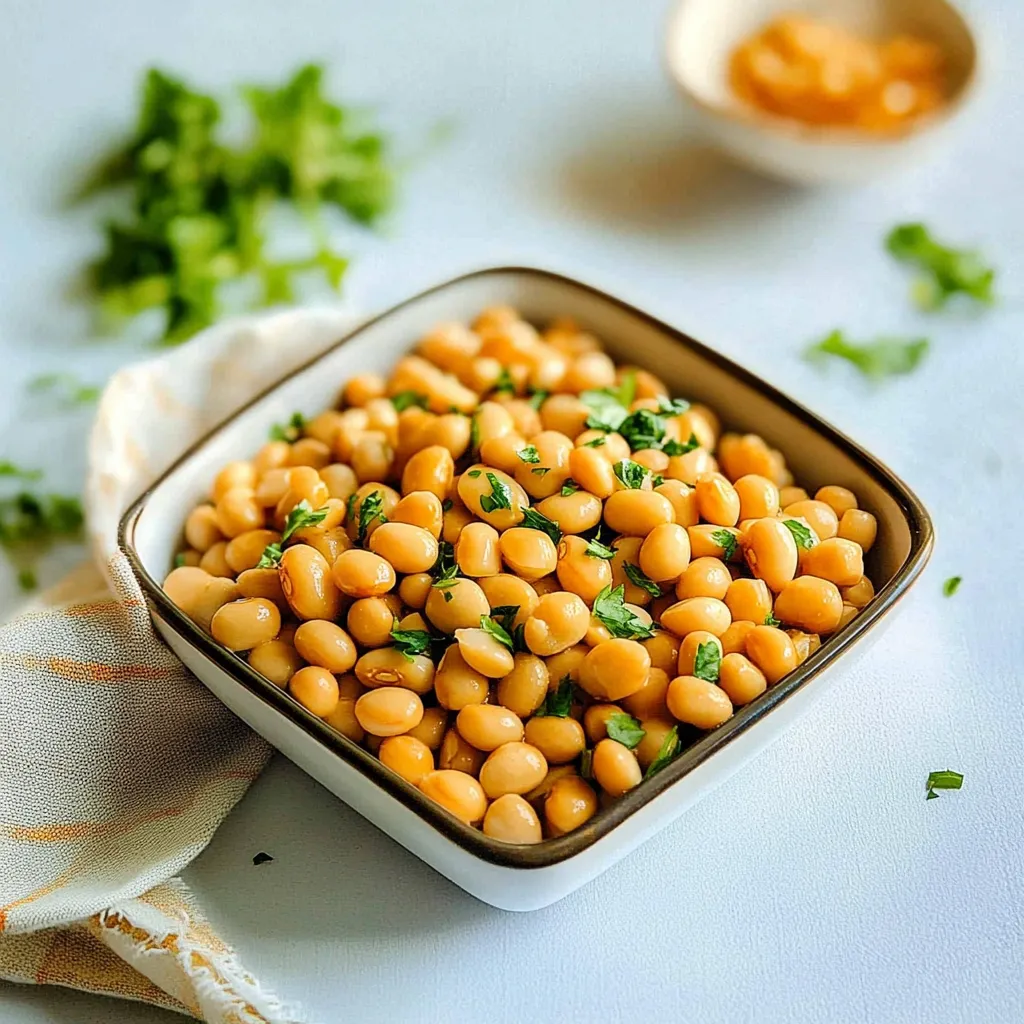
- Your Lupini Beans are now ready to serve! Enjoy them chilled or at room temperature for the best taste.
Things Worth Knowing
- Soaking the beans shortens cooking time and improves texture.
- Rinsing the beans after cooking helps maintain their firmness.
- Adjust seasoning to your taste; feel free to experiment!
- Using fresh herbs adds a burst of flavor and freshness.
Recipe Notes about Lupini Beans
When making Lupini Beans, consider these helpful tips to ensure a successful dish.
- Storage: Store any leftovers in an airtight container in the fridge. They should last for up to three days.
- Freezing: While Lupini Beans are best enjoyed fresh, you can freeze them for future use. Just ensure they’re properly sealed to avoid freezer burn.
- Pairing: These beans pair wonderfully with salads, dips, or as a side dish for your main meal.
- Meal Prep: Cook a batch at the beginning of the week for easy, healthy snacking.
- Flavor Boost: Feel free to add other spices or herbs to customize the flavor to your liking.
Best Served With
When it comes to serving Lupini Beans, there are plenty of delicious options!
- Salads: Mix them into your favorite salads for added protein and texture. They pair well with greens, tomatoes, and cucumbers.
- Dips: Serve them alongside hummus or tzatziki for a delightful appetizer.
- Charcuterie Boards: Include Lupini Beans on a cheese board for a unique touch that guests will love.
- Picnics: They are perfect for outdoor dining, offering a protein-heavy snack that’s refreshing.
- Meal Prep: Make a large batch at the start of the week for healthy snacking throughout.
FAQ
Conclusion
In summary, Lupini Beans are not just a filling snack; they’re a health powerhouse packed with protein and flavor. From their unique taste to their versatility in meals, they are sure to become a staple in your kitchen. I encourage you to give them a try—once you do, you’ll find yourself enjoying them in all sorts of delicious ways.

Lupini Beans
Equipment
- Large Pot
- Mixing Bowl
- Chef's Knife
Ingredients
- 3 cups dried lupini beans
- 1 lemon Juiced
- 1 tablespoon ground cumin
- 20 grams parsley Chopped
- 1 teaspoon salt
Instructions
- Soak lupini beans in water for a few hours.
- Add to boiling salted water, and cook until they’re soft enough to eat. This should take around 30 minutes but it depends on the variety of the lupini beans you’re using.
- Rinse the beans, then add lemon juice, ground cumin, and salt. Give it a good mix so cumin and salt are well distributed.
- Sprinkle with chopped parsley and serve!
Notes
- Tip: Lupini beans used in this recipe are “sweet” lupini beans that don’t require soaking for days. If you’re using a bitter variety, then soak them for days while changing the water twice a day.
- Tip: If you are allergic to peanuts, double-check that you’re not allergic to lupini beans as well before eating them.
- Tip: The beans are eaten cold and stored in the fridge in an airtight container for up to 3 days.