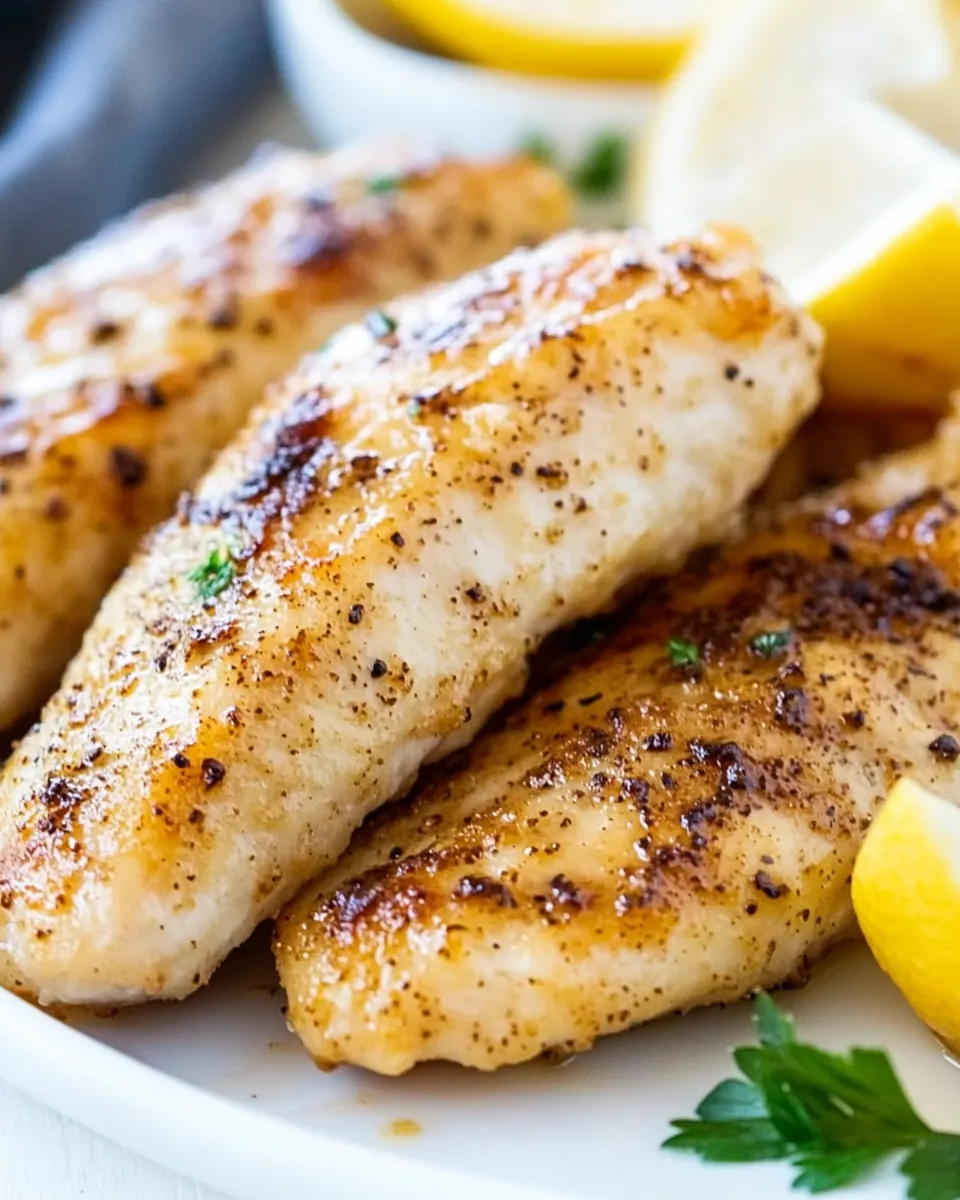
Lemon Pepper Chicken Tenders
When I think about quick and delicious meals that can brighten up a busy weeknight, Lemon Pepper Chicken Tenders come to mind. This dish is a favorite in my household, and I love how the zesty lemon and bold pepper flavors dance together on tender pieces of chicken. Just the other night, my family was craving something crispy and flavorful, and I decided to whip up this easy recipe. The aroma that filled the kitchen as the chicken sizzled in the skillet was enough to draw everyone in, and I could barely keep my kids from sneaking bites before dinner was served!
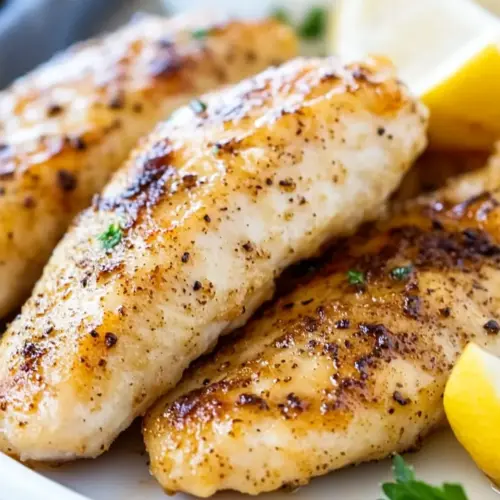
It’s amazing how something so simple can be so satisfying. Each bite of the Lemon Pepper Chicken Tenders is bursting with flavor, and the tender texture makes them irresistibly good. Whether you serve them with a side of fresh salad or creamy mashed potatoes, this dish always elevates our dining experience. Plus, it’s a fantastic way to add some zest to our routine meals!
The key to this recipe is in the seasoning and the fresh lemon juice that ties everything together. It’s perfect for when you want to impress family or guests without spending all day in the kitchen. Believe me, once you make these Lemon Pepper Chicken Tenders, they’ll quickly become a staple in your meal rotation!
Recipe Snapshot
15 mins
5 mins
10 mins
Medium
320 kcal
36 g
Paleo, Whole30, Vegan
14 g
Wooden Spoon, Skillet, Mixing Bowl, Frying Pan
Why You Need This Lemon Pepper Chicken Tenders
Quick and Easy to Prepare
One of the things I love about Lemon Pepper Chicken Tenders is how quickly they come together. With just a handful of ingredients, you can have a delicious dinner ready in no time. Perfect for those busy nights when you don’t want to spend hours in the kitchen!
Kid-Friendly Flavor
This recipe is a hit with the kids! The crispy exterior and flavorful seasoning make it appealing to even the pickiest eaters. I often find my little ones asking for seconds, and it warms my heart to see them enjoying a homemade meal.
Versatile Serving Options
These chicken tenders can be paired with a variety of sides. I love serving them with a fresh garden salad or some crispy roasted vegetables. You could also throw them in a sandwich for a delightful twist!
Great for Meal Prep
Looking for a dish you can prepare ahead of time? Lemon Pepper Chicken Tenders are perfect for meal prepping! Cook a batch on the weekend and store them in the fridge for quick lunches throughout the week. Just reheat and enjoy!
Perfect for Any Occasion
Whether it’s a casual family dinner, a gathering with friends, or an outdoor barbecue, these chicken tenders fit the bill. Their delicious flavor and crispy texture make them a crowd-pleaser!
Main Ingredients for Lemon Pepper Chicken Tenders
The ingredients for Lemon Pepper Chicken Tenders are not only simple but also work wonderfully together to create a mouthwatering dish. Each ingredient complements the others, ensuring that every bite is packed with flavor. Let’s take a closer look at the key players:
- 2 pounds chicken tenderloins: These are the star of the show. Tender and juicy, chicken tenderloins cook quickly and absorb the seasoning beautifully.
- 3 tablespoons all-purpose flour: This helps create a crispy coating on the chicken. It’s essential for that delightful crunch!
- 1 tablespoon lemon pepper seasoning: This is where the magic happens! The zesty flavor of lemon combined with the heat of pepper adds a fantastic kick.
- 1 teaspoon salt: Enhances the overall flavor of the dish and balances out the seasoning.
- 2 tablespoons olive oil: This is used for frying the chicken and adds richness to the dish.
- 1 tablespoon butter: This adds a wonderful depth of flavor and helps create a luscious sauce at the end.
- 1 lemon, juice of: Fresh lemon juice brightens the dish and adds a refreshing tang.
- Parsley: Used as a garnish, it adds a pop of color and freshness to the finished dish.
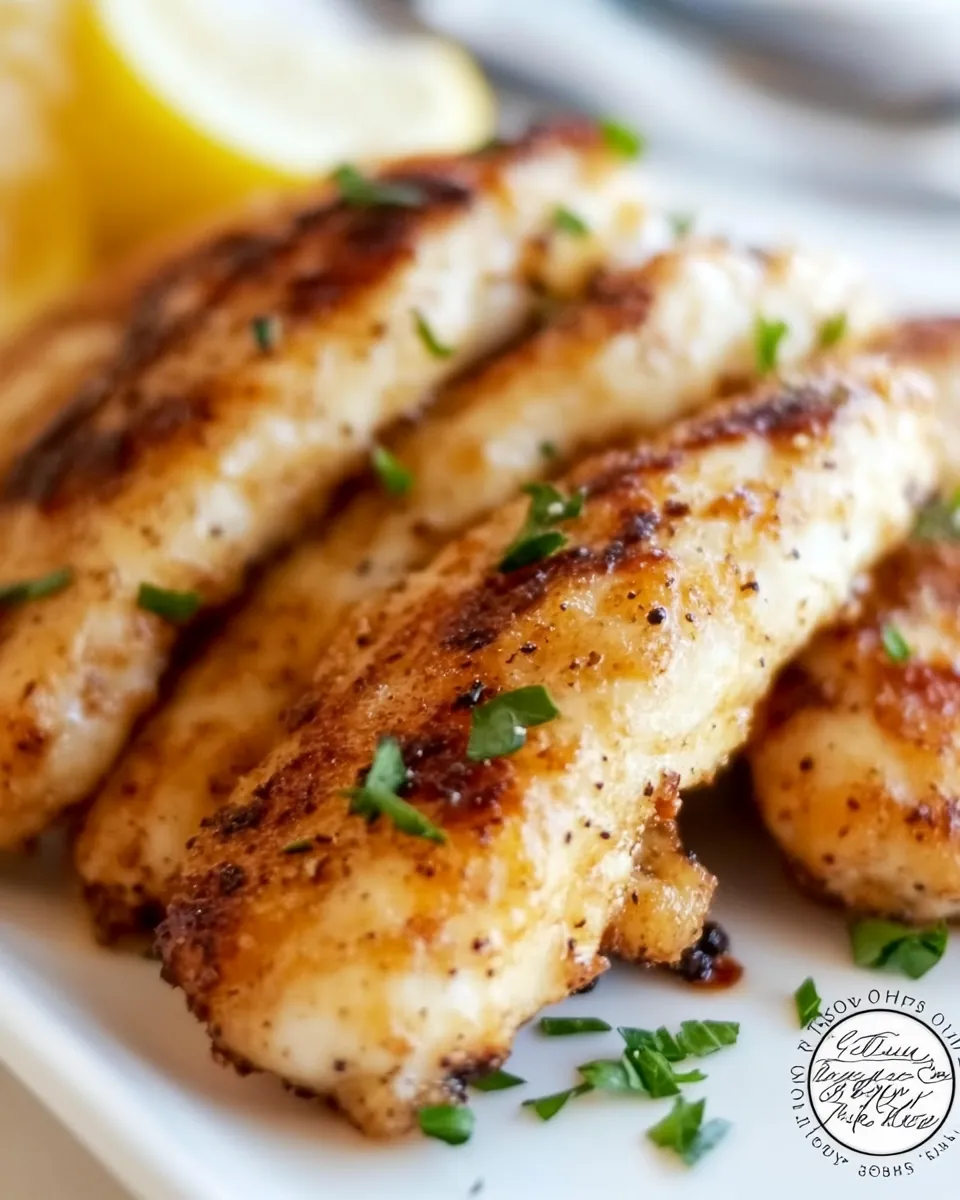
Cooking Method for Lemon Pepper Chicken Tenders
Cooking Lemon Pepper Chicken Tenders is not only simple but also quite enjoyable. You’ll love how easy it is to achieve restaurant-quality results right in your kitchen. Here’s how to do it:
- Start by combining the flour, lemon pepper seasoning, and salt in a shallow dish. This mixture will create a flavorful coating for the chicken. Make sure it’s well combined, so every tenderloin gets a good amount of seasoning.
- Next, take your chicken tenderloins and toss them into the flour mixture. Ensure they are thoroughly coated, shaking off any excess flour. This step is crucial for that perfect crispy texture when cooking.
- Heat a large skillet over medium heat and add 1 tablespoon of olive oil. Allow the oil to get hot enough that it shimmers. This ensures that the chicken will sear nicely and form a golden crust.
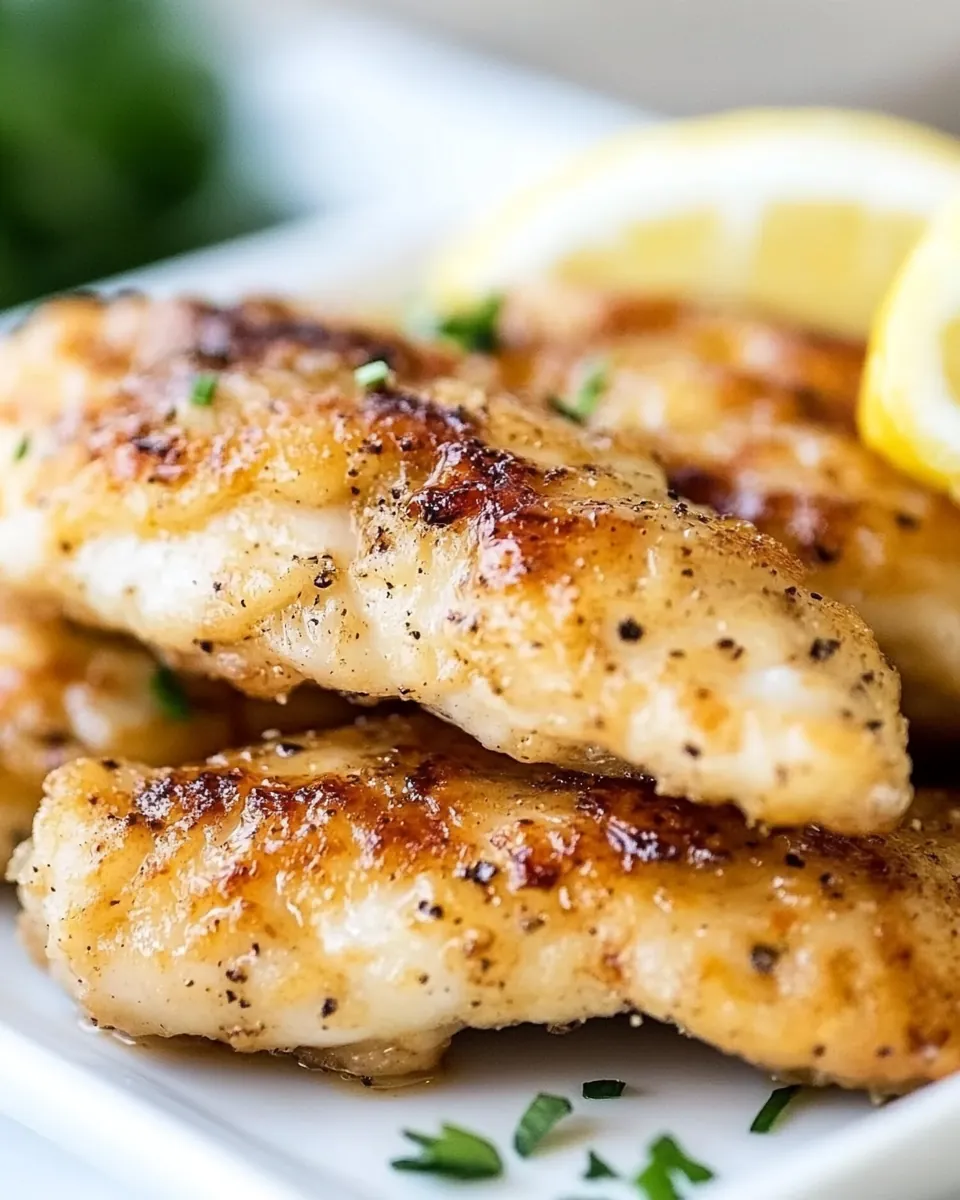
- Once the oil is hot, carefully add a single layer of the coated chicken tenders to the pan. Let them cook for 3 to 5 minutes without turning. This helps to create that beautiful golden-brown crust.
- After 3 to 5 minutes, flip each tenderloin over and cook for an additional 3 to 5 minutes. You’ll know they are done when they’re golden brown and reach an internal temperature of 165˚F. Remove the cooked tenders from the pan and set them aside on a plate.
- If you have more chicken tenderloins to cook, you may need to add a bit more olive oil to the pan before repeating the process.
- Now, lower the heat of the pan to low. Add the juice of a fresh lemon and the butter to the pan. This will deglaze the skillet and bring up all those delicious browned bits from the chicken, enriching the sauce.
- Once the butter has melted and everything is well combined, return the cooked chicken tenders to the pan. Toss them in the lemon butter sauce to coat every piece thoroughly.
- Finally, remove from heat and garnish with fresh parsley before serving. This simple step adds a lovely color and fresh flavor as a finishing touch.
Things Worth Knowing
- Check the temperature: Always ensure your chicken is cooked to an internal temperature of 165˚F for safety.
- Let the chicken rest: After cooking, let the chicken tenders rest for a few minutes to retain juiciness.
- Adjust seasoning: Feel free to adjust the amount of lemon pepper seasoning to your taste. If you love spice, add a bit more!
- Don’t overcrowd the pan: Cook in batches if necessary to maintain a good sear. Overcrowding can cause steaming instead of browning.
Helpful Notes about Lemon Pepper Chicken Tenders
Making Lemon Pepper Chicken Tenders is a breeze, but there are a few tips that can elevate your dish even further. Here they are:
- Storage: Store any leftovers in an airtight container in the refrigerator for up to 3 days. Reheat in the skillet for the best results.
- Freezing: You can freeze cooked chicken tenders for up to 2 months. Allow them to cool completely before placing them in a freezer-safe bag.
- Pairing: Serve with a fresh salad, rice, or roasted vegetables for a well-rounded meal.
- Make it spicy: For a spicy kick, add some cayenne pepper or paprika to the flour mixture.
- Using other proteins: This recipe can be adapted for other proteins, like shrimp or tofu, for those looking for alternatives.
- Fresh herbs: Experiment with different herbs like thyme or dill to change up the flavor profile.
- Meal prep: Cook a double batch for easy meal prep throughout the week. These tenders are great cold in salads!
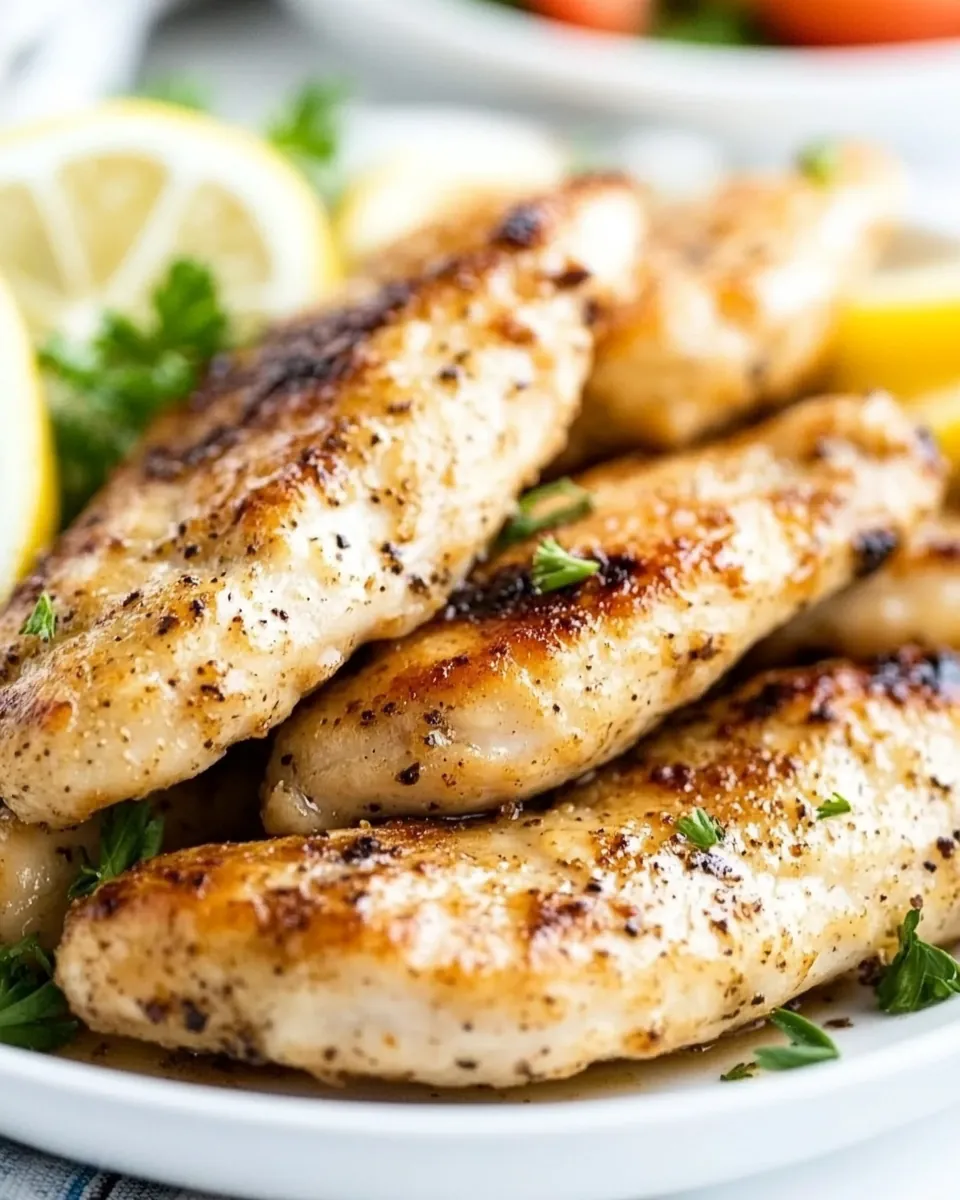
Serving This Lemon Pepper Chicken Tenders
- With a salad: Serve your Lemon Pepper Chicken Tenders over a bed of fresh mixed greens with a light vinaigrette for a refreshing meal.
- As a sandwich: Place the tenders in a bun with lettuce, tomato, and a dash of hot sauce for a tasty sandwich option.
- On a platter: Perfect for entertaining, serve these tenders on a platter with dipping sauces like ranch or honey mustard.
- For a picnic: They are great for packed lunches or picnics. Just pack them with some chips and a cool drink.
- Seasonal sides: Pair with seasonal vegetables like asparagus in the spring or sweet potatoes in the fall for a delicious contrast.
- During party times: Great for parties and gatherings, make a large batch and serve them with various dipping sauces.
- Leftovers: Store leftovers in the fridge and enjoy them the next day; they make a tasty addition to wraps or salads.
FAQ
Conclusion
The Lemon Pepper Chicken Tenders recipe is a wonderful blend of crispy, savory, and tangy flavors that can easily elevate any meal. I encourage you to give this delicious dish a try; it’s sure to become a favorite in your household. The ease of preparation and the delightful taste will make it a go-to in your kitchen!
Lemon Pepper Chicken Tenders
Equipment
- Wooden Spoon
- Skillet
- Mixing Bowl
- Frying Pan
Ingredients
- 2 pounds Chicken Tenderloins
- 3 tablespoons All Purpose Flour
- 1 tablespoon Lemon Pepper Seasoning
- 1 teaspoon Salt
- 2 tablespoons Olive Oil
- 1 tablespoon Butter
- 1 Lemon juice of
- Parsley
Instructions
- Start by combining the flour, lemon pepper seasoning, and salt in a shallow dish. This mixture will create a flavorful coating for the chicken. Make sure it’s well combined, so every tenderloin gets a good amount of seasoning.
- Next, take your chicken tenderloins and toss them into the flour mixture. Ensure they are thoroughly coated, shaking off any excess flour. This step is crucial for that perfect crispy texture when cooking.
- Heat a large skillet over medium heat and add 1 tablespoon of olive oil. Allow the oil to get hot enough that it shimmers. This ensures that the chicken will sear nicely and form a golden crust.
- Once the oil is hot, carefully add a single layer of the coated chicken tenders to the pan. Let them cook for 3 to 5 minutes without turning. This helps to create that beautiful golden-brown crust.
- After 3 to 5 minutes, flip each tenderloin over and cook for an additional 3 to 5 minutes. You’ll know they are done when they're golden brown and reach an internal temperature of 165˚F. Remove the cooked tenders from the pan and set them aside on a plate.
- If you have more chicken tenderloins to cook, you may need to add a bit more olive oil to the pan before repeating the process.
- Now, lower the heat of the pan to low. Add the juice of a fresh lemon and the butter to the pan. This will deglaze the skillet and bring up all those delicious browned bits from the chicken, enriching the sauce.
- Once the butter has melted and everything is well combined, return the cooked chicken tenders to the pan. Toss them in the lemon butter sauce to coat every piece thoroughly.
- Finally, remove from heat and garnish with fresh parsley before serving. This simple step adds a lovely color and fresh flavor as a finishing touch.
Notes
- Storage: Store any leftovers in an airtight container in the refrigerator for up to 3 days. Reheat in the skillet for the best results.
- Freezing: You can freeze cooked chicken tenders for up to 2 months. Allow them to cool completely before placing them in a freezer-safe bag.
- Pairing: Serve with a fresh salad, rice, or roasted vegetables for a well-rounded meal.
- Make it spicy: For a spicy kick, add some cayenne pepper or paprika to the flour mixture.
- Using other proteins: This recipe can be adapted for other proteins, like shrimp or tofu, for those looking for alternatives.
- Fresh herbs: Experiment with different herbs like thyme or dill to change up the flavor profile.
- Meal prep: Cook a double batch for easy meal prep throughout the week. These tenders are great cold in salads!