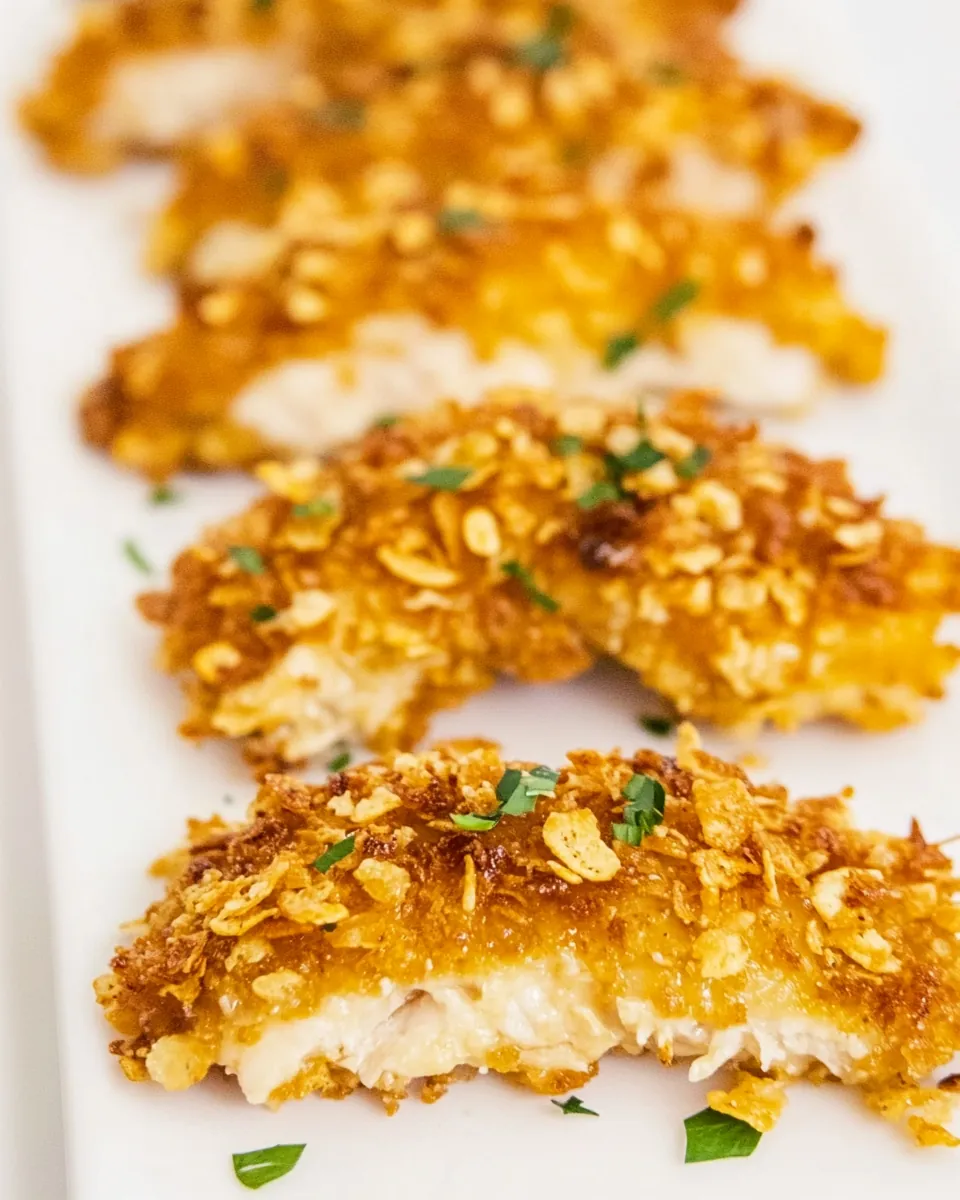
Kicked Up Cornflake Chicken
When I first laid eyes on the Kicked Up Cornflake Chicken recipe, I knew I had stumbled upon something special. Imagine a weeknight dinner where the chicken is crispy on the outside and juicy on the inside, all while being incredibly easy to prepare. I remember the first time I made this dish for my family; the kids couldn’t get enough of the golden crust, and my husband asked for seconds. It’s one of those meals that brings everyone to the table, and the aroma wafting through the kitchen makes it impossible to resist. The combination of crushed cornflakes and panko gives each bite a satisfying crunch, and the honey-soy sauce drizzle adds a touch of sweetness that balances the savory flavors perfectly.
Every time I make Kicked Up Cornflake Chicken, it reminds me of the first dinner party I hosted, where I wanted to impress my guests without spending all day in the kitchen. It’s versatile enough for casual family dinners or a fancier gathering. You can pair it with a fresh salad or some roasted vegetables, and it fits right into any dining experience. Plus, it’s a kid-friendly meal that teaches them to appreciate cooking from scratch. I love sharing this recipe with friends and family because it’s easy to make and even easier to love!
Recipe Snapshot
30 mins
10 mins
20 mins
Medium
350 kcal
30 g
Standard
10 g
Baking Sheet, Oven, Whisk, Frying Pan, Mixing Bowl, Wooden Spoon
What We Adore About This Kicked Up Cornflake Chicken
It’s Incredibly Simple to Prepare
One of the best things about Kicked Up Cornflake Chicken is how straightforward it is. You don’t need to be a culinary expert; just a few basic steps are all it takes. From seasoning the chicken to breading it with the crunchy mix, the process is easy to follow, making it perfect for weeknight dinners.
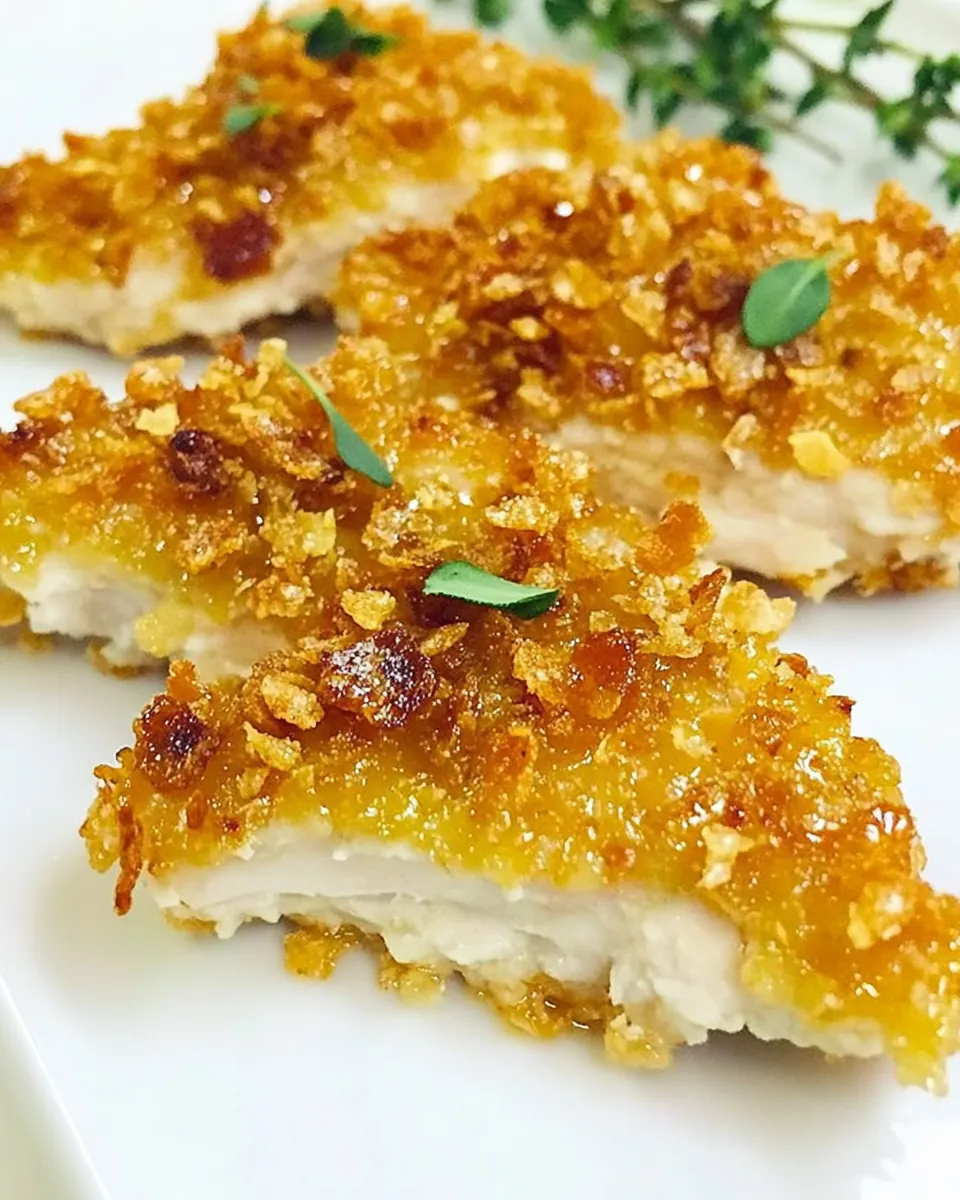
Perfectly Crispy Every Time
The coating of crushed cornflakes combined with panko creates a delightful crunch that’s hard to resist. The secret is in pressing the coating onto the chicken, ensuring that every piece comes out beautifully crispy. Even on the busiest nights, you can count on this dish to impress.
Endless Variability
You can easily tweak the recipe to suit your family’s preferences. Want a spicier kick? Add more chili garlic sauce. Prefer a different flavor profile? Experiment with different seasonings! The base recipe is adaptable, making it a great canvas for your creativity.
A Meal That Stays Fresh
Unlike some dishes that lose their charm after a day, Kicked Up Cornflake Chicken stays delicious even after being stored. I find that it keeps well in the fridge for up to five days, making it a fantastic option for meal prep. Just pop it in the oven for a quick reheating, and it’s as good as fresh!
Appeals to All Ages
This dish is a crowd-pleaser, especially with kids. The crunchy texture and fun flavors make it irresistible to even the pickiest of eaters. It’s a great way to introduce new flavors without overwhelming their taste buds.
Family Gatherings Made Easy
Whenever we have family over, I often whip up Kicked Up Cornflake Chicken. It’s easy to make in large batches, and everyone loves it. It’s a dish that sparks conversation and laughter around the dinner table, creating lasting memories with loved ones.
Ingredients to Make Kicked Up Cornflake Chicken
The ingredients for Kicked Up Cornflake Chicken are simple yet effective. Each element plays a crucial role in achieving that perfect balance of flavor and texture. The star of the show is the chicken, which is complemented by a blend of seasonings and a crispy coating. Let’s dive into these key players that come together to make this dish unforgettable.
- 1.25 pounds boneless skinless chicken breasts – The foundation of this dish, chicken breasts provide a lean protein source that’s easy to cook and absorbs flavors well.
- 1 teaspoon kosher salt – A must-have to enhance the natural flavor of the chicken.
- 1 teaspoon freshly ground black pepper – Adds a subtle heat and depth to the seasoning mix.
- 1 teaspoon smoked paprika – Brings a unique smoky flavor that elevates the dish.
- ⅓ cup all-purpose flour – Used for dredging the chicken, creating a barrier that helps the coating stick.
- 2 large eggs – Lightly beaten, these help bind the crispy coating to the chicken.
- 1 cup cornflakes – Crushed, this is the secret to the delightful crunch that defines this dish.
- ⅓ cup panko bread crumbs – Adds extra lightness and crispiness to the coating.
- ¼ cup honey – A touch of sweetness that balances the savory elements of the dish.
- 2 to 3 tablespoons lite soy sauce – Enhances the overall flavor, adding a savory depth.
- 1 heaping tablespoon chili garlic sauce – Optional, but it adds a wonderful kick that spices things up.
- 1 tablespoon fresh parsley – Chopped and added for garnish, bringing a fresh note to the finished dish.
Putting Together Kicked Up Cornflake Chicken
Creating Kicked Up Cornflake Chicken is a delightful experience that fills your kitchen with warm aromas. The steps are straightforward, and the end result is utterly satisfying. Let’s break down the process into easy-to-follow steps.
- Preheat your oven to 425°F (about 220°C). Line a baking sheet with foil and spray it with cooking spray to prevent sticking. This initial step sets you up for success!
- Season the chicken breasts evenly with kosher salt, black pepper, and smoked paprika. Make sure each piece is well-coated; this ensures flavor in every bite.
- In a medium bowl, add all-purpose flour and set it aside. In another medium bowl, crack the eggs and beat them lightly. You’ll need a third bowl for your coating mixture.
- In the third bowl, add the crushed cornflakes and panko bread crumbs. Mix them well to combine, creating the crunchy coating that will make your chicken shine.
- Now it’s time to bread the chicken. Start with one piece, dredging it through the flour, shaking off the excess. This step is crucial for a good crust.
- Next, dip the floured chicken into the beaten eggs, ensuring it’s fully coated.
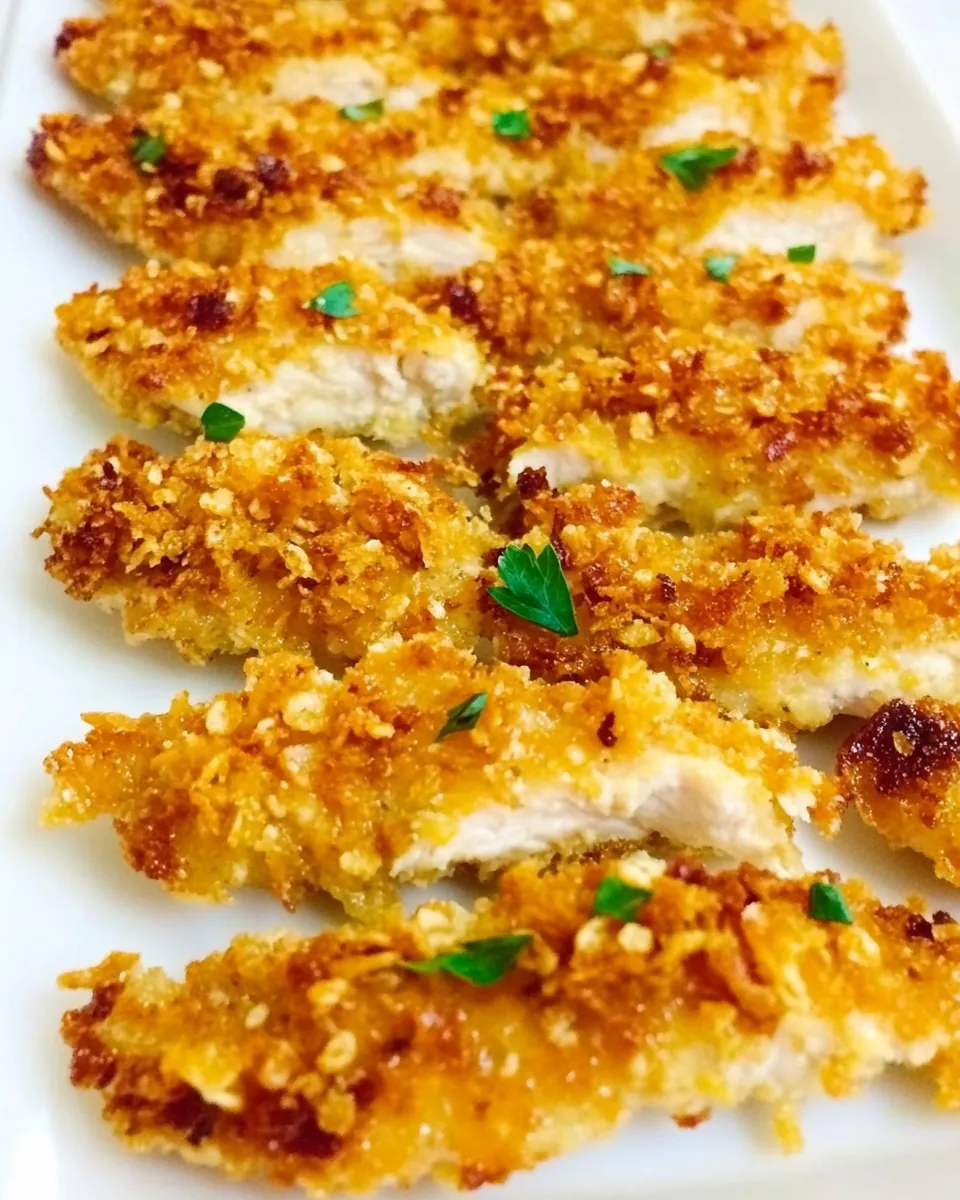
- Finally, dredge the chicken in the cornflake-panko mixture, pressing the mixture on fairly thick to ensure a good crust. Place it on the prepared baking sheet and repeat with the remaining pieces.
- Once all the chicken is breaded, bake them in the preheated oven for about 20 to 25 minutes. You want the crust to turn a lovely golden color and ensure the internal temperature reaches 165°F (75°C).
- Flip the pieces midway through cooking to ensure even browning. Keep an eye on them as cooking times may vary depending on the thickness of your chicken.
- While the chicken is baking, prepare the sauce. In a small bowl, combine honey, lite soy sauce, and chili garlic sauce. Whisk to combine and taste for any adjustments.
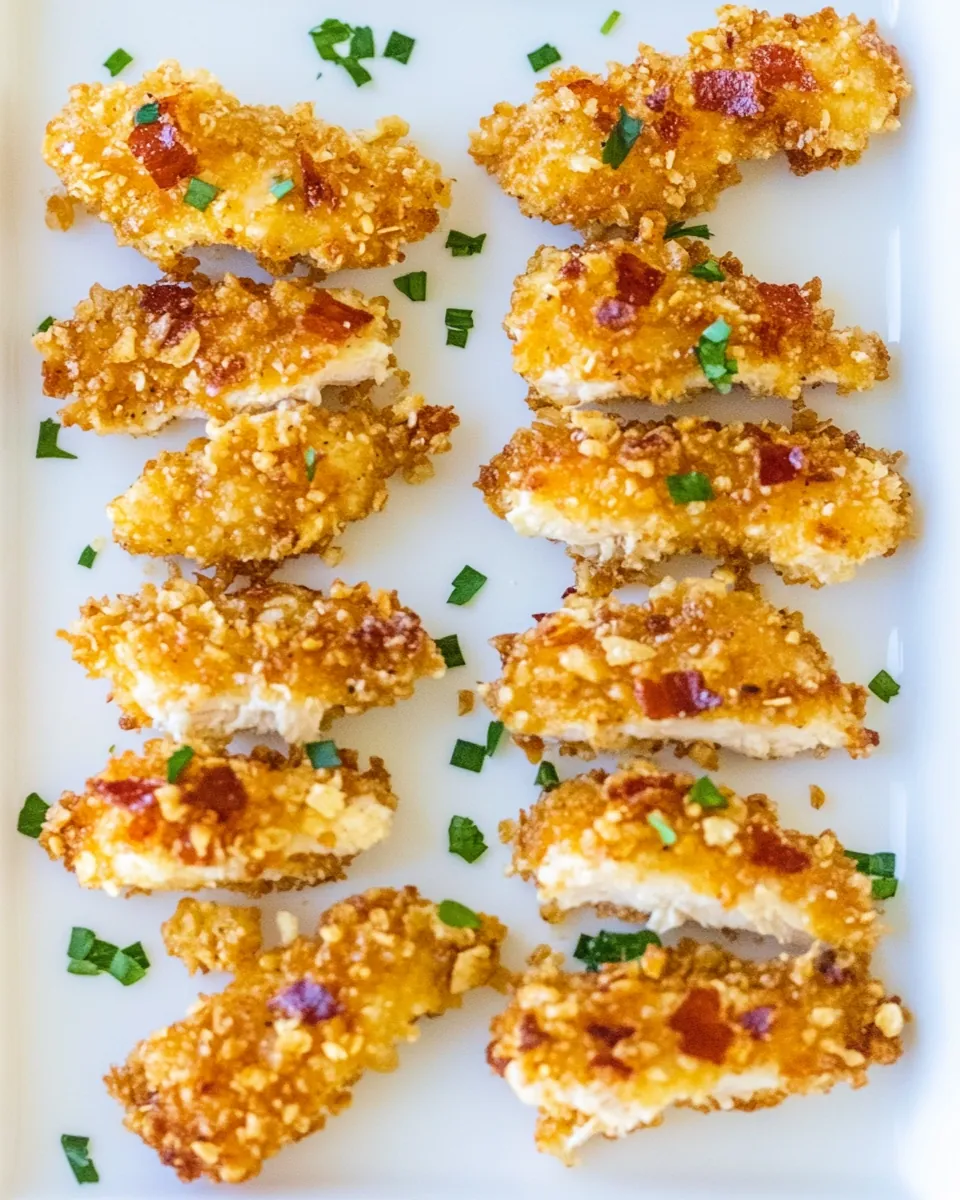
- Once the chicken is cooked, remove it from the oven and drizzle the sauce over it while it’s hot. Optionally, garnish with freshly chopped parsley for a beautiful presentation.
- Serve immediately and enjoy your delicious homemade Kicked Up Cornflake Chicken!
Things Worth Knowing
- Tip 1: Make sure to preheat your oven properly to ensure even cooking.
- Tip 2: Press the coating firmly onto the chicken for that extra crunch.
- Tip 3: Allow the chicken to rest for a few minutes after baking for juicy results.
- Tip 4: Experiment with different spices in the coating for a unique twist.
- Tip 5: Serve the chicken with a side of veggies for a complete meal.
Variations to Try
If you’re looking to mix things up with your Kicked Up Cornflake Chicken, there are plenty of exciting ways to add your personal touch. Here are some variations to consider:
- Spicy Version: Add extra chili garlic sauce or cayenne pepper to the coating for a fiery kick.
- Herbed Chicken: Mix dried herbs like thyme or oregano into the flour for an aromatic twist.
- Vegetable Add-ins: Serve with roasted vegetables like broccoli or carrots for a balanced meal.
- Honey Mustard Twist: Replace some of the honey with mustard for a tangy glaze.
- Air Fryer Option: Cook in an air fryer for an even crispier exterior while using less oil.
- Gluten-Free Version: Substitute the flour with gluten-free flour and use gluten-free breadcrumbs.
- Sweet and Spicy: Drizzle with a mix of honey and hot sauce for a sweet and spicy flavor.
Perfect Pairings for Kicked Up Cornflake Chicken
Creating a meal around Kicked Up Cornflake Chicken opens up a world of delicious pairings. Here’s how to serve this dish to make the most of its flavors:
- Fresh Garden Salad: A crisp salad with mixed greens, tomatoes, and a light vinaigrette complements the richness of the chicken.
- Roasted Vegetables: Carrots and asparagus, roasted with a bit of olive oil, add a vibrant touch to your plate.
- Rice or Quinoa: Serve with fluffy rice or quinoa to soak up any delicious sauce.
- Perfect for Lunchboxes: The chicken works great cold, making it an excellent option for lunch.
- Picnic Ready: Pack it up for a picnic; it’s just as good served at room temperature.
- Seasonal Sides: Think of pairing it with seasonal dishes like sweet potato mash in the fall or cucumber salad in the summer.
FAQ
Conclusion
Kicked Up Cornflake Chicken is a deliciously crispy and satisfying dish that brings people together around the dinner table. With its simple preparation and mouthwatering flavor, it’s sure to become a family favorite. Don’t hesitate to try this recipe for your next meal; you won’t be disappointed. It’s a sure way to impress your family and friends!

Kicked Up Cornflake Chicken
Equipment
- Baking Sheet
- Oven
- Whisk
- Frying Pan
- Mixing Bowl
- Wooden Spoon
Ingredients
- 1.25 pounds boneless skinless chicken breasts cutlets, this was 9 pieces for me
- 1 teaspoon kosher salt or to taste
- 1 teaspoon freshly ground black pepper or to taste
- 1 teaspoon smoked paprika regular paprika may be substituted
- ⅓ cup all-purpose flour
- 2 large eggs lightly beaten
- 1 cup cornflakes crushed
- ⅓ cup panko bread crumbs
- ¼ cup honey
- 2 to 3 tablespoons lite soy sauce
- 1 heaping tablespoon chili garlic sauce or to taste (sriracha may be substituted)
- 1 tablespoon fresh parsley to taste
Instructions
- Preheat your oven to 425°F (about 220°C). Line a baking sheet with foil and spray it with cooking spray to prevent sticking. This initial step sets you up for success!
- Season the chicken breasts evenly with kosher salt, black pepper, and smoked paprika. Make sure each piece is well-coated; this ensures flavor in every bite.
- In a medium bowl, add all-purpose flour and set it aside. In another medium bowl, crack the eggs and beat them lightly. You’ll need a third bowl for your coating mixture.
- In the third bowl, add the crushed cornflakes and panko bread crumbs. Mix them well to combine, creating the crunchy coating that will make your chicken shine.
- Now it’s time to bread the chicken. Start with one piece, dredging it through the flour, shaking off the excess. This step is crucial for a good crust.
- Next, dip the floured chicken into the beaten eggs, ensuring it’s fully coated.
- Finally, dredge the chicken in the cornflake-panko mixture, pressing the mixture on fairly thick to ensure a good crust. Place it on the prepared baking sheet and repeat with the remaining pieces.
- Once all the chicken is breaded, bake them in the preheated oven for about 20 to 25 minutes. You want the crust to turn a lovely golden color and ensure the internal temperature reaches 165°F (75°C).
- Flip the pieces midway through cooking to ensure even browning. Keep an eye on them as cooking times may vary depending on the thickness of your chicken.
- While the chicken is baking, prepare the sauce. In a small bowl, combine honey, lite soy sauce, and chili garlic sauce. Whisk to combine and taste for any adjustments.
- Once the chicken is cooked, remove it from the oven and drizzle the sauce over it while it's hot. Optionally, garnish with freshly chopped parsley for a beautiful presentation.
- Serve immediately and enjoy your delicious homemade Kicked Up Cornflake Chicken!