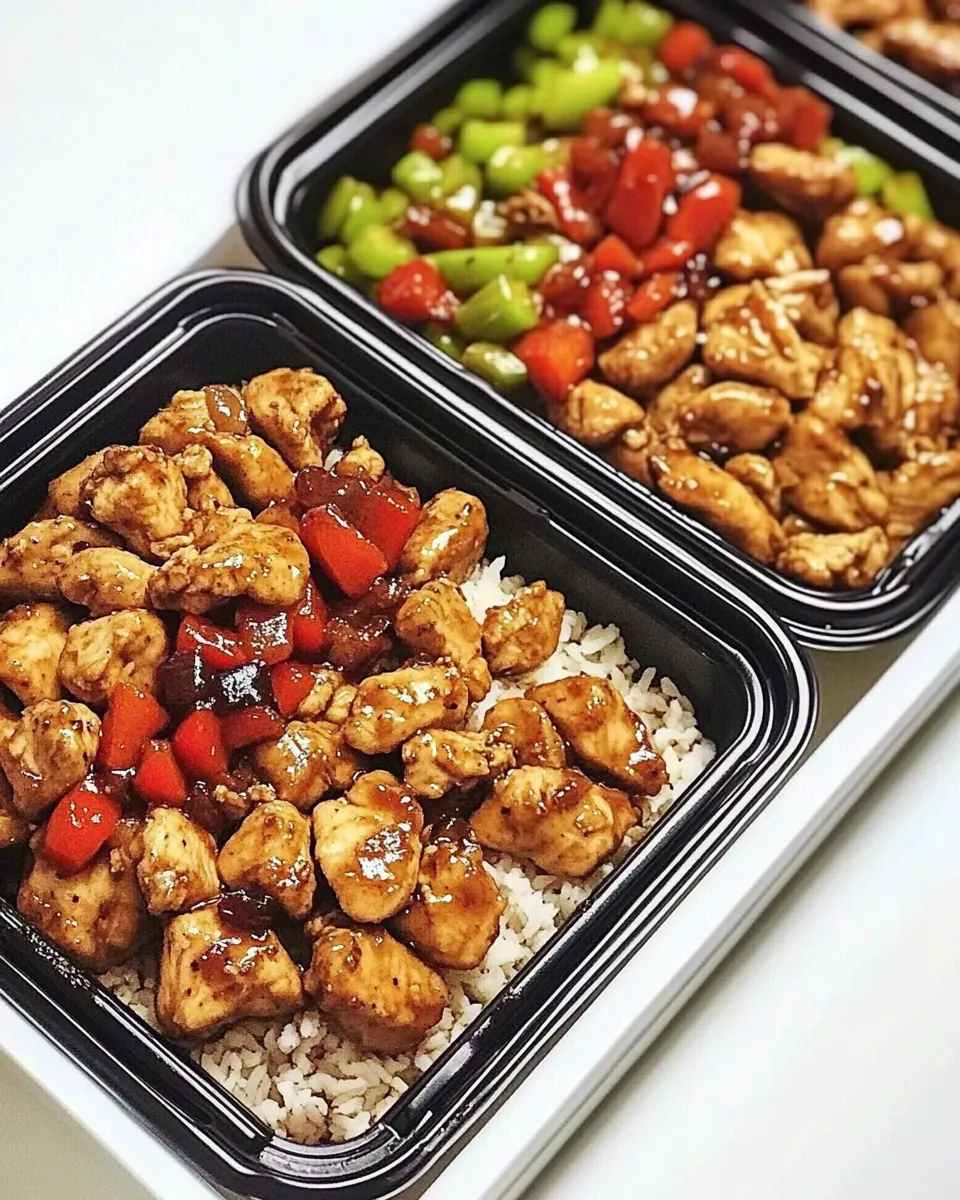
Individual Sweet Sour Chicken Meal Prep
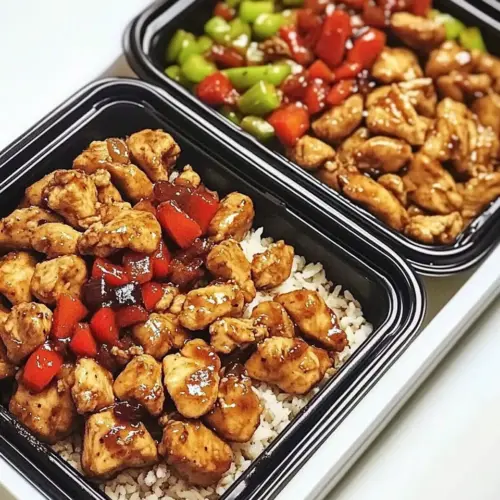
There’s something truly comforting about the combination of sweet and sour flavors, especially when it comes to a dish like Individual Sweet Sour Chicken Meal Prep. I remember the first time I had this dish; it was a cozy evening, and the aromas wafting from the kitchen were irresistible. My family gathered around the table, excited to dig into a meal that was not just delicious but also visually appealing. The vibrant colors of the vegetables combined with the tender chicken created a feast for the eyes and the palate. As I plated the food, I couldn’t help but feel proud of the balance between sweetness from the pineapple and the tanginess from the vinegar. It’s the perfect meal prep idea for busy weeks, providing both nourishment and satisfaction.
Recipe Snapshot
60 mins
0 mins
0 mins
Medium
450 kcal
30 g
Whole30, Gluten-Free, Low FODMAP
12 g
Baking Sheet, Oven, Whisk, Frying Pan, Large Pot, Wooden Spoon, Saucepan
What You’ll Enjoy About This Individual Sweet Sour Chicken Meal Prep
Perfect Balance of Flavors
What really makes Individual Sweet Sour Chicken Meal Prep stand out is the remarkable balance of flavors. The sweetness of the pineapple and honey complements the savory notes of the chicken and vegetables, creating a dish that feels well-rounded. Each bite is a delightful experience, leaving you wanting more.
Ideal for Meal Prep
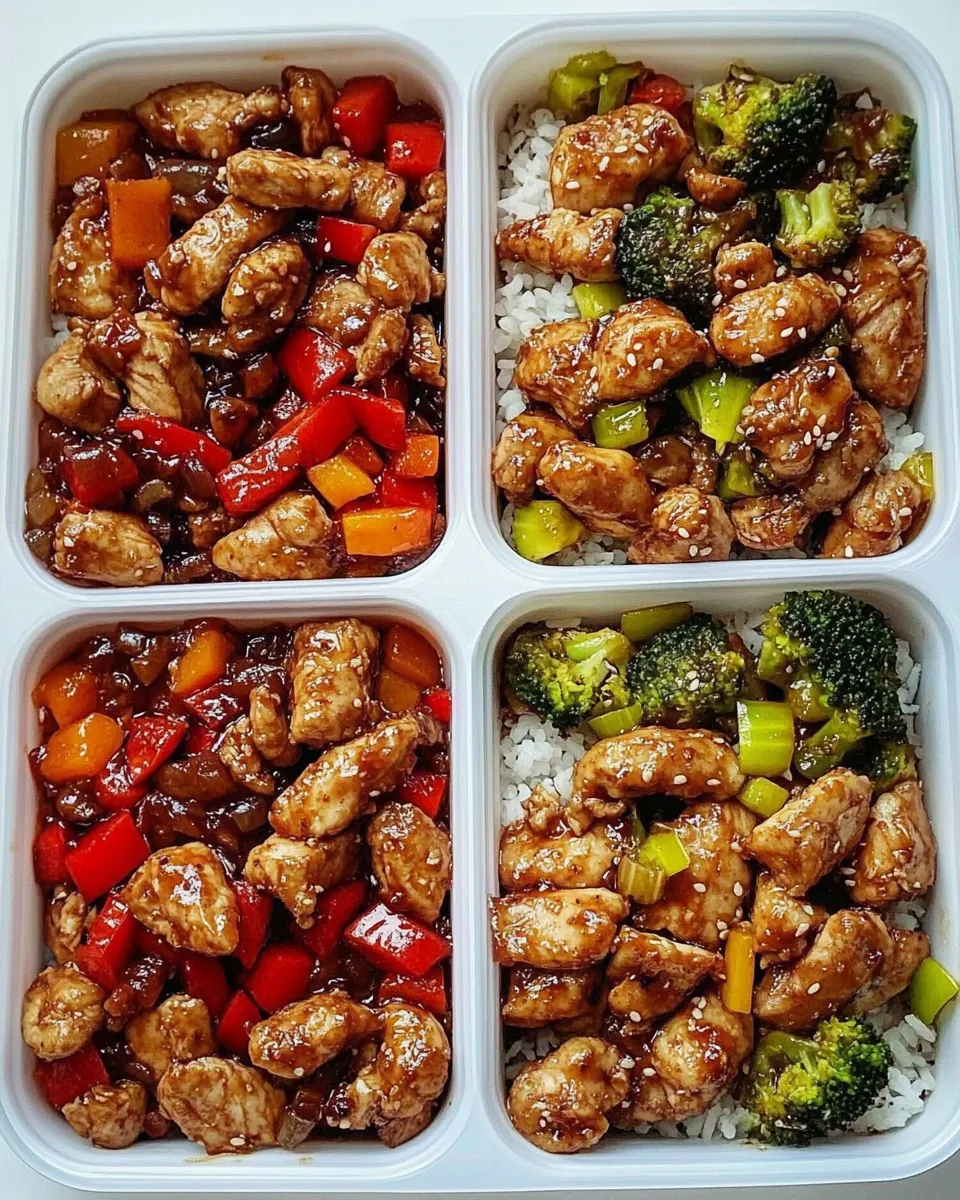
This recipe is not just delicious; it’s also practical. Preparing Individual Sweet Sour Chicken Meal Prep in advance means you can enjoy a wholesome meal even on the busiest of days. Dividing it into portions makes it easy to grab and go, ensuring you have healthy lunches or dinners ready at your fingertips.
Nutritious Ingredients
The ingredients in this recipe are not only tasty but also packed with nutrients. Fresh vegetables like zucchini and broccoli provide essential vitamins, while the chicken offers a good source of protein. The homemade sauce combines wholesome ingredients that are generally healthier than store-bought versions.
Family-Friendly
Another reason I adore this dish is its family-friendly nature. Kids love the sweet taste, while adults appreciate the savory elements. It’s a meal that brings everyone together, making it perfect for family dinners or gatherings.
Quick and Easy to Prepare
Cooking Individual Sweet Sour Chicken Meal Prep doesn’t require culinary expertise. With straightforward steps, you can whip it up in no time. It’s an excellent way for novice cooks to gain confidence in the kitchen while impressing their loved ones with a delicious meal.
Versatile for Variations
This dish is incredibly versatile. You can easily swap in seasonal vegetables or adjust the sweetness to suit your taste. This adaptability means you can enjoy Individual Sweet Sour Chicken Meal Prep in various forms, keeping your meal prep exciting.
Ingredients You’ll Need for Individual Sweet Sour Chicken Meal Prep
The ingredients in Individual Sweet Sour Chicken Meal Prep are the key players in creating a flavor-packed and nutritious dish. Each component works harmoniously to produce a delightful balance between sweet and savory, making every bite satisfying.
- 30 ounces boneless and skinless chicken breast, cut into large cubes: The star protein in this dish, providing tenderness and a great base for the sweet and sour sauce.
- 3 tablespoons olive oil, divided: Adds richness and helps to sauté the vegetables, enhancing their flavors.
- 1 teaspoon kosher salt, divided: Essential for seasoning the chicken and vegetables, bringing out their natural flavors.
- 1 teaspoon ground black pepper, divided: Adds a hint of spiciness to balance the sweetness of the sauce.
- 1 red pepper, cut into large cubes: Offers a crunchy texture and vibrant color.
- 2 cups broccoli florets, fresh: Adds nutrition and a lovely green color to the dish.
- 2 cups zucchini, cut into large cubes: Provides a soft texture that complements the other vegetables.
- 1 cup red onion, cut into large cubes: Adds sweetness and depth to the flavor profile.
- 2/3 cup pineapple juice: Key to achieving the signature sweet flavor in the sauce.
- 1/3 cup rice vinegar: Gives a tangy kick that balances out the sweetness.
- 1/4 cup honey: Enhances the sweetness while adding a unique flavor.
- 2 teaspoons crushed red pepper: Provides a spicy element, adjustable according to your heat preference.
- 1 tablespoon tomato paste, no sugar added: Adds thickness and richness to the sauce.
- 1 tablespoon soy sauce, low-sodium: Enhances the umami flavor without excessive salt.
- 1 tablespoon rice vinegar: Used for an extra layer of flavor in the sauce.
- 1/4 teaspoon kosher salt: For final seasoning adjustments.
- water, amount according to package: Needed for cooking the rice.
- 1 1/2 cups brown rice, uncooked: A nutritious base that complements the chicken and vegetables.
Making This Individual Sweet Sour Chicken Meal Prep
Creating Individual Sweet Sour Chicken Meal Prep is as enjoyable as it is straightforward. With the right ingredients and a few simple steps, you’ll be on your way to a delicious meal that you can savor throughout the week. Let’s dive into the cooking process!
Start by preheating your oven to 450 degrees. This temperature will ensure that the chicken cooks evenly and develops a slight char, adding to the flavor.
Line a large baking sheet with aluminum foil and spray it with non-stick spray. This makes for easier cleanup and prevents the chicken from sticking.
In a bowl, combine the cubed chicken with one and a half tablespoons of olive oil, half a teaspoon of kosher salt, and half a teaspoon of ground black pepper. Toss everything together until the chicken is well coated. You want to ensure that each piece is seasoned evenly.
Place the seasoned chicken on the prepared baking sheet in a single layer. Make sure it covers only about a third of the pan to allow room for the vegetables.
In another bowl, take the remaining olive oil, kosher salt, and ground black pepper, and add the chopped red pepper, broccoli florets, zucchini, and red onion. Toss well to coat all the vegetables in the oil and seasonings. They should be glistening and vibrant.
Spread the vegetable mixture on the baking sheet alongside the chicken, ensuring they are in an even layer. The colors should be beautiful and inviting.
Place the baking sheet in the oven and bake for 15 to 20 minutes. You’ll know it’s done when the chicken reaches 165 degrees and the vegetables begin to lightly char, bringing out their natural sweetness.
Once cooked, remove the baking sheet from the oven and let it cool slightly. This helps the flavors settle while you prepare the sauce.
In a small saucepan, whisk together the pineapple juice, rice vinegar, honey, crushed red pepper, tomato paste, soy sauce, and remaining kosher salt. Heat over medium heat until it begins to boil, then reduce the heat and let it simmer. Stir constantly for about 5 to 10 minutes until the sauce thickens. If it’s too thin, you can add a teaspoon of tomato paste to thicken it up.
Once the sauce has thickened, pour it over the baked chicken and vegetables, tossing everything together gently to coat it evenly. The sauce should cling beautifully to the chicken and vegetables, creating a glossy finish.
Now, it’s time to prepare the brown rice. Cook it according to the package instructions. After cooking, remove it from the heat and allow it to sit covered for about 10 minutes. Fluff with a fork.
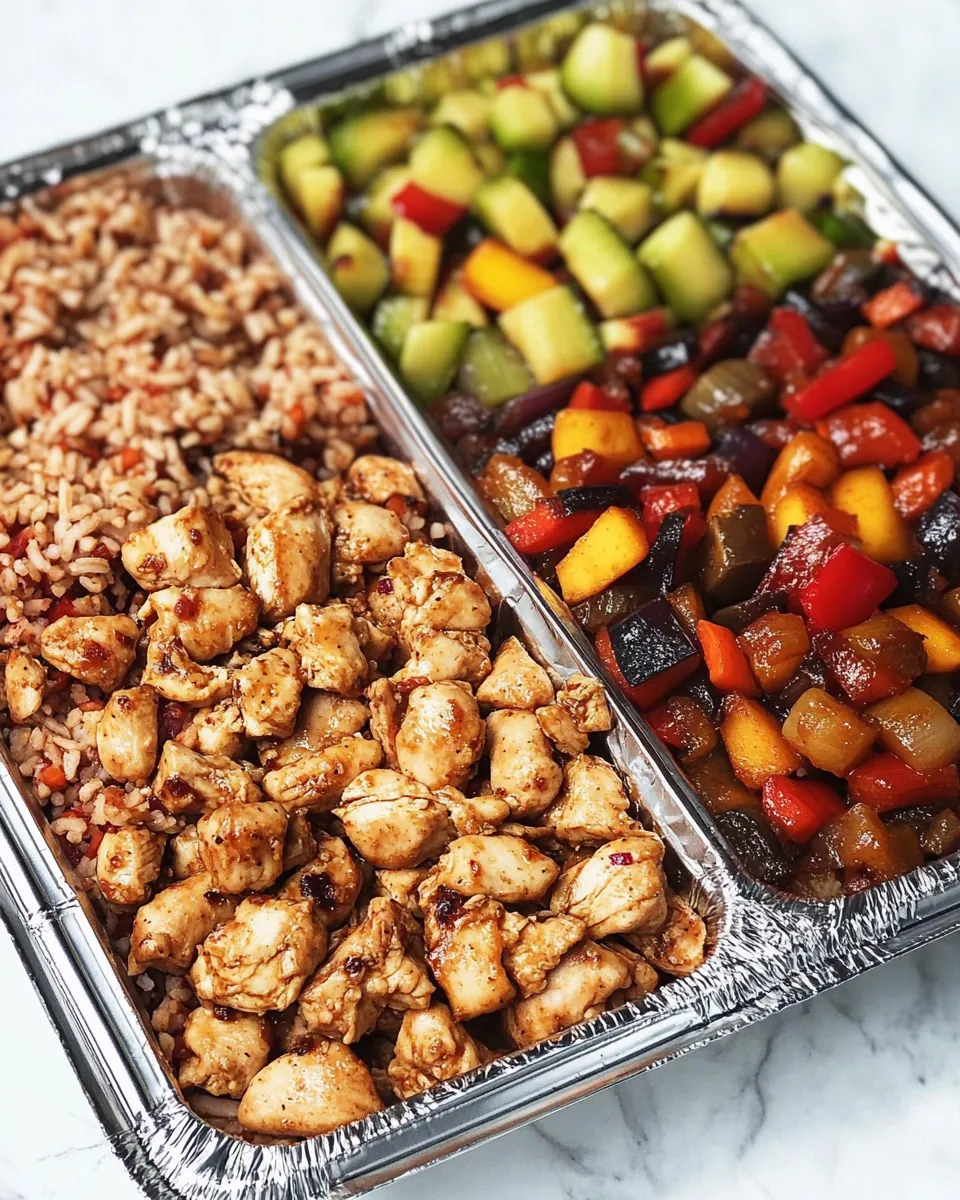
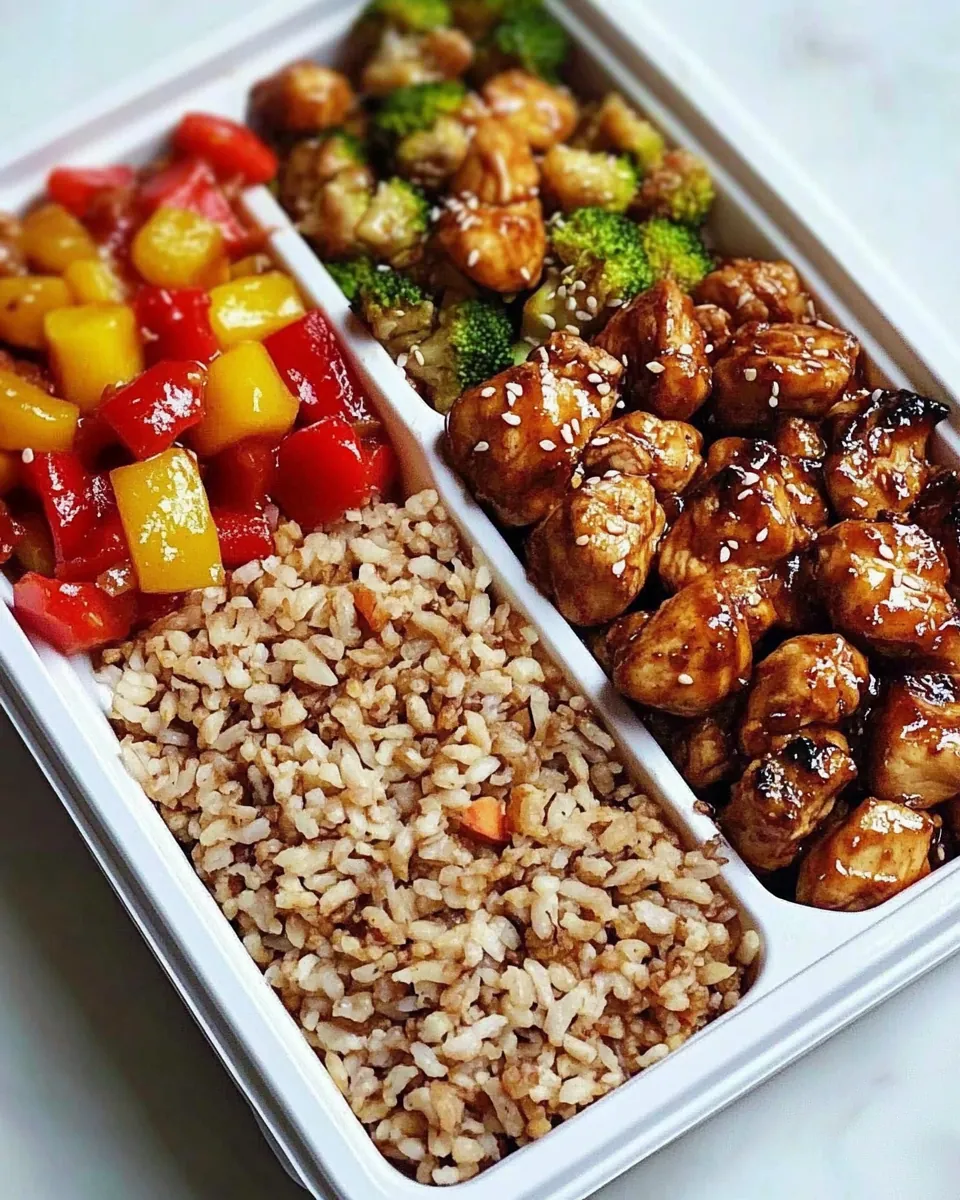
Divide the fluffy brown rice between meal prep containers, aiming for about one cup per container. Place around six ounces of the chicken over half of the rice in each container. Finally, arrange the roasted vegetables on the other half. They should look colorful and appetizing!
Let the meal prep containers cool slightly before covering and refrigerating or freezing. To reheat, defrost in the fridge overnight and pop in a 375-degree oven for 20 to 30 minutes. Alternatively, you can microwave for two to three minutes until hot and the chicken reaches 140 degrees.
Things Worth Knowing
- Oven Temperature: Preheating the oven ensures even cooking and helps the chicken achieve the desired texture. Always check with a food thermometer for safety.
- Color Indicators: Look for the chicken to turn golden brown and the vegetables to char slightly, which enhances their natural flavors.
- Ingredient Quality: Using fresh vegetables and high-quality chicken will dramatically improve the taste of your dish. Aim for organic when possible.
- Storing Tips: Ensure the containers are airtight to maintain freshness. Label with dates to avoid confusion.
- Reheating Method: Reheating in the oven helps retain the texture better than the microwave. It’s worth the extra time for a crispier finish.
Tips for Success
To make your experience with Individual Sweet Sour Chicken Meal Prep even better, here are some handy tips to consider. Whether you’re a seasoned chef or just starting, these insights can help elevate your dish.
- Storage: After preparing your meal, ensure you allow it to cool before sealing the containers. This helps prevent condensation and keeps the food fresher.
- Freezing: Yes, you can freeze the meal prep containers! Just make sure to defrost them in the fridge overnight before reheating for the best results.
- Pairing: Serving this dish with a side of steamed rice or a simple green salad can create a well-rounded meal.
- Ingredient Variations: Feel free to mix up the vegetables based on what’s in season or what you have on hand. Carrots and snap peas are great additions!
- Flavor Adjustments: If you like it spicier, increase the amount of crushed red pepper or add a dash of hot sauce to the sauce mixture.
What Goes Well With This Individual Sweet Sour Chicken Meal Prep
When it comes to pairing Individual Sweet Sour Chicken Meal Prep, there are countless delicious options to consider. Here are some ideas to help you create a complete meal:
- Brown Rice: The foundation of this dish, brown rice adds wholesome fiber and keeps you feeling full.
- Steamed Vegetables: For a lighter option, you can serve it alongside steamed vegetables such as broccoli or green beans to enhance the nutritional value.
- Salad: A crisp salad with a tangy vinaigrette makes a refreshing contrast to the sweet and sour flavors.
- Spring Rolls: For a fun side, serve with fresh spring rolls filled with shrimp or vegetables for added crunch.
- Occasions: This dish is perfect for meal prepping for busy workweeks or a casual family dinner. It’s versatile enough for lunch or dinner.
- Storage Tips: Leftovers can be stored in an airtight container in the fridge for up to four days, making it perfect for planned meals.
FAQ
Conclusion
The Individual Sweet Sour Chicken Meal Prep stands out not only for its incredible flavors but also for its practicality in meal prepping. It’s a delightful way to ensure you’re enjoying nutritious and satisfying meals throughout your busy week. I encourage you to give this recipe a try; once you do, you’ll likely find it becomes a staple in your kitchen. Easy to prepare and brimming with flavor, it’s sure to become a family favorite!
Individual Sweet Sour Chicken Meal Prep
Equipment
- Baking Sheet
- Oven
- Whisk
- Frying Pan
- Large Pot
- Wooden Spoon
- Saucepan
Ingredients
- 30 ounces boneless and skinless chicken breast cut into large cubes
- 3 tablespoons olive oil divided
- 1 teaspoon kosher salt divided
- 1 teaspoon ground black pepper divided
- 1 whole red pepper cut into large cubes
- 2 cups broccoli florets fresh
- 2 cups zucchini cut into large cubes
- 1 cup red onion cut into large cubes
- 2/3 cup pineapple juice
- 1/3 cup rice vinegar
- 1/4 cup honey
- 2 teaspoons crushed red pepper
- 1 tablespoon tomato paste no sugar added
- 1 tablespoon soy sauce low-sodium
- 1 tablespoon rice vinegar
- 1/4 teaspoon kosher salt
- water amount according to package
- 1 1/2 cups brown rice uncooked, we used Uncle Ben's
Instructions
- Preheat your oven to 450 degrees. This temperature will ensure that the chicken cooks evenly and develops a slight char, adding to the flavor.
- Line a large baking sheet with aluminum foil and spray it with non-stick spray. This makes for easier cleanup and prevents the chicken from sticking.
- In a bowl, combine the cubed chicken with one and a half tablespoons of olive oil, half a teaspoon of kosher salt, and half a teaspoon of ground black pepper. Toss everything together until the chicken is well coated. You want to ensure that each piece is seasoned evenly.
- Place the seasoned chicken on the prepared baking sheet in a single layer. Make sure it covers only about a third of the pan to allow room for the vegetables.
- In another bowl, take the remaining olive oil, kosher salt, and ground black pepper, and add the chopped red pepper, broccoli florets, zucchini, and red onion. Toss well to coat all the vegetables in the oil and seasonings. They should be glistening and vibrant.
- Spread the vegetable mixture on the baking sheet alongside the chicken, ensuring they are in an even layer. The colors should be beautiful and inviting.
- Place the baking sheet in the oven and bake for 15 to 20 minutes. You’ll know it's done when the chicken reaches 165 degrees and the vegetables begin to lightly char, bringing out their natural sweetness.
- Once cooked, remove the baking sheet from the oven and let it cool slightly. This helps the flavors settle while you prepare the sauce.
- In a small saucepan, whisk together the pineapple juice, rice vinegar, honey, crushed red pepper, tomato paste, soy sauce, and remaining kosher salt. Heat over medium heat until it begins to boil, then reduce the heat and let it simmer. Stir constantly for about 5 to 10 minutes until the sauce thickens. If it’s too thin, you can add a teaspoon of tomato paste to thicken it up.
- Once the sauce has thickened, pour it over the baked chicken and vegetables, tossing everything together gently to coat it evenly. The sauce should cling beautifully to the chicken and vegetables, creating a glossy finish.
- Now, it’s time to prepare the brown rice. Cook it according to the package instructions. After cooking, remove it from the heat and allow it to sit covered for about 10 minutes. Fluff with a fork.
- Divide the fluffy brown rice between meal prep containers, aiming for about one cup per container. Place around six ounces of the chicken over half of the rice in each container. Finally, arrange the roasted vegetables on the other half. They should look colorful and appetizing!
- Let the meal prep containers cool slightly before covering and refrigerating or freezing. To reheat, defrost in the fridge overnight and pop in a 375-degree oven for 20 to 30 minutes. Alternatively, you can microwave for two to three minutes until hot and the chicken reaches 140 degrees.
Notes
- Storage: After preparing your meal, ensure you allow it to cool before sealing the containers. This helps prevent condensation and keeps the food fresher.
- Freezing: Yes, you can freeze the meal prep containers! Just make sure to defrost them in the fridge overnight before reheating for the best results.
- Pairing: Serving this dish with a side of steamed rice or a simple green salad can create a well-rounded meal.
- Ingredient Variations: Feel free to mix up the vegetables based on what's in season or what you have on hand. Carrots and snap peas are great additions!
- Flavor Adjustments: If you like it spicier, increase the amount of crushed red pepper or add a dash of hot sauce to the sauce mixture.