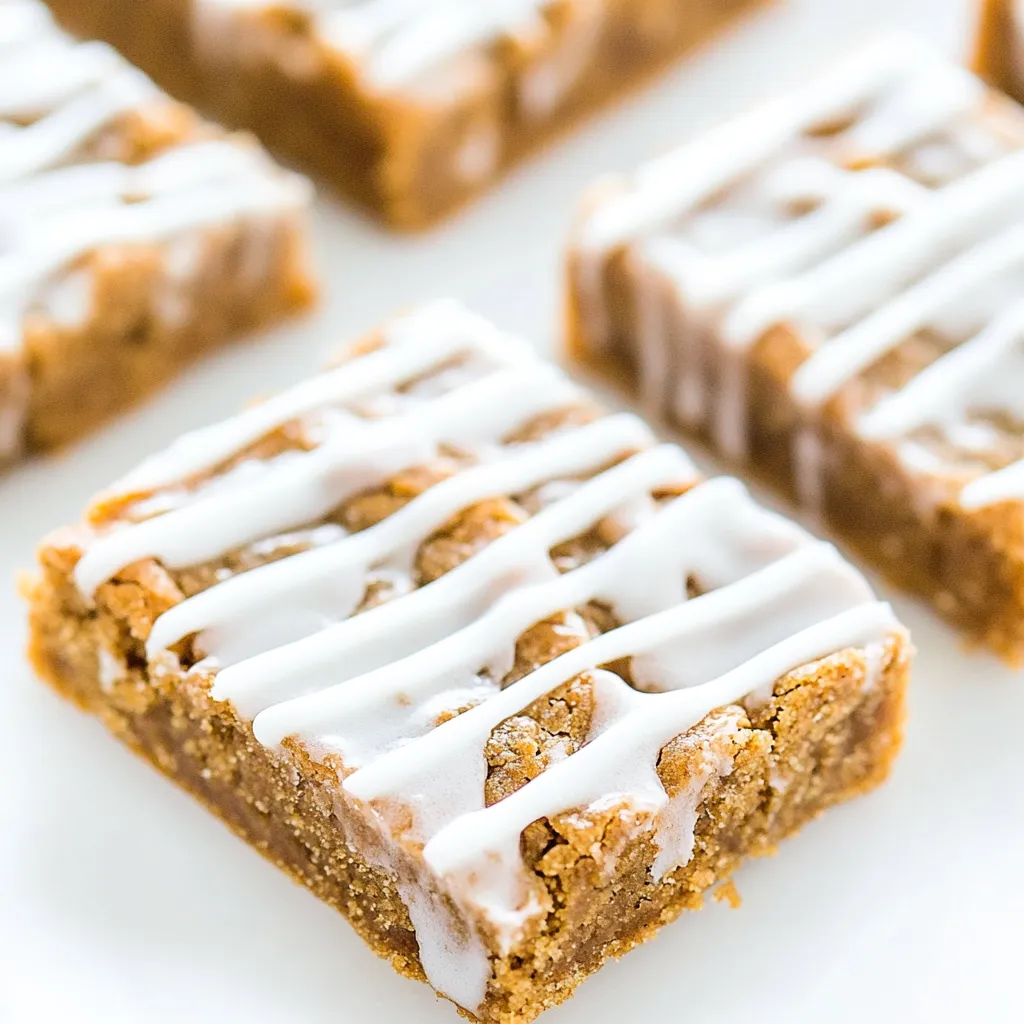
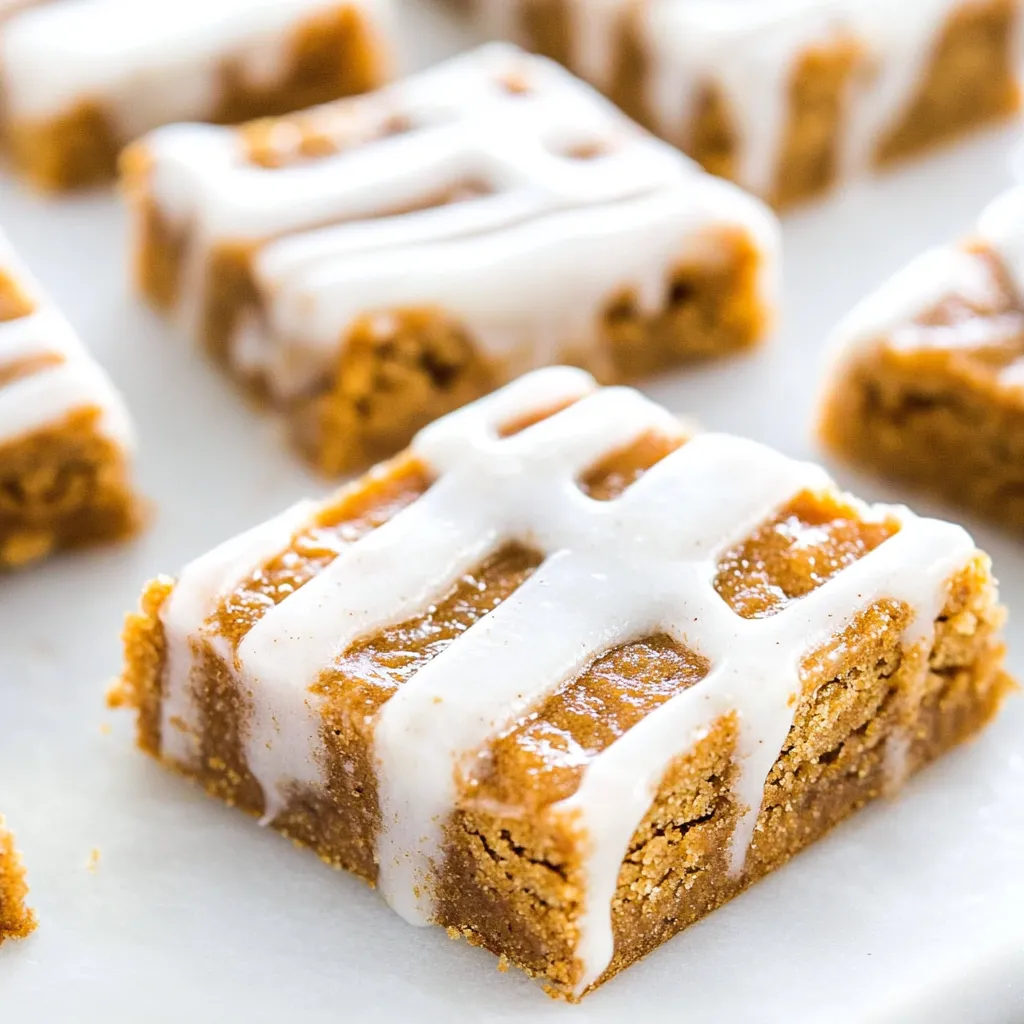
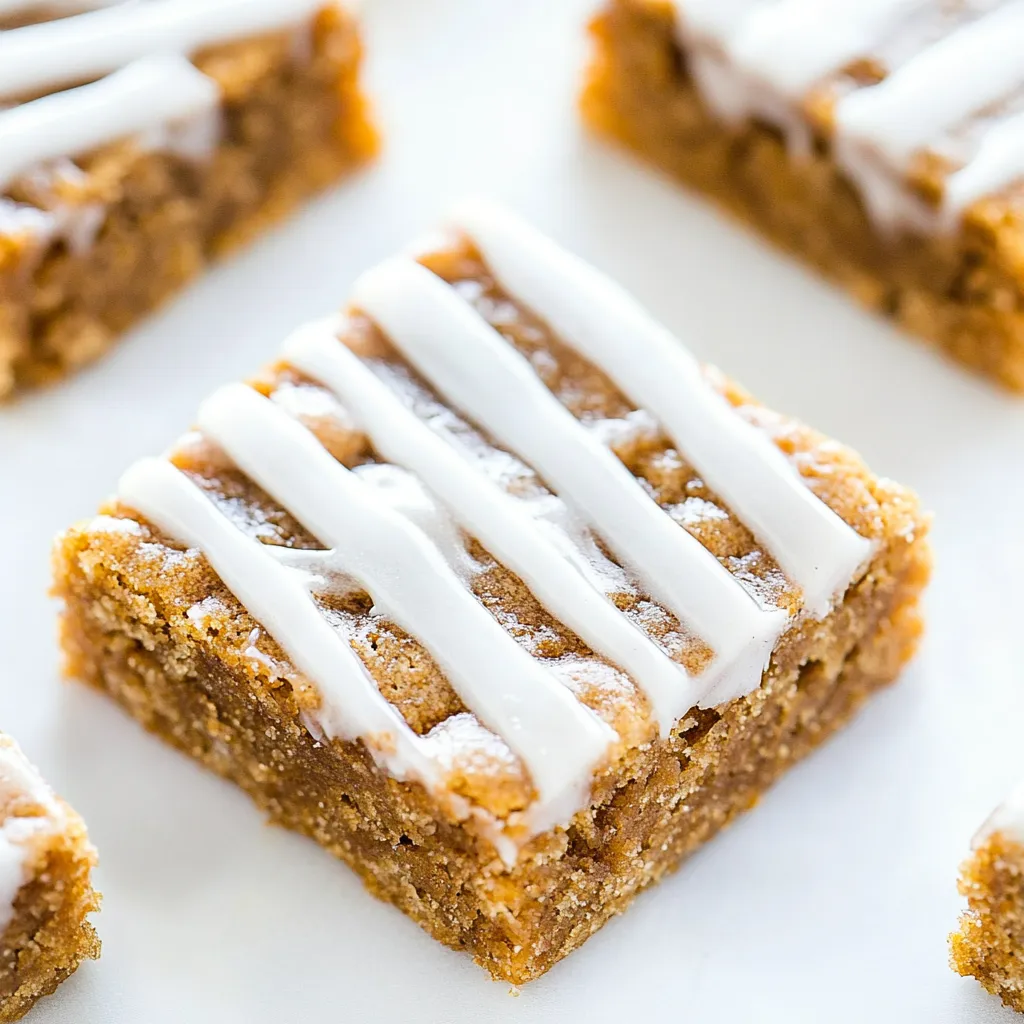
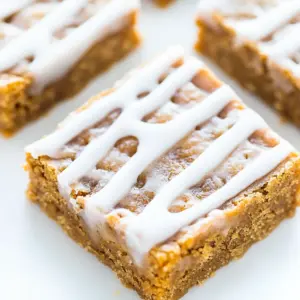
Iced Gingerbread Bars
The first time I made Iced Gingerbread Bars, it was a crisp autumn afternoon, and the air was filled with the scent of spices that felt like a warm hug. I had a craving for something sweet, yet comforting, and gingerbread seemed to be the perfect choice. As I mixed the dough, the beautiful aroma of ground ginger, cinnamon, and nutmeg danced through my kitchen, igniting memories of family gatherings and festive celebrations. These bars quickly became a staple in my home, bringing joy not just to my taste buds but also to my heart.
Recipe Snapshot
25 mins
5 mins
20 mins
Medium
180 kcal
2 g
Gluten-Free, Low FODMAP
8 g
8×8 inch Baking Pan, Stand Mixer Fitted with a Paddle Attachment, Wire Rack, Medium Bowl
Why This Iced Gingerbread Bars Hits Different
Perfect for Any Occasion
These Iced Gingerbread Bars are not just a treat; they’re a token of love, perfect for holiday gatherings, cozy nights in, or even as a surprise for a friend. I love bringing them to potlucks, where they disappear faster than I can say ‘gingerbread’!
Easy to Make
The simplicity of the recipe allows anyone to whip up a batch of these delightful bars without the need for advanced baking skills. Even if you’re a novice in the kitchen, you’ll find the instructions straightforward and the results rewarding.
Flavorful Layers
Each bite of these bars offers a lovely balance of spiciness from the ginger and sweetness from the molasses. The addition of icing gives them that extra flair, turning a humble treat into something special. It’s all about the layering of flavors that makes them irresistible!
Great for Sharing
What I love most about Iced Gingerbread Bars is how they foster connection. Whether I’m sharing them with family or friends, there’s something about the act of sharing sweet treats that brings people together, sparking joy and laughter.
Irresistibly Cozy
These bars embody the essence of cozy baking, making them an inviting choice for gatherings and holiday celebrations. The smell alone brings everyone into the kitchen, eagerly awaiting a taste. They’re a beautiful reminder of the warmth of home and the joys of togetherness.
Key Ingredients for Iced Gingerbread Bars
These ingredients come together to create a warm and inviting flavor profile in the Iced Gingerbread Bars. The key players, like light brown sugar and molasses, provide that rich, deep sweetness that pairs so perfectly with the warm spices.
- ½ cup light brown sugar, packed: Adds rich sweetness and moisture to the bars, giving them a tender texture.
- ½ cup unsalted butter, softened: Essential for creating a rich base and ensures the bars are buttery and delicious.
- 1 teaspoon cinnamon: The warm flavor of cinnamon complements the ginger perfectly, bringing warmth to each bite.
- ½ teaspoon ground ginger: The star of the show, providing that classic gingerbread flavor that is both spicy and sweet.
- ¼ teaspoon ground nutmeg: Adds a touch of nutty warmth that enhances the overall flavor profile.
- ¼ teaspoon ground cloves: Contributes a deep, aromatic quality that rounds out the spice blend.
- ¼ teaspoon salt, or to taste: Balances the sweetness and enhances the flavors of the other ingredients.
- 1 ½ cups all-purpose flour: The backbone of the recipe, providing structure to the bars.
- ½ teaspoon baking soda: Helps the bars rise slightly, creating a nice texture.
- ¼ cup medium or mild molasses: Introduces a deep sweetness and a moist texture that is characteristic of gingerbread.
- 1 cup confectioners’ sugar: Used for the icing, adding a sweet finish to the bars.
- about 2 teaspoons water, cream, or milk: Helps achieve the desired consistency for the icing.
Putting Together Iced Gingerbread Bars
Making Iced Gingerbread Bars is a delightful process that fills your kitchen with heartwarming aromas. Let’s dive right into the steps that will lead you to these scrumptious bars.
- Preheat your oven to 350F. Prepare an 8×8-inch baking pan by lining it with aluminum foil and spraying it with cooking spray. This will prevent the bars from sticking and make for easy removal later.
- In the bowl of a stand mixer fitted with a paddle attachment, or in a large mixing bowl using a handheld electric mixer, combine brown sugar and butter. Beat until the mixture is smooth and creamy. Don’t forget to stop occasionally to scrape down the sides of the bowl to ensure everything is well mixed.
- Add cinnamon, ground ginger, nutmeg, cloves, and salt to the mixture. Beat again until everything is well combined, and the spices are evenly distributed throughout.
- Next, slowly add the flour and baking soda to the bowl. Mix until just combined. The mixture may look a bit dry, but that’s okay! It will come together when you add the next ingredient.
- Pour in the molasses and mix until the batter is fully combined. You’ll notice the texture becoming more cohesive.
- Transfer the mixture into your prepared pan. Use a spatula to hard-pack it evenly into the corners. Although it may seem crumbly, it will bake beautifully together.
- Place the pan in the preheated oven and bake for about 20 minutes. You’ll want the center to be just set, while the edges pull slightly away from the pan. Keep an eye on them to avoid over-baking, as the bars will continue to firm up once they cool.
- Once done, remove the pan from the oven and let it cool on a wire rack for about 45 minutes. This is crucial for your bars to set properly.
- While waiting for the bars to cool, prepare the icing. In a medium bowl, whisk together the confectioners’ sugar and your choice of liquid until smooth. Adjust the consistency by adding more sugar or liquid as necessary.
- Once the bars have cooled, drizzle or pour the icing over the top. Allow it to set for about 15 minutes before slicing into squares. Enjoy your delightful creation!
Things Worth Knowing
- Know Your Oven: Every oven is different, so keep an eye on your bars as they bake. It might take a minute or two longer or less than the stated time.
- Don’t Overmix: When combining the ingredients, mix just until combined to keep the bars tender.
- Cool Completely: Let the bars cool completely on a wire rack before icing to avoid melting the icing.
- Experiment with Icing: Feel free to add flavors or colors to the icing to make your Iced Gingerbread Bars even more festive!
Customization Ideas
There are many ways to customize your Iced Gingerbread Bars to suit your taste. Here are some ideas to inspire you!
- Flavor Variations: Consider adding a touch of orange zest or lemon zest to the batter for a citrusy twist.
- Nuts: For added texture, fold in chopped walnuts or pecans before baking.
- Chocolate Drizzle: Drizzle some melted chocolate over the icing for a decadent touch.
- Frosting: Instead of icing, try using a simple cream cheese frosting for a richer flavor.
- Serving Size: Cut into larger or smaller pieces depending on the occasion, whether it’s a treat for a gathering or a snack at home.
- Storage: If you have leftovers, they can be stored airtight at room temperature for up to 5 days, or frozen for up to 3 months.
- Pairing: Enjoy these bars with a cup of hot tea or coffee for a perfect afternoon snack.
Serving Options for Iced Gingerbread Bars
There’s nothing quite like sharing your delicious Iced Gingerbread Bars with friends and family during the holidays or special occasions. Here are some ideas for serving:
- Holiday Gatherings: These bars are perfect for Christmas parties, where their festive flavors will delight guests.
- Potluck Treats: Bring your Iced Gingerbread Bars to a potluck. They’re easy to transport and will be a hit.
- Coffee Breaks: Serve alongside a cup of coffee or tea for a cozy afternoon snack.
- Seasonal Celebrations: Ideal for fall and winter events, these bars evoke the spirit of the season.
- With Ice Cream: Top a warm bar with a scoop of vanilla ice cream for an indulgent dessert.
- Gifts: Package them in a cute box and give them as homemade gifts during the holidays.
- Storage Tips: Keep leftovers in an airtight container at room temperature for up to 5 days, or freeze for up to 3 months.
FAQ
Conclusion
Iced Gingerbread Bars are a delightful treat that captures the essence of the holiday season with their warm spices and sweet icing. I encourage you to try making these bars; they not only bring joy to your taste buds but also create wonderful memories in the kitchen. Gather your ingredients and let the aroma of gingerbread fill your home!
Iced Gingerbread Bars
Equipment
- 8×8 inch Baking Pan
- Stand Mixer Fitted with a Paddle Attachment
- Wire Rack
- medium bowl
Ingredients
- ½ cup light brown sugar packed
- ½ cup unsalted butter softened
- 1 teaspoon cinnamon
- ½ teaspoon ground ginger
- ¼ teaspoon ground nutmeg
- ¼ teaspoon ground cloves
- ¼ teaspoon salt or to taste
- 1 ½ cups all-purpose flour don’t overmeasure
- ½ teaspoon baking soda
- ¼ cup medium or mild molasses
- 1 cup confectioners’ sugar
- about 2 teaspoons water, cream, or milk
Instructions
- Preheat your oven to 350F. Line an 8×8-inch baking pan with aluminum foil, spray with cooking spray; set aside.
- In the bowl of a stand mixer fitted with a paddle attachment, or in a large mixing bowl using a handheld electric mixer, combine brown sugar and butter. Beat until smooth and creamy. Stop to scrape down the sides of the bowl.
- Add cinnamon, ground ginger, nutmeg, cloves, and salt. Beat to combine.
- Slowly add flour and baking soda. Mix until just combined. The mixture may look a bit dry.
- Pour in molasses and mix until combined.
- Transfer the mixture to the prepared pan, hard-pack it evenly with a spatula.
- Bake for about 20 minutes, until the center is set and edges pull away slightly.
- Remove from the oven and cool for about 45 minutes on a wire rack.
- Prepare the icing by whisking together confectioners’ sugar and the liquid of choice until smooth. Adjust consistency as necessary.
- Once cooled, drizzle or pour icing over the bars. Allow it to set before slicing into squares.
Notes
- Storage: Bars will keep airtight at room temp for up to 5 days or in the freezer for up to 3 months.