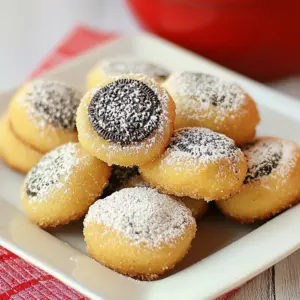
Fried Oreos
There’s something undeniably magical about indulging in Fried Oreos. I remember the first time I tried them at a state fair; the sweet aroma of hot oil and chocolate filled the air, tempting me with every step. I was skeptical at first, but the moment I took a bite, that warm, soft cookie surrounded by a crispy batter was a revelation. It’s a treat that brings back memories of laughter, bright lights, and the thrill of the fair. I’ve decided I can’t keep this joy to myself, so I’m sharing my recipe for Fried Oreos to help you recreate that nostalgic moment right in your own kitchen. Trust me, once you plunge those cookies into a bubbling pot of oil, you’ll understand why they’re a beloved favorite.
Recipe Snapshot
9 mins
7 mins
2 mins
Easy
200 kcal
2 g
Vegan, Gluten-Free, AIP
10 g
Mixing Bowl, Wooden Spoon, Skillet, Frying Pan, Whisk
Why This Fried Oreos Stands Out
Irresistible Flavor Combination
The wonderful blend of flavors in Fried Oreos is simply unmatched. The crispy shell complements the soft, gooey center of the warm Oreo, creating a dessert that tantalizes the taste buds in every bite.
Perfect for Any Occasion
Whether it’s a birthday party, a family gathering, or just a sweet treat on a regular evening, Fried Oreos are always a hit. They’re fun, easy to make, and loved by both kids and adults, making them the perfect addition to any celebration.
Quick and Simple to Prepare
You won’t believe how simple it is to whip up Fried Oreos. With just a few ingredients, you can have a delicious dessert ready in no time. It’s so easy that even the kids can join in on the fun!
Fun Cooking Experience
Making Fried Oreos is an enjoyable experience. From whisking the batter to dipping the cookies, the process creates a lively atmosphere in the kitchen. You can even make it a family activity, building memories while you cook together.
Customizable and Versatile
While the classic Oreo is a go-to, feel free to experiment with different cookie varieties or toppings. You can try using flavored Oreos or even drizzling chocolate sauce over the finished product to make it your own.
What Goes Into Fried Oreos
When it comes to Fried Oreos, the ingredients are simple yet incredibly effective. Each element serves a purpose, from creating that crispy outer layer to ensuring the Oreo stays soft and gooey inside. The key players here include the vegetable oil for frying, pancake mix for the batter, and of course, the Oreos themselves.
- Vegetable oil (for deep fryer or deep pan): Essential for frying the Oreos, it creates that golden, crispy exterior.
- Oreos: The star of the show! Choose your favorite variety to add a personal touch to this classic treat.
- Pancake mix: This creates the batter that coats the Oreos, giving them that delightful crunch.
- Egg: Helps bind the batter together for a perfect consistency.
- Milk: Adds moisture to the batter, ensuring it adheres well to the Oreos.
- Powdered sugar: A sweet finishing touch, making every bite feel extra special.
How to Prepare Fried Oreos
Preparing Fried Oreos is as exciting as it is delicious. You’ll find that the steps are straightforward, yet each one contributes to that indulgent outcome we all crave. Let’s dive into the process!
- Start by heating the vegetable oil in your fryer to 375°F. It’s crucial to get the oil hot enough, as this ensures the batter cooks quickly, resulting in a crispy coating. If you have a thermometer, this is the perfect time to use it; if not, a small drop of batter should sizzle when it hits the oil.
- In a medium bowl, whisk together the egg and milk. Make sure to mix these ingredients thoroughly; you want a smooth blend that will coat the Oreos perfectly. The color should be a light yellow, and the consistency should be liquid-like but not too runny.
- Next, add the pancake mix to the egg and milk mixture. Stir until it’s well combined. You’re looking for a thick batter, but make sure there are no clumps—this will ensure an even coating on your Oreos.
- Now, it’s time to dip! Take your Oreos and use a fork to dip them into the batter, making sure they’re fully coated. The batter should cling to the cookies, forming a nice layer around them.
- Carefully place the battered Oreos into the hot oil. Fry them until they turn a beautiful golden brown, which should take about 2 minutes. Keep an eye on them; you want them to fry evenly, so turn them if necessary.
- Once they’re done, use a slotted spoon to remove the Oreos from the oil. Place them on a paper towel-lined plate to absorb any excess oil. This step helps keep the cookies crispy without being greasy.
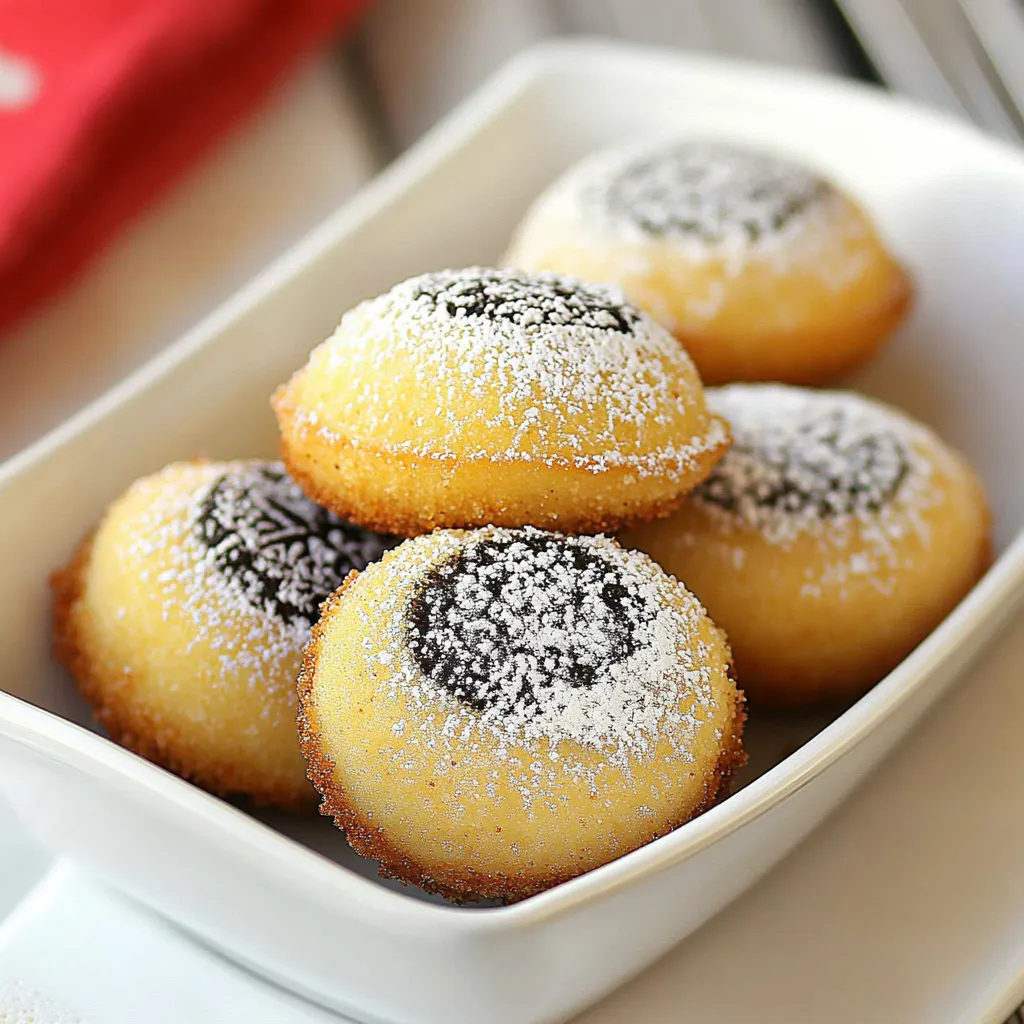
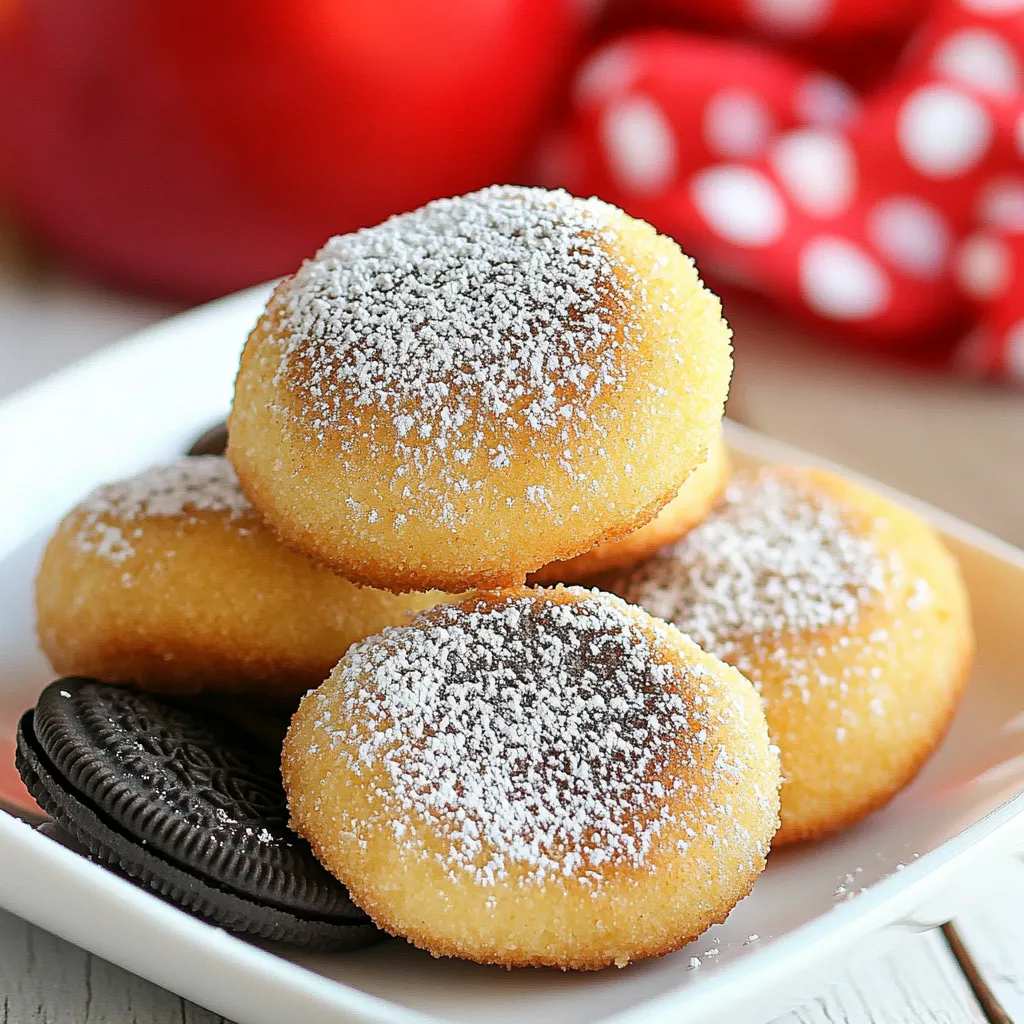
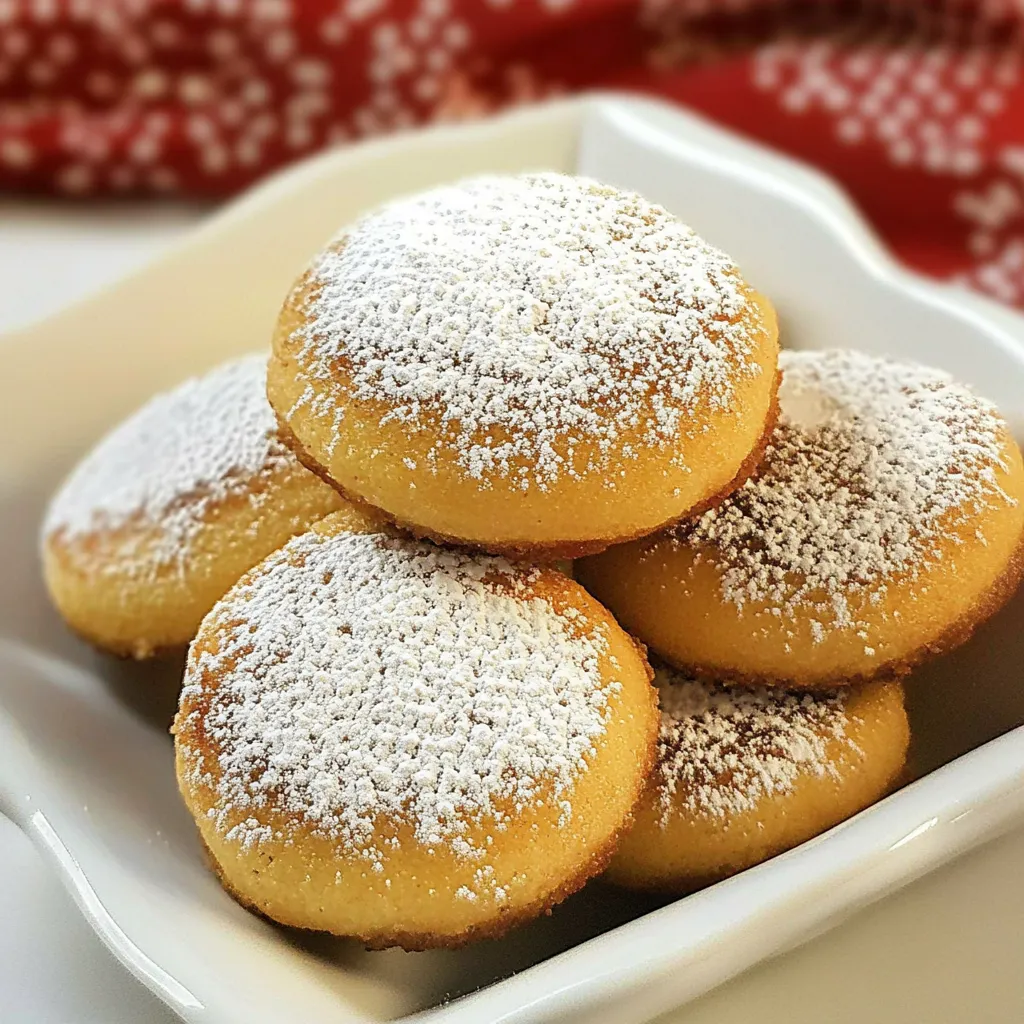
- While they’re still warm, sprinkle the Fried Oreos with powdered sugar. This adds a touch of sweetness and makes them visually appealing too. You can be generous with the sugar—after all, it’s a treat!
- Finally, serve your Fried Oreos hot and enjoy! They’re best eaten fresh, so gather your friends or family and dig in while they’re still warm and gooey.
Things Worth Knowing
- Frying Temperature: Maintaining the oil at the correct temperature is key for achieving that perfect crisp. If the oil is too hot, the batter will burn before the Oreos are cooked through.
- Variations: Feel free to explore different cookie flavors or batters. You can try using chocolate chip cookies or even a funnel cake batter for a twist on this classic treat.
- Serving Hot: Fried Oreos are best served immediately after frying to ensure you enjoy their crispy texture and gooey center.
- Healthier Option: If you want to indulge without the frying, consider an air fryer. It can give you a similar result with significantly less oil.
Change It Up
If you’re looking to customize your Fried Oreos, you’re in for a treat! Here are some fun ideas to enhance your experience:
- Storage: Keep leftover Fried Oreos in an airtight container at room temperature for up to a day. Reheat them in the oven for a few minutes to restore their crispiness.
- Freezing: You can freeze Fried Oreos for up to a month. Just make sure they’re completely cooled before placing them in a freezer-safe bag.
- Pairing: Serve Fried Oreos with a scoop of vanilla ice cream or whipped cream for a decadent dessert.
- Garnishing: Try adding a drizzle of chocolate or caramel sauce over the top for an extra layer of sweetness.
- Experimenting: Consider adding spices like cinnamon or nutmeg to the batter for a flavor twist.
Serving This Fried Oreos
When it comes to serving Fried Oreos, there are so many delightful ways to enjoy them! Here’s how you can elevate your serving game:
- As a Party Dessert: They make a fantastic centerpiece for dessert tables at parties, drawing in guests with their mouthwatering aroma.
- Garnished Plates: Serve them on a platter with a dusting of powdered sugar and a side of dipping sauces like chocolate or caramel.
- Themed Events: Perfect for carnival or fair-themed gatherings, bringing that festive vibe to your home.
- Seasonal Treats: Consider serving them during fall festivities with a hint of cinnamon sugar for a seasonal twist.
- Game Day Snacks: These Fried Oreos can also be a fun addition to your game day spread, appealing to both kids and adults alike.
- Sweet Snack Break: They’re a great afternoon pick-me-up snack that pairs well with coffee or milk.
FAQ
Conclusion
In summary, Fried Oreos are a delightful treat that brings joy and nostalgia to every bite. I encourage you to gather your ingredients and try this recipe tonight. It’s not just about the food; it’s about creating sweet memories and enjoying the little moments in life. Happy cooking!
Fried Oreos
Equipment
- Mixing Bowl
- Wooden Spoon
- Skillet
- Frying Pan
- Whisk
Ingredients
- 1 cup vegetable oil (for deep fryer or deep pan)
- 1 cup Oreos (your favorite variety)
- 1.5 cups pancake mix
- 1 egg
- 1 cup milk
- to taste powdered sugar
Instructions
- Heat oil in fryer to 375°F.
- In a medium bowl, whisk oil egg, and milk together.
- Stir in pancake mix and mix until there are no more clumps.
- Dip Oreos in batter with a fork and then place in hot oil.
- Fry until golden brown (it took about 2 minutes).
- Place Oreos on a paper towel-lined plate, sprinkle with powdered sugar and ENJOY!