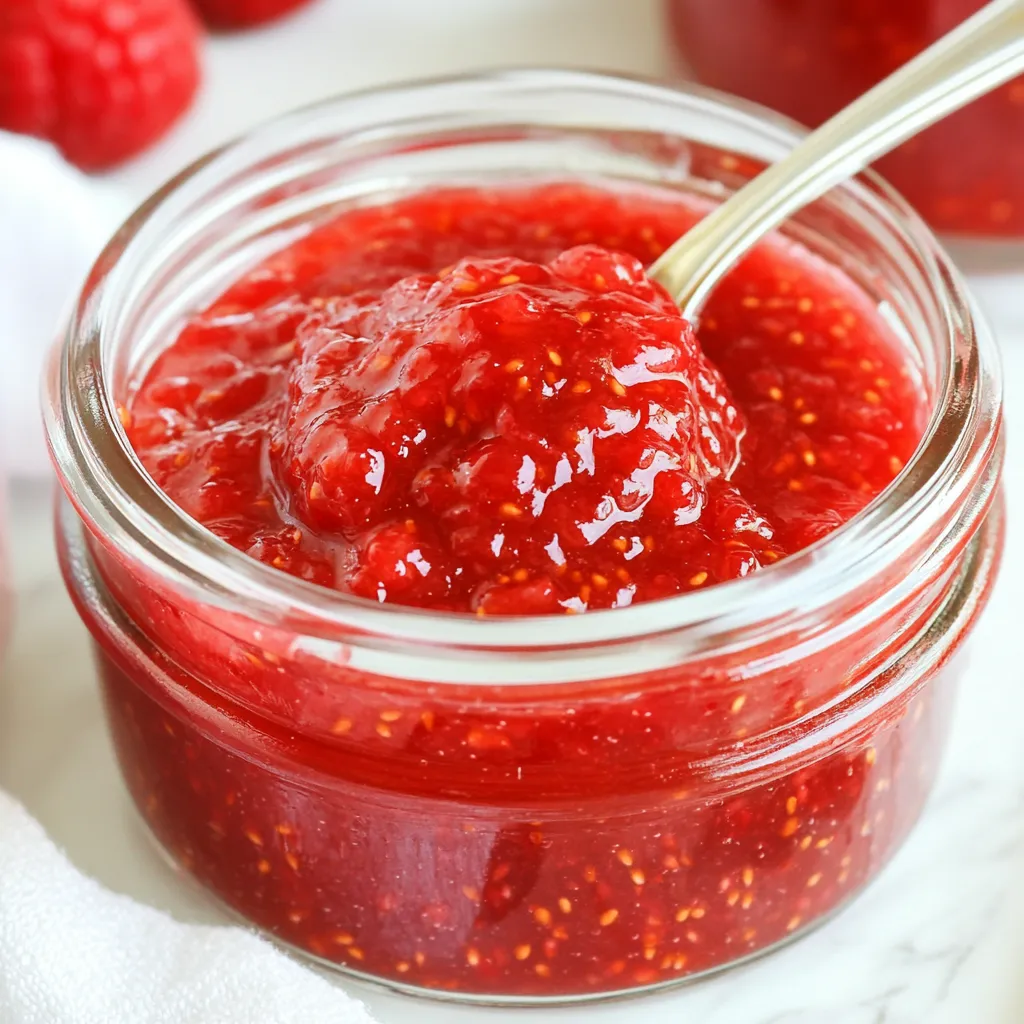
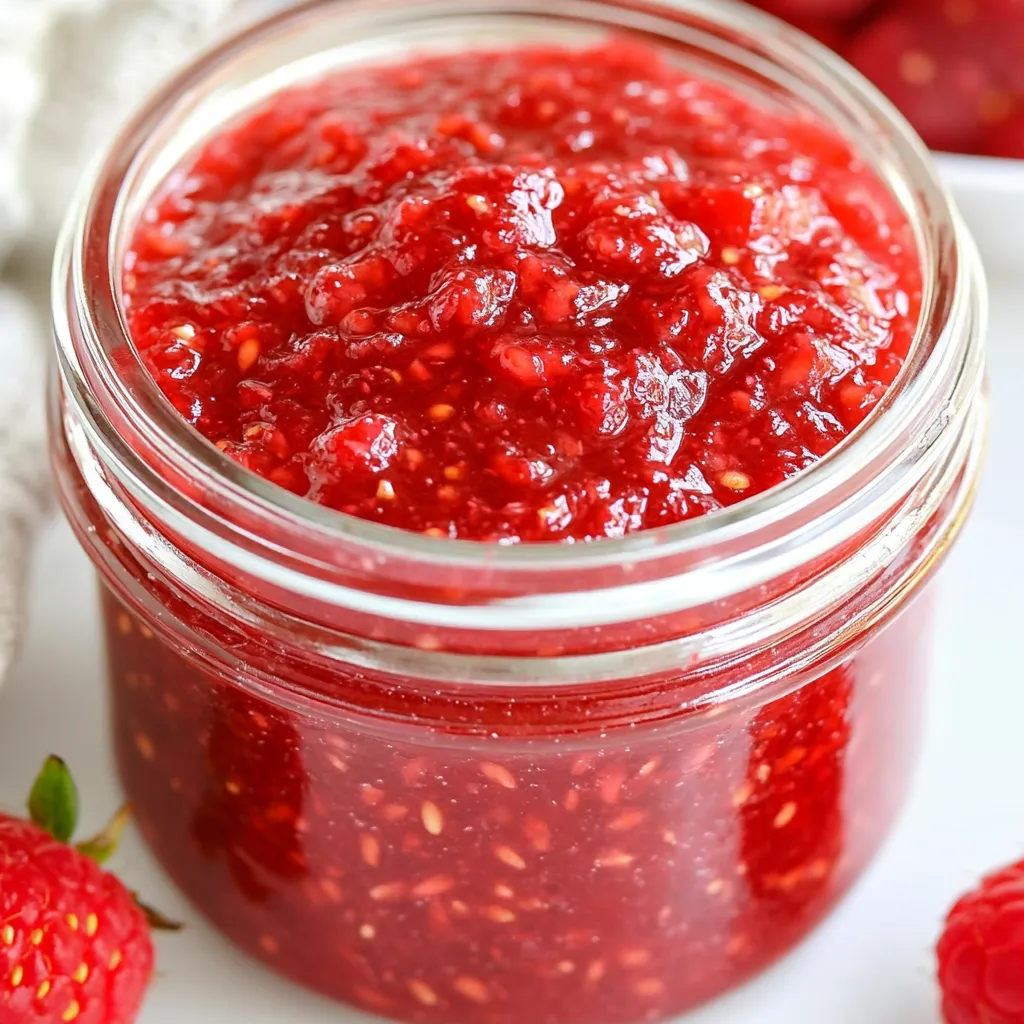
Easy Raspberry Jam
There’s something magical about making your own jam, and that’s why I love the Easy Raspberry Jam recipe. It brings back fond memories of summer days spent picking ripe, juicy raspberries from the garden. The sweetness of those berries combined with just the right amount of sugar creates a spread that can transport you to sun-soaked mornings with toast and a cup of coffee. This jam is not only delicious but also incredibly easy to make—perfect for those of us who want to savor the taste of summer all year round.
Recipe Snapshot
25 mins
10 mins
15 mins
Easy
150 kcal
0 g
Vegan, Gluten-Free, AIP
0 g
Mixing Bowl, Large Pot, Wooden Spoon, Frying Pan, Saucepan
Why This Easy Raspberry Jam Shines
Why It’s a Must-Try
First and foremost, the Easy Raspberry Jam recipe is so simple that anyone can make it, regardless of their cooking skills. You don’t need any fancy equipment or techniques; just a few basic ingredients and some time on the stove.
Versatility
This jam is incredibly versatile. You can spread it on toast, use it in baking, or even swirl it into yogurt for a delicious breakfast treat. The possibilities are endless!
Natural Ingredients
There’s peace in knowing exactly what goes into your jam. With just raspberries, sugar, and lemon juice, this recipe avoids the artificial preservatives and pectin found in many store-bought brands.
Perfect for Gifting
Homemade jam makes a thoughtful gift. Imagine giving a jar of your very own Easy Raspberry Jam to a friend, wrapped in a lovely ribbon. It’s a personal touch that shows you care.
Seasonal Delight
As summer approaches, making this jam can be a delightful tradition. It’s a way to preserve the flavors of the season, allowing you to enjoy the juicy sweetness of raspberries long after they’re out of season.
Family Bonding
Making jam can be a fun activity to do with family. Get the kids involved in washing the berries or stirring the pot. It’s a chance to create lasting memories together.
What You’ll Need for Easy Raspberry Jam
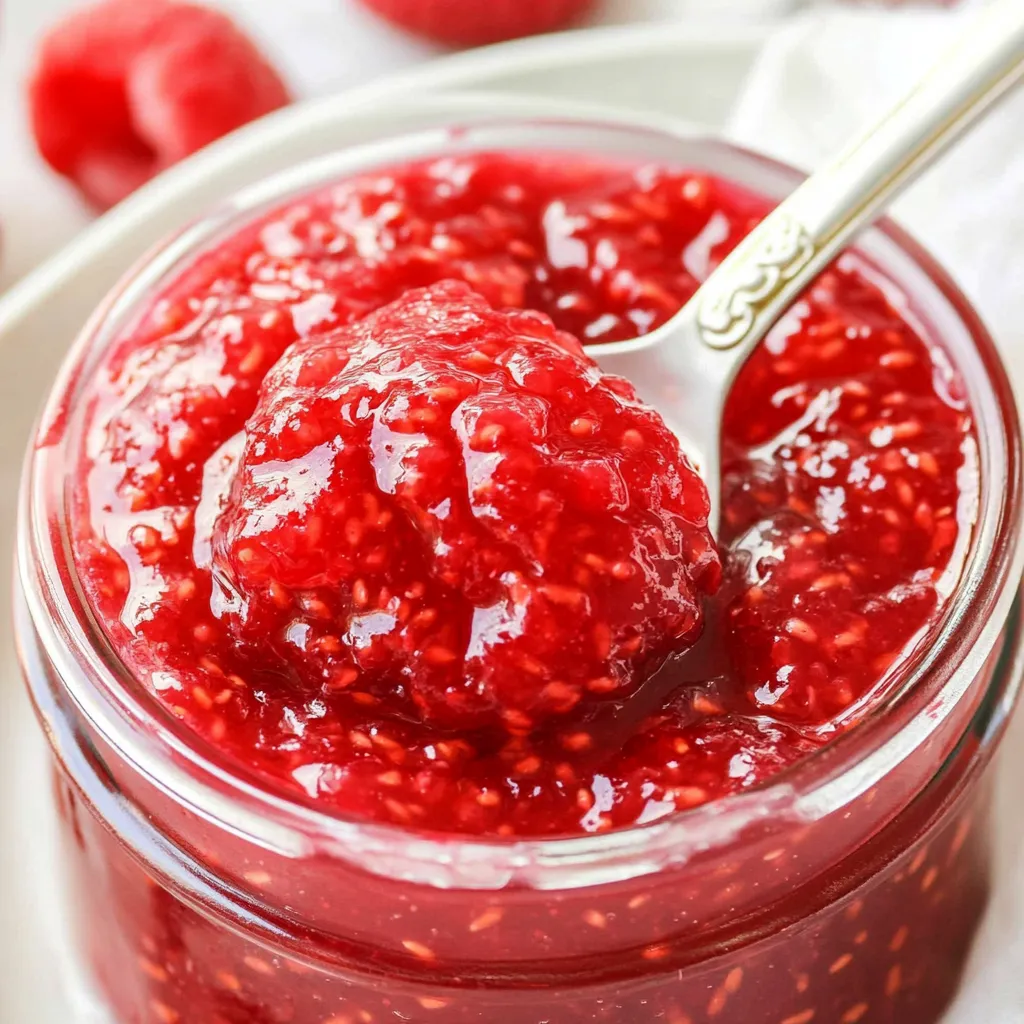
Creating your own jam is all about the quality of ingredients. For this Easy Raspberry Jam, the key players are fresh or frozen raspberries, granulated sugar, and a bit of lemon juice to enhance the flavor and help with the preservation process. Together, these ingredients create a balance of sweet and tangy that makes your toast sing!
- 5 cups raspberries (fresh or frozen) – The star of the show, providing that luscious berry taste.
- 2 ½ cups granulated sugar – This helps to sweeten the jam and preserve it.
- 1 ½ tablespoons lemon juice – Adds brightness and a touch of acidity.
How to Cook Easy Raspberry Jam

Making Easy Raspberry Jam is easier than you might think! Follow these simple steps, and you’ll be rewarded with jars of homemade goodness. Let’s dive in!
- Turn the stove to medium-high heat. Start by gathering your ingredients and tools; you’ll need a medium saucepan for cooking.
- In your saucepan, add the raspberries, sugar, and lemon juice. Stir everything together gently to combine.
- Place the pan on the stove and let the mixture cook over medium heat, stirring frequently. Watch for the raspberries to start releasing their juices, creating a beautiful ruby mixture.
- As it heats up, allow the fruit mixture to come to a full boil. This is where the magic happens! You’ll see bubbles forming and the mixture will start to thicken.
- Reduce the heat slightly to allow the jam to simmer. Continue stirring frequently as you allow the flavors to meld and the jam thickens to your desired consistency.
- Keep an eye on the jam; you can use the drippy spoon technique to test its thickness. This should take about 12 to 15 minutes from the beginning of boiling.
- Once it reaches your preferred thickness, remove it from the heat. Let it cool for a few minutes in the pan.
- Transfer the jam to sterilized jars. Allow the jam to fully cool to room temperature before sealing with lids.
- Enjoy your homemade Easy Raspberry Jam on toast, pancakes, or even as a sweet topping for desserts!
Things Worth Knowing
- Keep a close eye on the heat while cooking; if it’s too high, the jam can scorch.
- Using a potato masher can help break down the raspberries and create a smoother texture if preferred.
- Make sure your jars are properly sterilized to ensure the jam stays fresh longer.
- Always taste your jam while cooking—adjust sugar or lemon juice to suit your preference.
Change It Up
There are countless ways to enjoy and use your Easy Raspberry Jam. Here are some ideas to inspire you!
- Storage: To store leftovers, keep your jars in the refrigerator. They should last for about two to three weeks.
- Freezing: You can also freeze your jam. Just ensure it’s in a freezer-safe container. It can last up to six months in the freezer.
- Pairing: This jam pairs beautifully with cream cheese on bagels or as a filling in pastries.
- Variations: Consider adding herbs like mint or basil for a unique twist on flavors.
- Mix-In: Try mixing in a little crushed ginger for a spicy kick.
- Gifting: Package your jam in pretty jars with a handwritten label for a thoughtful homemade gift.
Perfect Pairings for Easy Raspberry Jam
When it comes to serving your Easy Raspberry Jam, the options are abundant!
- Breakfast: Spread your jam on warm toast or pancakes for a delightful start to the day.
- Snacks: Pair it with cheese and crackers for a fantastic afternoon snack.
- Desserts: Use as a topping for vanilla ice cream or swirl it into yogurt for a refreshing treat.
- Seasonal Occasions: Great for summer picnics or holiday brunches, bringing a burst of flavor to any gathering.
- Storage Tips: Ensure jars are sealed properly; you can even can the jam for longer shelf life.
FAQ
Conclusion
The Easy Raspberry Jam is a delightful way to enjoy the fruit of summer all year long. Making it at home not only allows you to control the ingredients but also brings a sense of satisfaction that comes from creating something delicious. I encourage you to try it; you won’t regret adding this vibrant jam to your pantry!

Easy Raspberry Jam
Equipment
- Mixing Bowl
- Large Pot
- Wooden Spoon
- Frying Pan
- Saucepan
Ingredients
- 5 cups Raspberries fresh or frozen
- 2.5 cups Granulated Sugar
- 1.5 tablespoons Lemon Juice
Instructions
- Turn the stove to medium high heat. In a medium saucepan, add the raspberries, sugar and lemon juice. Place the pan on the stove. Cook the mixture over medium heat, stirring frequently. Allow the fruit mixture to come to a full boil. Reduce the heat slightly to allow the jam to simmer. Continue stirring frequently as the jam thickens until it thickens to your desired consistency. You can also use the drippy spoon technique described in the notes. This should take about 12-15 minutes from the beginning of boiling. Remove from the heat and allow to fully cool to room temperature before storing or using for a recipe. Enjoy!
Notes
- Light drips: When the jam first begins to become a syrup after boiling, the mixture will drip easily off the spoon and be light in color.
- Drops In Two Drips: As the jam mixture begins to thicken, you’ll notice the drips will start to come off of side of the spoon in two drips instead of one.
- Sheet of Drips: Once the jam has become thick enough it will drop off the side of the spoon in more of a thicker sheet. Once this happens, the jam has reached the jelled portion where the natural fruit pectin found inside the fruit has thickened, and your jam will be thick enough to spread on toast.