Dehydrate Apples
When I think of my childhood, I can almost smell the sweet aroma of dried fruits wafting through my home. One of my favorite memories is when my mom showed me how to dehydrate apples. I remember the excitement of waiting for those slices to transform into chewy, sweet treats. There’s something inherently satisfying about taking fresh, crisp apples and turning them into a delightful snack that can last for months. As the seasons change and autumn arrives, I find myself yearning for this timeless process that captures the essence of the harvest.
Every time I prepare to make dried apple slices, I’m flooded with nostalgia. From picking the freshest apples at the local orchard to slicing them and watching them dry slowly, the entire experience feels like a ritual of love. It’s not just about preserving food; it’s about crafting memories. Sharing these dried apple slices with friends and family becomes a way of spreading joy during gatherings, picnic lunches, or cozy evenings by the fire.
Whether you enjoy a tangy dip in caramel or prefer the tartness of dried apples on their own, the versatility of this snack is simply delightful. I love experimenting with different types of apples and even adding a sprinkle of cinnamon for a warm twist. Let’s dive into the wonders of dehydrating these amazing fruits and uncover the joys of crafting your very own dried treats right at home!
Recipe Snapshot
60 mins
0 mins
0 mins
Medium
130 kcal
0.5g g
Keto, Paleo, Whole30
0g g
Mixing Bowl, Chef’s Knife
The Beauty of This Dehydrate Apples
1. Nutritional Powerhouse
The process of dehydrating apples not only preserves their taste but also concentrates their nutrients. Dried apples are rich in dietary fiber, which aids digestion, making them a healthy choice for snacking. Unlike many other snacks, they provide natural sweetness without the need for added sugars.
2. Budget-Friendly Snack
Instead of spending on store-bought snacks, making your own dehydrated apples can save you money in the long run. You can use seasonal apples, which are often cheaper, and create an abundance of snacks for your family. This helps keep the pantry stocked without breaking the bank.
3. Perfect for Meal Prep
When life gets busy, having snacks ready to go is essential. Dehydrated apples are lightweight and portable, making them a convenient choice for lunches or hikes. They can easily fit into bags and are mess-free, ensuring you’ll always have a nutritious option on hand.
4. A Fun Family Activity
Dehydrating apples can be a delightful family activity. Gathering together to slice the apples and prepare them for the dehydrator creates bonding moments. Kids can learn about the importance of food preservation and get involved in the kitchen, instilling a love for cooking from an early age.
5. Endless Flavor Possibilities
While the classic dried apples are delicious on their own, there are endless ways to elevate their flavor. You can add spices like cinnamon, ginger, or nutmeg before dehydrating for a unique twist. This versatility allows you to customize the flavors to satisfy your taste buds.
6. Great for Gifting
Dried apples make perfect gifts! Pack them into mason jars or pretty bags, and they become thoughtful, homemade presents for friends and family during the holidays. People will appreciate the effort and love that went into creating such a delicious and wholesome gift.
What’s In This Dehydrate Apples
When it comes to dehydrating apples, simplicity is key. The fresh ingredients you choose play a crucial role in achieving great flavor and texture. Each element works harmoniously to produce that satisfying, chewy bite. Here are the essential ingredients for this delightful recipe:
- 3 medium-sized apples: The star of the show, these provide natural sweetness and flavor. Choose a variety like Honeycrisp or Granny Smith for the best results.
- Cinnamon (Optional): Adds a warm spice that complements the sweetness of the apples. A sprinkle can enhance the flavor profile significantly.
- Lemon juice (Optional): Helps prevent the apple slices from browning, keeping them visually appealing and fresh.
Recipe Directions for Dehydrate Apples
Dehydrating apples at home is a simple yet rewarding process that allows you to create delicious snacks. Let’s break down the steps and make your kitchen smell amazing!
- Start with the freshest apples. Wash your apples thoroughly under running water to remove any dirt or residues. This step is vital to ensure clean and tasty snacks.
- Next, core the apples and slice them thinly, about ⅛ inch or thinner. Keep the skin on for added flavor and nutrition. Remember, the thinner you slice them, the faster they will dry.
- If you want to prevent the apple slices from turning brown, soak them in a mixture of lemon juice and one cup of water for about 5 minutes. This not only preserves their color but also adds a slight tang.
- Arrange the slices on dehydrator trays in a single layer. Ensure they do not overlap to promote even drying. This is key to achieving that perfect texture.
- Optionally, sprinkle some cinnamon over the apple slices to enhance the flavor. You can adjust the amount according to your preference.
- Set your dehydrator to 135°F (about 57°C). This low temperature will allow the apples to dry slowly without cooking them.
- The drying time will vary based on the thickness of your slices and the exact temperature of your dehydrator. Start checking the apples at around 6 hours. However, some slices may take up to 10 hours to dry completely.
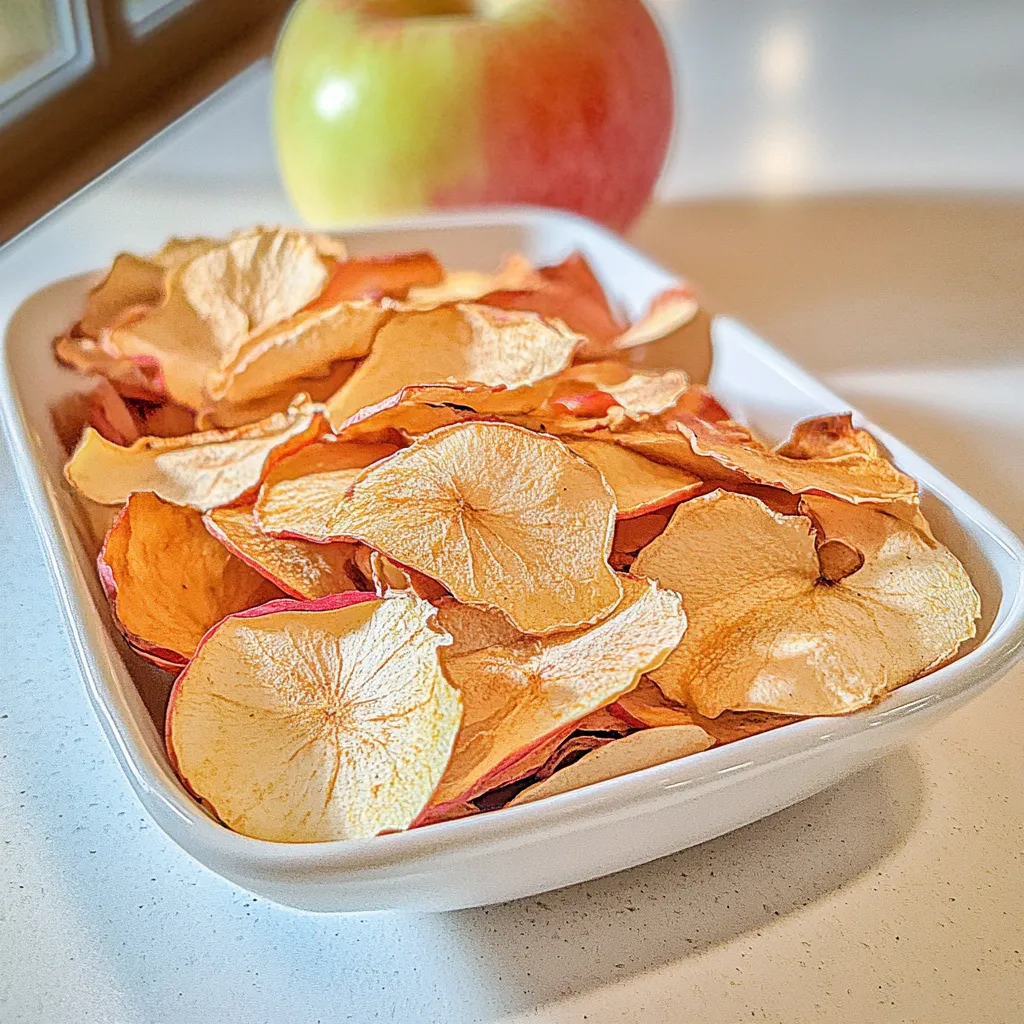
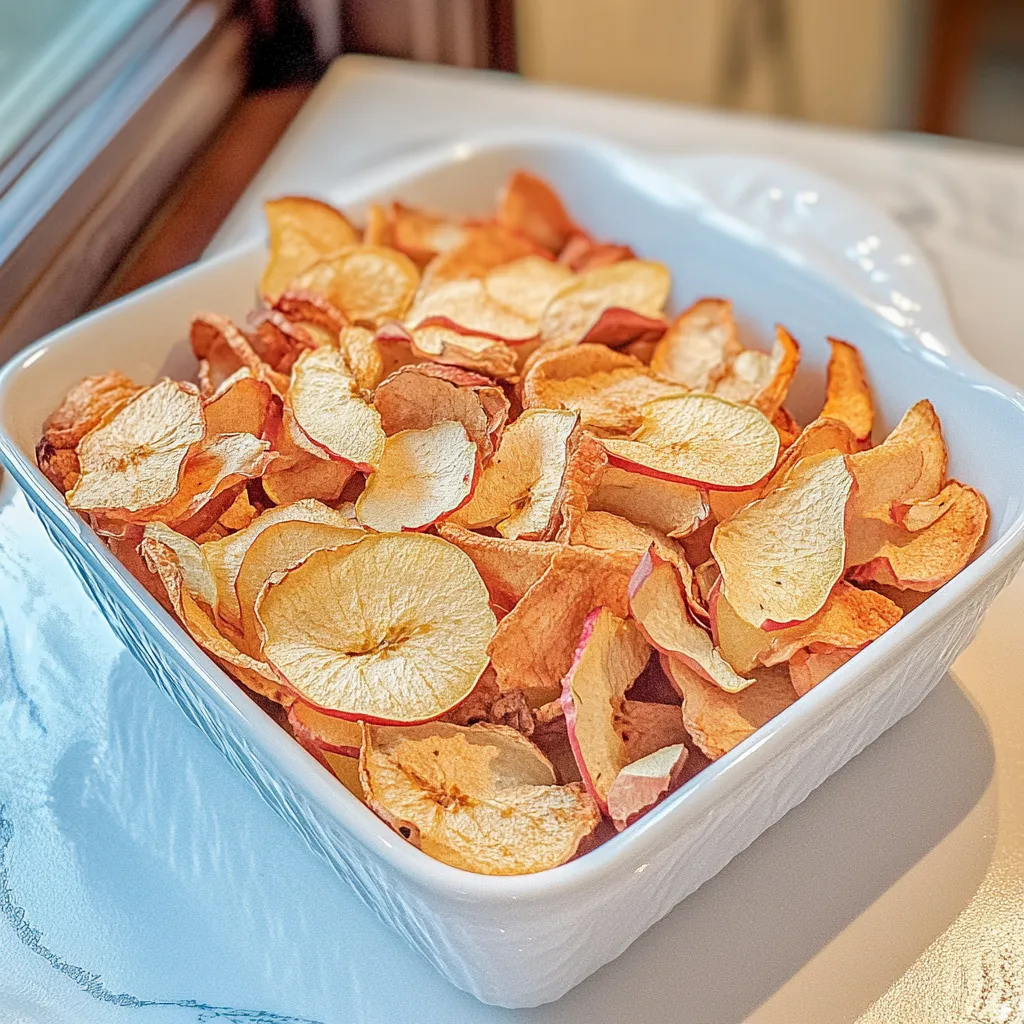
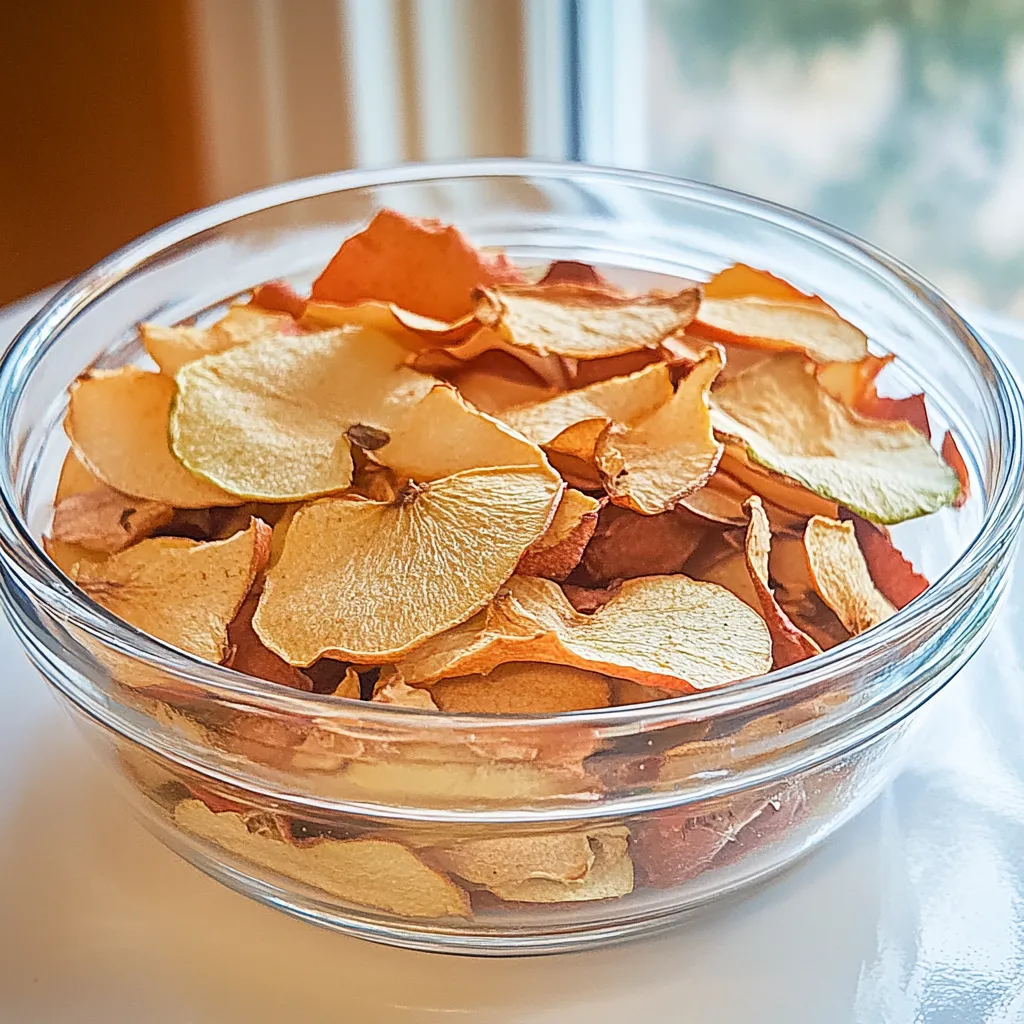
- You’ll know the apple slices are done when they are leathery to crisp. It’s mostly a matter of personal preference for how dry you like them.
- Once dried to your liking, remove the trays and let the slices cool completely at room temperature. This step ensures they won’t trap moisture.
- Finally, store your dried apples in an airtight container. They can last for months if stored properly!
Things Worth Knowing
- Slice Thickness Matters: The thickness of your slices directly affects the drying time. Aim for uniform slices to ensure even drying.
- Monitor Drying Time: Check the apples regularly towards the end of the drying process. Drying time can vary depending on the dehydrator and humidity levels.
- Experiment with Flavors: Don’t hesitate to try different spices or sweeteners. Each batch can have a different flavor profile.
- Storage Conditions: Make sure to keep the dried apples in a cool, dry, and dark place to prolong their shelf life.
Expert Tips about Dehydrate Apples

Having a few tips up your sleeve can make the process of dehydrating apples even smoother. Here are some expert pointers to ensure your dried snack is a success:
- Storage: Keep your dried apples in an airtight container in a cool, dark place. This will help maintain their flavor and texture.
- Freezing: You can freeze dried apples for longer preservation. Just ensure they are in an airtight freezer-safe bag.
- Pairing: Serve your dried apples with nut butter or cheese for a delicious and satisfying snack.
- Varieties: Experiment with different varieties of apples to discover your favorite flavor. Each type can provide a unique taste experience.
- Check for Doneness: When checking for dryness, remember that the apples should be pliable, not sticky. If they stick together, they need more drying time.
- Serve with Care: Dried apples make great snacks, but they can also be added to salads, oatmeal, or baked goods for an added layer of flavor.
Best Served With
Creating the perfect setting for enjoying your dehydrated apples enhances the experience. Here are some ideas on how to serve them:
- Snack Time: Dried apples on their own make for a wonderful afternoon snack. They satisfy sweet cravings without guilt!
- Trail Mix: Combine dried apples with nuts, seeds, and other dried fruits for a wholesome trail mix. Ideal for hikes or road trips.
- Cheese Boards: Incorporate dried apples on a cheese board alongside cheeses and meats for a delicious charcuterie experience.
- Breakfast Boost: Add to your morning oatmeal or yogurt. Dried apples provide natural sweetness and a chewy texture.
- Holiday Gift: Package them beautifully in jars or bags as thoughtful gifts for friends and family during the holiday season.
- Cooking: Use dried apples in baking muffins or cakes. They add moisture and a sweet flavor that enhances your baked goods.
FAQ
Conclusion
Dehydrating apples is not just a method of preservation; it’s a way to create lasting memories and delicious snacks that you can enjoy anytime. With just a few fresh ingredients and a little time, you can transform apples into a delightful treat that’s perfect for sharing. I encourage you to try this dehydrate apples recipe and savor the fruits of your labor.
Embrace the joy of homemade snacks and the satisfaction of knowing exactly what’s in them. Happy dehydrating!

Dehydrate Apples
Equipment
- Mixing Bowl
- Chef's Knife
Ingredients
- 3 medium-sized Apples
- to taste Cinnamon Optional for flavor.
- to taste Lemon juice Optional to prevent browning.
Instructions
- Start with the freshest apples. Wash your apples thoroughly under running water to remove any dirt or residues. This step is vital to ensure clean and tasty snacks.
- Next, core the apples and slice them thinly, about ⅛ inch or thinner. Keep the skin on for added flavor and nutrition. Remember, the thinner you slice them, the faster they will dry.
- If you want to prevent the apple slices from turning brown, soak them in a mixture of lemon juice and one cup of water for about 5 minutes. This not only preserves their color but also adds a slight tang.
- Arrange the slices on dehydrator trays in a single layer. Ensure they do not overlap to promote even drying. This is key to achieving that perfect texture.
- Optionally, sprinkle some cinnamon over the apple slices to enhance the flavor. You can adjust the amount according to your preference.
- Set your dehydrator to 135°F (about 57°C). This low temperature will allow the apples to dry slowly without cooking them.
- The drying time will vary based on the thickness of your slices and the exact temperature of your dehydrator. Start checking the apples at around 6 hours. However, some slices may take up to 10 hours to dry completely.
- You'll know the apple slices are done when they are leathery to crisp. It’s mostly a matter of personal preference for how dry you like them.
- Once dried to your liking, remove the trays and let the slices cool completely at room temperature. This step ensures they won't trap moisture.
- Finally, store your dried apples in an airtight container. They can last for months if stored properly!