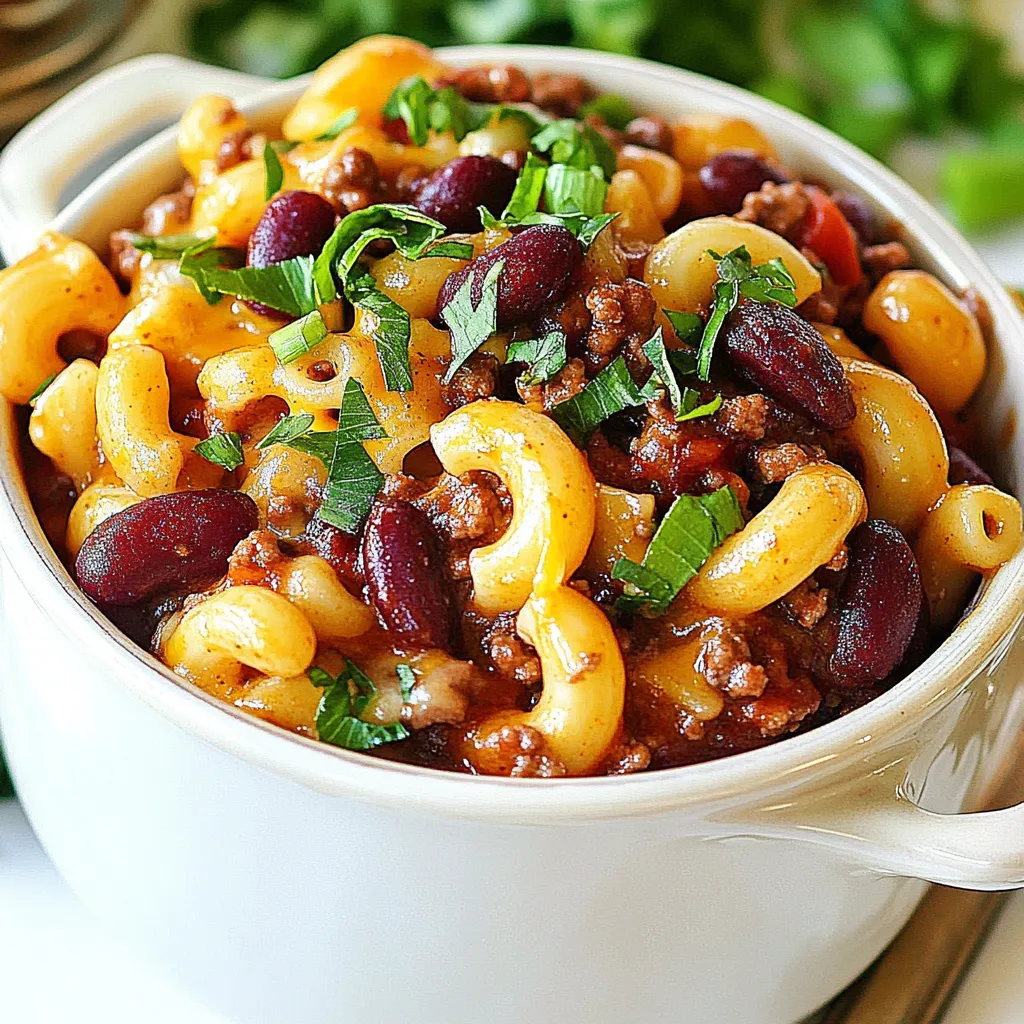
Chili Mac and Cheese
There’s something incredibly comforting about a bowl of Chili Mac and Cheese. I still remember the first time I had it; it was a chilly winter evening, and I walked into my friend’s house, greeted by an intoxicating aroma wafting through the air. Her mom had just pulled a bubbling pot of this rich, cheesy delight off the stove. The combination of hearty chili and creamy cheese over pasta was completely irresistible. Ever since, it’s been a go-to dish in my own kitchen, perfect for cozy nights or gatherings with family. It’s quick to prepare and delivers a flavor punch that satisfies those comfort food cravings like nothing else.
Recipe Snapshot
40 mins
15 mins
25 mins
Medium
500 kcal
30 g
Keto, Paleo, Whole30
20 g
Large Pot, Wooden Spoon, Skillet, Oven, Cutting Board, Saucepan
What You’ll Enjoy About This Chili Mac and Cheese
Comforting and Hearty Meal
One of the main reasons I adore Chili Mac and Cheese is its heartiness. The fusion of flavors from the ground beef, spices, and pasta creates a dish that fills you up and warms your soul. It’s a meal that feels like a hug on a plate.
Perfect for Any Occasion
This dish is incredibly versatile! Whether you’re hosting a casual dinner party or looking for something to feed the family on a busy weeknight, Chili Mac and Cheese fits the bill perfectly. It’s suitable for both casual meals and more festive occasions.
Kid-Friendly Appeal
If you have picky eaters at home, this dish is a lifesaver. Kids love cheesy pasta, and the chili component adds a fun twist. You can easily adjust the spices to suit their taste, making it a family favorite that everyone will enjoy.
Easy to Make
What I love most about Chili Mac and Cheese is how straightforward it is to prepare. With simple ingredients and minimal prep work, you can whip up this dish in no time. It’s perfect for those evenings when you want a delicious meal without spending hours in the kitchen.
Customizable to Your Liking
Another fantastic aspect of this recipe is its flexibility. You can easily tweak the ingredients based on what you have on hand. Want to add some veggies? Toss in some bell peppers or zucchini. Prefer a different type of cheese? Go for it! It’s a dish that welcomes your personal touch.
Great for Leftovers
Leftovers are always a win, and Chili Mac and Cheese holds its flavor beautifully. You can enjoy it the next day, and it even tastes better as the flavors meld together overnight. Just warm it up, and you’re ready to dig in again!
Chili Mac and Cheese Shopping List
When it comes to creating a dish as delightful as Chili Mac and Cheese, the ingredients are key. Each element works harmoniously together to build layers of flavor and texture that make this meal so special.
- 8 ounces elbow macaroni pasta, uncooked, dry
- 1 pound lean ground beef
- 1 medium yellow onion, diced
- 2 cloves garlic, minced
- 1½ tablespoons chili powder
- 1 teaspoon ground cumin
- ¼ teaspoon cayenne, optional
- 1 teaspoon smoked paprika
- ½ teaspoon salt
- 22 ounces crushed tomatoes, use the entire can, juice and all
- 8 ounces tomato sauce
- 2 tablespoons tomato paste
- 1 tablespoon Worcestershire sauce
- ¾ cup beef broth
- 1 teaspoon hot sauce
- 30 ounces kidney beans, 2 cans, rinsed well and drained
- 8 ounces shredded cheese, for serving
Step by Step Instructions for Chili Mac and Cheese

Cooking Chili Mac and Cheese is a delightful experience that fills your kitchen with mouthwatering aromas. Follow these simple steps to create this comforting dish that you and your loved ones will enjoy.
- Begin by cooking the elbow macaroni pasta according to the package directions until al dente. Drain the pasta and set it aside. This step is essential as it ensures your pasta retains its firmness and doesn’t get mushy in the final dish.
- While the pasta is cooking, take a large dutch oven or deep skillet and brown the ground beef over medium heat. Stir occasionally until the meat is mostly cooked through, with just a hint of pink remaining. This adds a depth of flavor as you develop the base for your chili.
- Add the diced onion to the skillet, mixing it with the beef. Continue cooking until the onion is translucent, which should take around 5 to 7 minutes. The onions will soften and sweeten, creating a flavorful combination with the beef.
- Next, incorporate the minced garlic into the mixture and cook for an additional minute. Garlic adds a wonderful aroma and enhances the savory quality of your chili.
- Sprinkle in the chili powder, ground cumin, smoked paprika, cayenne (if using), and salt. Stir everything until well combined, allowing the spices to toast slightly in the pan. This step intensifies their flavors.
- Add the crushed tomatoes, tomato sauce, tomato paste, Worcestershire sauce, beef broth, hot sauce, and kidney beans to the skillet. Stir everything together, bringing the mixture to a boil.
- Once boiling, reduce the heat and let the chili simmer for about 15 minutes. Stir occasionally, and keep an eye on the texture; you want it to thicken nicely. The flavors will meld together beautifully during this simmering phase.
- After the chili has thickened, stir in the cooked macaroni. Mix thoroughly to ensure the pasta is well-coated with the chili sauce. This is where the dish truly comes together!
- Finally, top the chili mac with shredded cheese. Either place a lid on the pot to melt the cheese or transfer it under the broiler for a few minutes until it’s bubbly and golden. This final touch brings a deliciously gooey texture to the dish.
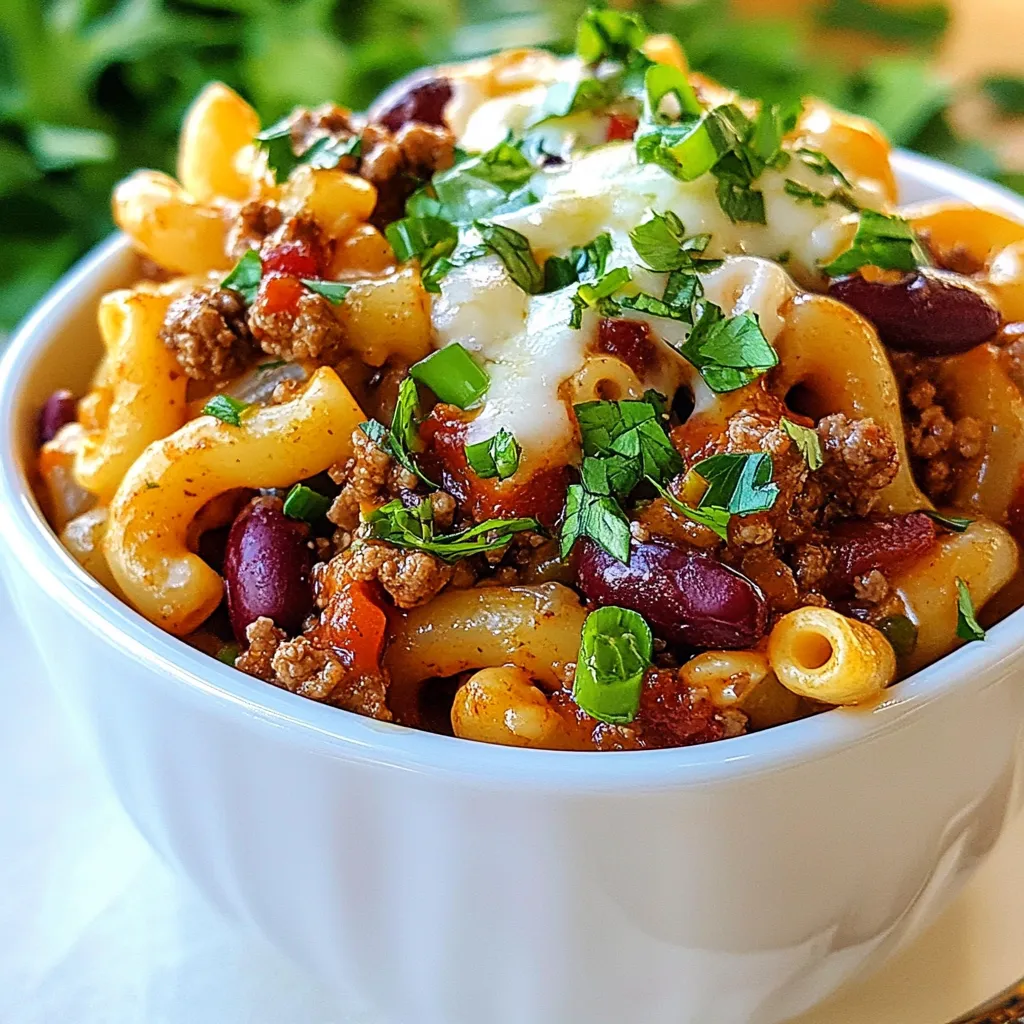
- Serve your Chili Mac and Cheese hot, topped with any additional garnishes you desire, such as jalapenos, chopped tomatoes, or a dollop of sour cream. Enjoy every bite of this comforting meal!
Things Worth Knowing
- Choosing the Right Pasta: For Chili Mac and Cheese, I recommend using small pasta shapes like elbow macaroni or shells. They hold onto the sauce beautifully.
- Cooking Ground Beef: When browning the ground beef, avoid overcrowding the pan. This ensures even cooking and browning for a rich flavor.
- Simmering Time: The longer you let the chili simmer, the more developed the flavors will be. Just keep an eye on the texture and adjust the heat as necessary.
- Cheese Selection: Feel free to mix different types of cheese for a more complex flavor. Cheddar, Monterey Jack, or even a sprinkle of Parmesan can elevate your dish.
- Storage Tips: If you have leftovers, let them cool completely before storing them in an airtight container. This helps preserve quality and flavor.
Customization Ideas
One of the wonderful things about Chili Mac and Cheese is how easy it is to customize. You can make it your own by adding or swapping out ingredients to suit your taste!
- Swap the Meat: If you’re looking for a lighter version, try using ground turkey or chicken instead of ground beef.
- Add More Veggies: Sneak in some chopped bell peppers, zucchini, or sweet corn to boost the nutrition and add color.
- Spice It Up: Increase the heat by adding more cayenne or even some diced jalapenos into the mix for an extra kick.
- Use Different Cheeses: Experiment with different cheeses like pepper jack for a spicy twist or gouda for a smoky flavor.
- Experiment with Toppings: Beyond cheese, consider toppings like crushed tortilla chips, fresh cilantro, or green onions for added texture and freshness.
- Try Different Sauces: Swap the tomato sauce for BBQ sauce or salsa for an entirely new flavor profile.
What Goes Well With This Chili Mac and Cheese
- Side Salads: A crisp green salad dressed with vinaigrette pairs beautifully with the richness of Chili Mac and Cheese.
- Garlic Bread: Serve with warm garlic bread for a satisfying meal that balances the flavors.
- Occasions: This dish is perfect for family dinners, casual gatherings, or even a cozy night in during winter.
- Storage: Leftovers can be stored in the fridge for up to three days and can easily be reheated.
- Seasonal Pairings: Enjoy this dish during the colder months when warmth and comfort food are most needed.
FAQ
Conclusion
The beauty of Chili Mac and Cheese lies in its comforting flavors and satisfying textures. It’s a dish that brings warmth and joy to the table, perfect for cozy gatherings or casual dinners at home. I encourage you to give this recipe a try; it’s an excellent addition to your weeknight meal rotation. Plus, you can customize it to your heart’s content, making it uniquely yours!

Chili Mac and Cheese
Equipment
- Large Pot
- Wooden Spoon
- Skillet
- Oven
- Cutting Board
- Saucepan
Ingredients
- 8 ounces elbow macaroni pasta uncooked, dry
- 1 pound lean ground beef
- 1 medium yellow onion diced
- 2 cloves garlic minced
- 1.5 tablespoons chili powder
- 1 teaspoon ground cumin
- 0.25 teaspoon cayenne optional
- 1 teaspoon smoked paprika
- 0.5 teaspoon salt
- 22 ounces crushed tomatoes use the entire can, juice and all
- 8 ounces tomato sauce
- 2 tablespoons tomato paste
- 1 tablespoon Worcestershire sauce
- 0.75 cup beef broth
- 1 teaspoon hot sauce
- 30 ounces kidney beans 2 cans, rinsed well and drained
- 8 ounces shredded cheese for serving
Instructions
- Cook macaroni according to package directions until al dente. Drain and set aside.
- While the macaroni is cooking, brown the ground beef in a dutch oven or large, deep skillet over medium heat until mostly cooked through. A little pink is fine.
- Add the diced onion and stir to combine, cooking over medium heat until onion is translucent. Add minced garlic and continue cooking for an additional minute.
- Stir in the chili powder, cumin, smoked paprika, cayenne (if using) and salt until combined.
- Add the crushed tomatoes, tomato sauce, tomato paste, Worcestershire sauce, beef broth, hot sauce and kidney beans. Bring to a boil, reduce heat and let simmer for 15 minutes, stirring occasionally, or until chili has thickened.
- Stir in the cooked macaroni and season with salt and pepper if needed.
- Top with shredded cheese, place a lid on the chili mac to melt the cheese or place under the broiler for a few minutes, just until cheese is melted and bubbling.
- Serve with desired toppings such as shredded cheese, jalapenos, tomatoes, sour cream, etc.
Notes
- Storage: Leftovers should be stored in an airtight container in the fridge for up to 3 days.
- Freezing: To freeze, let cool to room temperature, transfer to an airtight, freezer safe container and freeze for up to 3 months. Thaw overnight in the refrigerator and warm gently on the stove top. You may need to add additional beef broth or stock to “loosen” it up.