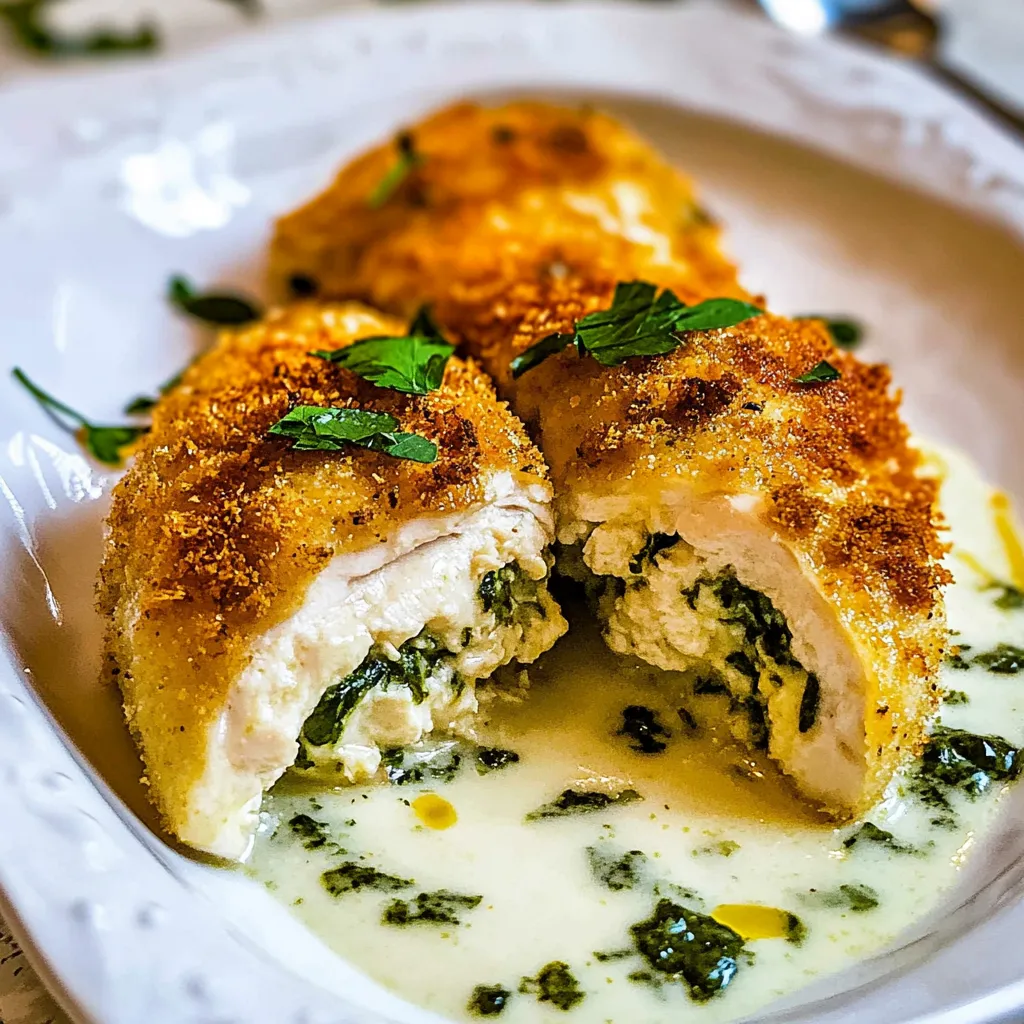
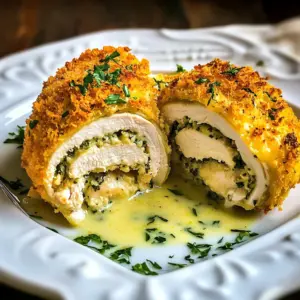
Chicken Kiev
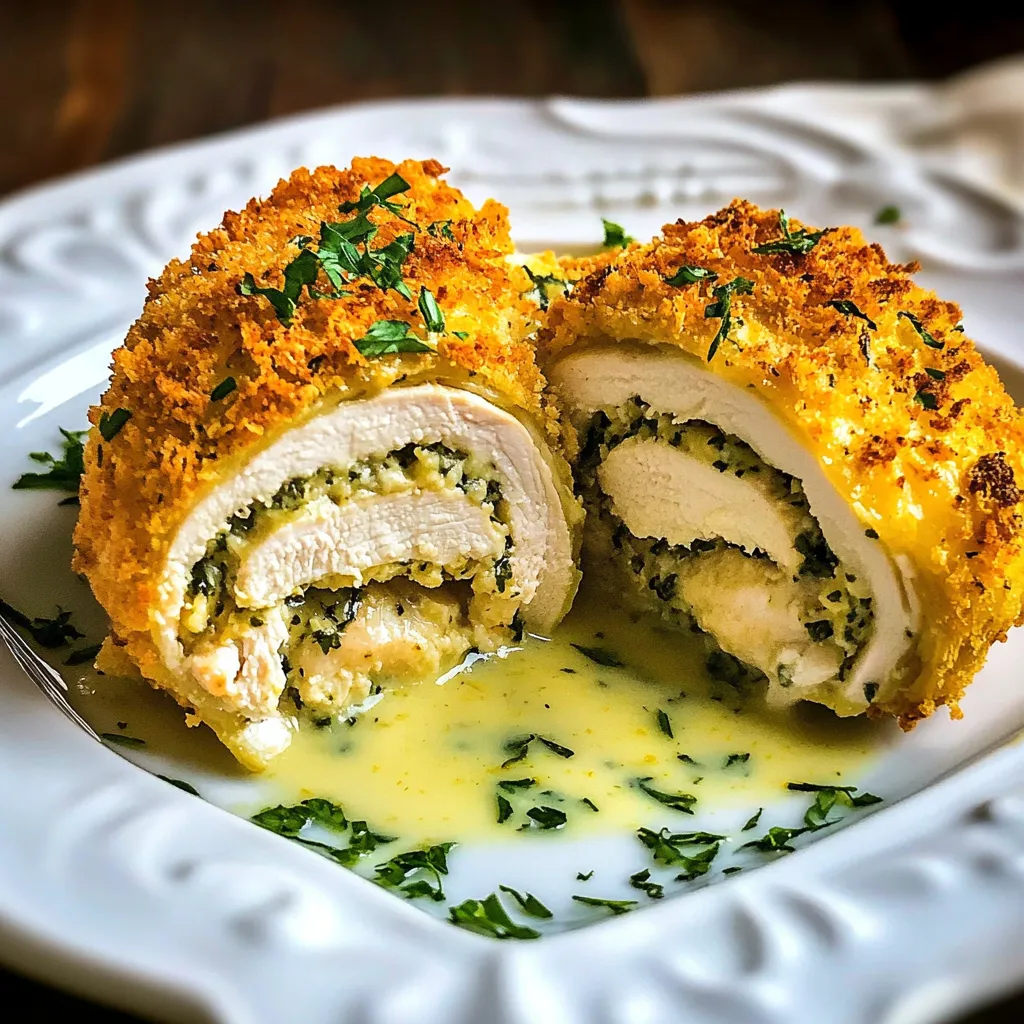
There’s something incredibly satisfying about biting into a perfectly made Chicken Kiev. The moment the crispy exterior gives way to the rich, garlicky butter inside is nothing short of bliss. Growing up, this dish was a special treat, often reserved for family gatherings or celebrations. I remember my grandmother standing in the kitchen, her apron dusted with flour, expertly preparing each chicken breast. Her secret? A balance of herbs and spices that made every bite memorable. Now, as I make Chicken Kiev for my own family, I feel connected to those cherished moments. This dish is not just food; it’s a piece of my heart, a way of sharing love through cooking.
What I love most about Chicken Kiev is how it brings everyone together. Whether it’s a cozy weeknight dinner or a festive occasion, this dish never fails to impress. The aroma wafting from the oven, the golden-brown crust… each step is a reminder of why I adore cooking. Join me on this culinary journey, and let’s recreate a classic that will surely become a family favorite!
Recipe Snapshot
1 hr 30 mins
60 mins
30 mins
Medium
450 kcal
25 g
Paleo, Gluten-Free, AIP
25 g
Mixing Bowl, Baking Sheet, Chef’s Knife, Skillet, Whisk, Frying Pan, Oven
Why This Chicken Kiev Works
Comfort Food for Any Occasion
There’s a reason Chicken Kiev is considered comfort food. The blend of flavors from the butter and herbs creates a warm, inviting taste that feels like a hug on a plate. Every bite reveals the buttery goodness that seeps out, leaving you craving more. It’s perfect for gatherings, where it easily steals the spotlight.
Easy to Make at Home
One of the best parts about Chicken Kiev is its simplicity. With a few basic ingredients, you can create a dish that feels gourmet. Unlike many complicated recipes, this one allows even novice cooks to shine. The techniques are straightforward, making it an excellent choice for anyone looking to impress.
Flexible and Customizable
This recipe is versatile, allowing you to play with the flavors. While I love the classic garlic and herb filling, you can easily experiment by adding your favorite spices or even different herbs. It’s a wonderful opportunity to put your personal twist on a timeless classic.
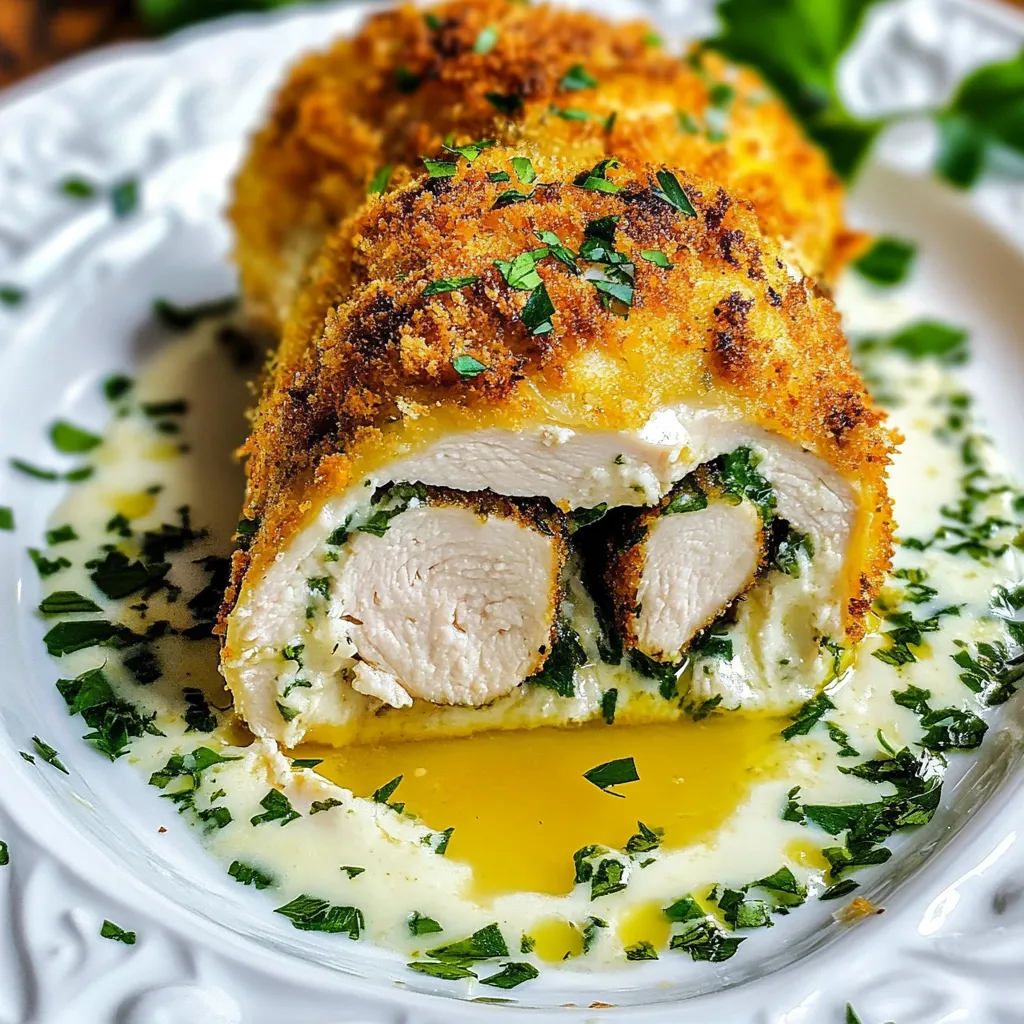
Perfectly Crispy Exterior
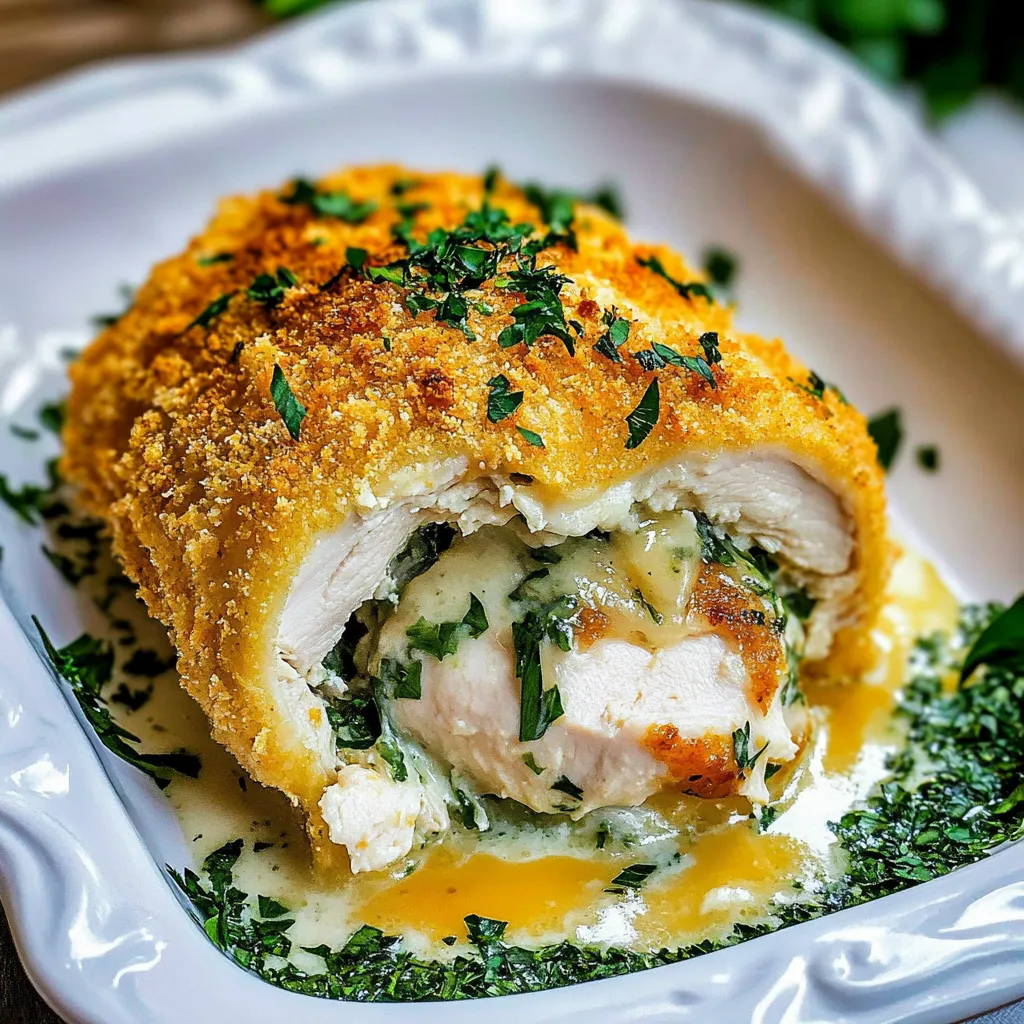
The crunch of the panko breadcrumbs is what elevates Chicken Kiev to another level. That satisfying crunch, paired with the tender chicken and flavorful filling, creates an unforgettable texture. Frying at the right temperature ensures a glorious golden crust that keeps the butter sealed inside.
Ideal for Meal Prep
If you love meal prep, Chicken Kiev is a fantastic candidate. You can make several portions ahead of time, freeze them, and have a delicious meal ready at a moment’s notice. Just pop them into the oven, and you’ll have a home-cooked dinner in no time!
A Dish to Impress
Whether it’s a special occasion or a casual family dinner, serving Chicken Kiev will surely impress your guests. The oozy, buttery filling is a delightful surprise that never fails to elicit oohs and aahs. It’s the perfect centerpiece for a meal.
What You’ll Need for Chicken Kiev
For this Chicken Kiev, I believe in using fresh, high-quality ingredients. Each plays a crucial role in bringing out incredible flavors. The star of the dish is undoubtedly the chicken, which should be tender and juicy. The luscious butter infused with garlic and herbs is what sets this dish apart, providing that signature taste. Together, these ingredients create a harmony that will make your taste buds dance.
- 6 tablespoons unsalted butter, room temperature – This rich and creamy base is essential for flavor and moisture.
- 4 cloves garlic, minced – Adds a robust and aromatic flavor to the butter.
- 1/4 teaspoon salt – Enhances all the flavors in the dish.
- 3 tablespoons chopped parsley – Provides freshness and a pop of color.
- 1 teaspoon fresh rosemary, finely chopped – Infuses the butter with a fragrant, earthy note.
- 1 teaspoon lemon zest – Brightens the flavor profile with citrusy notes.
- 1 teaspoon lemon juice – Adds acidity to balance the richness of the butter.
- 1/2 teaspoon fresh thyme, finely chopped – Offers a subtle herbaceous flavor.
- 4 small/medium chicken breasts, skinless and boneless – The main ingredient, providing protein and texture.
- Salt and pepper to taste – Essential for seasoning the chicken properly.
- 1 cup all-purpose flour – Used for dredging the chicken, creating a barrier.
- 1 teaspoon salt – For seasoning the flour mixture.
- 2 eggs, beaten – Acts as a binding agent for the breadcrumbs.
- 2 cups panko bread crumbs – Creates a crispy exterior.
- 1/2 teaspoon paprika – Adds flavor and a slight kick.
- 1 teaspoon garlic powder – Enhances the garlic flavor.
- 1 teaspoon onion powder – Adds depth to the flavor profile.
- 2 cups vegetable oil for frying or as needed – Necessary for achieving that perfect golden crust.
The Process for Making Chicken Kiev
Making Chicken Kiev is a delightful experience that combines various techniques. The process is not only about cooking; it’s about enjoying the journey. Follow these steps carefully, and you’ll be rewarded with a dish that’s sure to impress.
- Start by mixing all the butter and garlic ingredients in a bowl. Make sure to blend them well until combined. This step is crucial for ensuring the butter is evenly flavored. Once mixed, form the butter into a log shape, wrap it in plastic wrap, and refrigerate it until it’s firm, about 15 to 30 minutes.
- While the butter is chilling, take your chicken breasts and butterfly them. Using a kitchen mallet, pound them to an even thickness of about 1/4 inch. This ensures they cook evenly and are tender. Season both sides with salt and pepper for extra flavor.
- Once the butter has chilled, take a quarter of it and place it in the center of each chicken breast. Fold the chicken over the butter to create a tight pocket, ensuring the butter remains sealed inside. Bring the sides of the chicken together underneath to form a round ball, making sure the top is smooth.
- Tightly wrap each chicken ball in plastic wrap and place them in the freezer for about 30 minutes. This step helps the butter stay intact while frying, preventing it from leaking.
- Prepare a dredging station with three shallow bowls. In the first, whisk together the flour and salt. In the second, beat the eggs. In the third, combine the panko bread crumbs, paprika, garlic powder, and onion powder. This setup is essential for achieving a crispy coating.
- Remove the chicken from the freezer. Start by gently pressing each chicken ball into the flour mixture, ensuring it’s coated entirely. Shake off any excess flour before moving to the next step.
- Next, dip the coated chicken into the beaten eggs, letting any excess dribble off. Then, press into the panko bread crumbs mixture, ensuring an even coating. This step is crucial for achieving that desired crunch when frying.
- Place the breaded chicken balls onto a plate and cover them with plastic wrap. Return them to the freezer to chill for another 15 minutes. This helps the coating adhere better while frying.
- While the chicken is chilling, heat the oil in a deep fryer or large saucepan to 350 degrees F. Preheat your oven to 400 degrees F and line a baking sheet with aluminum foil.
- Once the oil is hot, gently add the chicken balls, gathered-side down, to the frying oil. Fry them for about 1 minute per side, or until they become lightly golden. Use tongs to carefully transfer them to the prepared baking sheet.
- Sprinkle the tops lightly with salt and pepper. Bake the chicken in the preheated oven for about 15 to 20 minutes, or until an instant-read thermometer inserted into the center registers at least 165 degrees F.
- Once cooked, let the Chicken Kiev rest for about 5 minutes before serving. This resting time allows the juices to redistribute and the butter to settle.
Things Worth Knowing
- Butter Consistency: Ensure your butter is at room temperature for easy mixing and molding.
- Freezing Tips: Don’t skip the chilling steps; they help the butter stay inside the chicken while cooking.
- Oil Temperature: Keep the oil at a consistent 350 degrees F to avoid burning the coating.
- Resting Period: Allowing the chicken to rest after cooking ensures that it remains juicy.
Expert Tips about Chicken Kiev
When making Chicken Kiev, I’ve learned a few tricks that can enhance this dish. Here are some expert tips to ensure your Chicken Kiev turns out perfectly every time.
- Storage: Store any leftovers in an airtight container in the fridge for up to three days.
- Freezing: You can freeze uncooked Chicken Kiev before frying. Just ensure they’re wrapped tightly.
- Serving Suggestions: Pair with a light salad or mashed potatoes to balance the richness.
- Ingredient Quality: Use high-quality butter for the filling for the best flavor.
- Frying Alternative: If you prefer a lighter option, you can bake the coated chicken instead of frying.
Serving This Chicken Kiev
When it comes to serving Chicken Kiev, the possibilities are endless!
- Pair with Sides: Serve alongside buttery mashed potatoes or a simple green salad to complement the flavors.
- Perfect for Family Dinners: This dish is ideal for a cozy family dinner, making it a wonderful centerpiece.
- Occasions: Great for special occasions like birthdays or anniversaries, where you want to leave a lasting impression.
- Storage Tips: Store leftovers in an airtight container and consume within three days for the best taste.
- Seasonal Pairings: In summer, fresh vegetables or a light vinaigrette salad pairs wonderfully with this dish.
FAQ
Conclusion
This Chicken Kiev recipe is special because it blends simplicity with rich flavors, creating a dish that’s both comforting and impressive. I encourage you to try making it for your family or friends; they’ll be sure to love it! Cooking this dish can be a great way to connect, share stories, and create lasting memories. Enjoy every bite and the joy of sharing it around the table.
Chicken Kiev
Equipment
- Mixing Bowl
- Baking Sheet
- Chef's Knife
- Skillet
- Whisk
- Frying Pan
- Oven
Ingredients
- 6 tablespoons Unsalted Butter Room temperature for mixing.
- 4 cloves Garlic Minced for flavor.
- 1/4 teaspoon Salt For enhancing flavor.
- 3 tablespoons Chopped Parsley Fresh for brightness.
- 1 teaspoon Fresh Rosemary Finely chopped for flavor.
- 1 teaspoon Lemon Zest Adds brightness.
- 1 teaspoon Lemon Juice For acidity.
- 1/2 teaspoon Fresh Thyme Fine chopped for flavor.
- 4 small/medium Chicken Breasts Skinless and boneless.
- 1 to taste Salt and Pepper For seasoning.
- 1 cup All-Purpose Flour For dredging.
- 1 teaspoon Salt For flour mixture.
- 2 eggs Eggs Beaten for coating.
- 2 cups Panko Bread Crumbs For crunchy coating.
- 1/2 teaspoon Paprika For flavor.
- 1 teaspoon Garlic Powder Enhances garlic flavor.
- 1 teaspoon Onion Powder Adds depth.
- 2 cups Vegetable Oil For frying.
Instructions
- Mix all the ingredients for the filling in a bowl and form into a log. Refrigerate until firm.
- Butterfly the chicken breasts and pound them to 1/4 inch thickness. Season with salt and pepper.
- Place some of the butter mixture in the center of each chicken breast, fold over and seal the edges.
- Wrap each chicken breast in plastic wrap and chill in the freezer for 30 minutes.
- Prepare a dredging station with flour, beaten eggs, and breadcrumbs.
- Remove chicken from the freezer, dredge in flour, dip in eggs, and coat in breadcrumbs.
- Return coated chicken to the freezer for another 15 minutes.
- Heat oil to 350 degrees F in a large pot.
- Fry the chicken in hot oil until golden, about 1 minute each side.
- Transfer to a baking sheet and bake at 400 degrees F until cooked through.
- Let rest for 5 minutes before serving.
Notes
- Filleting: Properly fillet the chicken and pound to ¼ inches for even cooking.
- Chilling: Freeze the butter mixture initially for 30 minutes, then chill the chicken in the freezer for another 15 minutes.
- Temperature Check: Be careful not to pierce the butter compartment when checking the internal temperature, which should be 155 degrees F.
- Oil Temperature: Ensure the oil is at 350 degrees F to avoid burning.