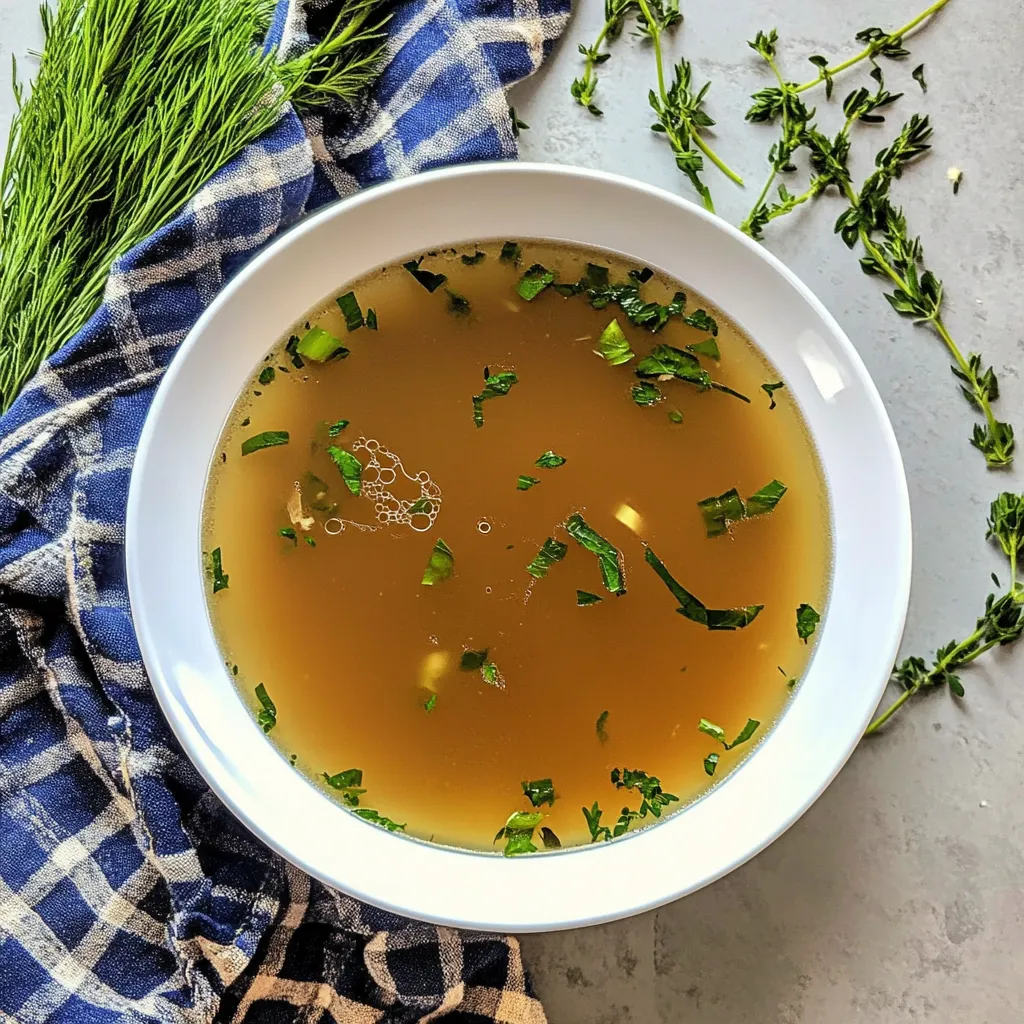
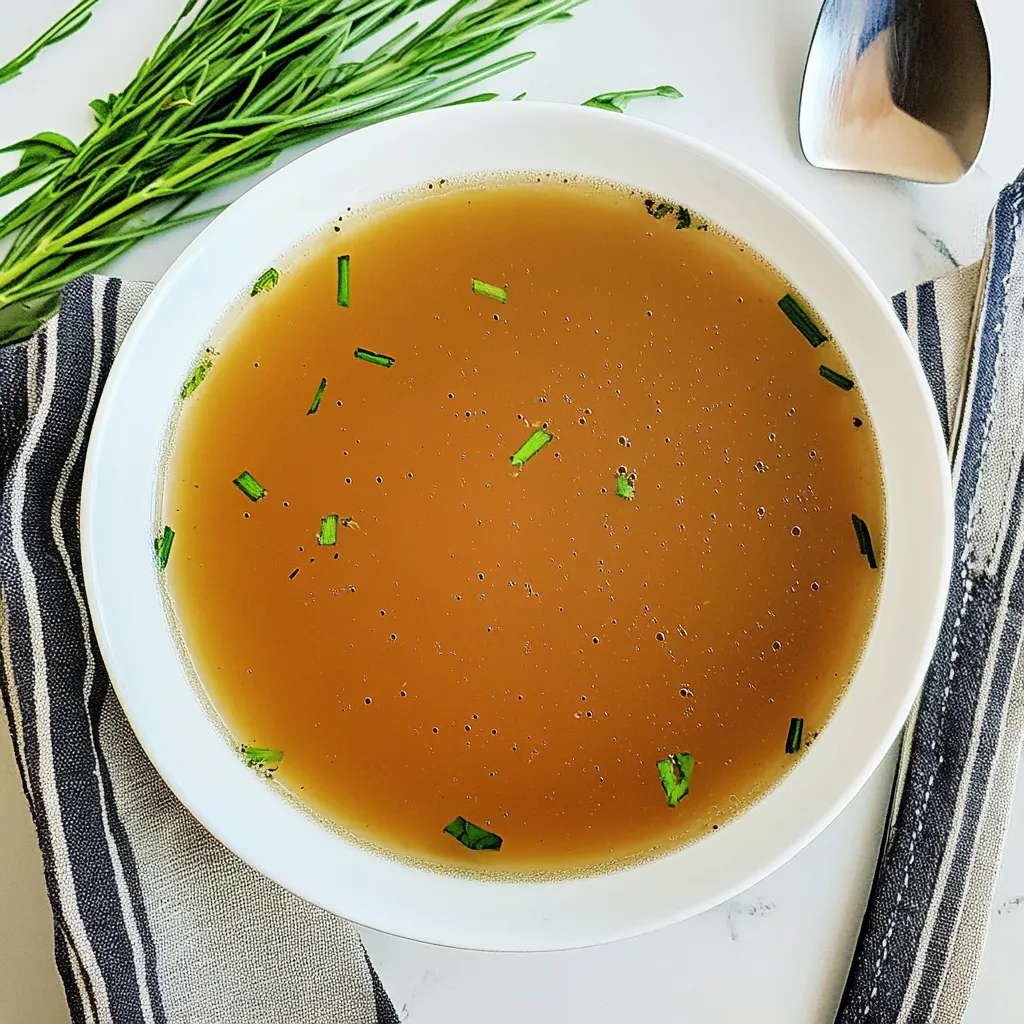
Chicken Broth
There’s something deeply comforting about a warm bowl of Chicken Broth, especially on a chilly winter evening. I remember the first time I made it; I was feeling under the weather and needed something nourishing. My grandmother’s recipe came to mind, and I decided it was time to bring that tradition into my own kitchen. The aroma of simmering chicken and fresh vegetables filled my home, wrapping me in a sense of security and warmth. As the broth slowly cooked, I could almost hear her voice reminding me to let it simmer low and slow, allowing the flavors to meld together perfectly. Today, I want to share with you how to create your own batch of Chicken Broth, bringing that same cozy feeling to your table. Whether you’re using it as a base for soups or sipping it straight from a cup, this broth is pure liquid gold.
Recipe Snapshot
4 hr 20 mins
20 mins
240 mins
Hard
150 kcal
20 g
Keto, Vegan, Low FODMAP
6 g
Baking Sheet, Large Pot, Oven, Peeler, Saucepan
Why This Chicken Broth Is a Winner
It’s a Warm Embrace
Every time I make Chicken Broth, it feels like a hug from the inside out. This recipe doesn’t just nourish the body; it also nourishes the soul. The process of simmering chicken and vegetables creates a soothing aroma that fills the home, instantly lifting spirits.
Versatile and Essential
Another reason I adore this Chicken Broth is its versatility. You can use it in countless dishes, from risottos to soups, or just enjoy a warm cup on its own. It’s an essential component in many recipes.
A Healthy Choice
Unlike store-bought versions, my homemade broth is lower in sodium and packed with nutrients. Making it from scratch means I know exactly what’s going in, allowing me to tailor it to my dietary needs.
Time-Tested Tradition
Recipes for Chicken Broth have been passed down through generations, and each family has its own spin. By making this broth, I feel connected to my roots, to the kitchen where my family gathered, sharing stories over simmering pots.
Perfect for Meal Prep
This broth is a lifesaver for meal prep. I often make a large batch and freeze portions for later use. It’s an excellent way to ensure I always have a healthy option available for those busy weeknights.
Rich in Flavor
Finally, there’s no comparison to the rich, complex flavors of homemade broth. The slow cooking process allows the ingredients to fully release their essence, creating a deeply flavorful base for any dish.
Ingredients You’ll Need for Chicken Broth
When it comes to making Chicken Broth, the quality of your ingredients truly matters. Each one plays a critical role in developing the rich flavor and aroma that will make your kitchen feel like home. The key players are the chickens and a mix of fresh vegetables, herbs, and spices that enhance the broth’s flavor.
- 2 (5-pound) whole young roasting chickens – The cornerstone of your broth, providing rich flavor and nutrients.
- 3 large yellow onions (unpeeled and quartered) – Adds depth and sweetness to the broth.
- 1 head garlic (unpeeled and halved, optional) – Infuses the broth with a lovely aromatic quality.
- 6 large carrots (washed, unpeeled and quartered) – Contributes sweetness and color.
- 4 ribs celery with leaves (washed and halved) – Introduces a fresh, crisp flavor.
- 2 tablespoons herbes de Provence – A fragrant blend of herbs that elevates the broth.
- 4 dried bay leaves – Adds subtle depth and complexity to the flavor.
- 12 whole cloves – Provides warmth and a slightly sweet note.
- 2 teaspoons whole black peppercorns – Enhances the overall flavor profile with a hint of spice.
- 1 tablespoon kosher salt – Essential for seasoning.
- 1 tablespoon low-sodium soy sauce – Adds umami without overpowering the other flavors.
- 6 quarts cold water – The base for your broth, bringing everything together.
Making This Chicken Broth
Now that we have our ingredients ready, it’s time to bring everything together. Making Chicken Broth is a process that requires patience, but trust me; it’s worth every minute. Follow these steps, and you’ll find yourself with a delicious, homemade broth that you can enjoy for days.
- Start by placing all the ingredients in a 16 to 20 quart stockpot. Cover the chickens and vegetables with 6 quarts of cold water. This is where the magic begins!
- Set the pot over medium-high heat and bring it to a boil. You’ll want to keep an eye on it during this stage to avoid any boiling over.
- Once boiling, reduce the heat to low and allow the broth to simmer uncovered for about 2.5 hours. This is where the flavors really start to develop. You’ll notice the scent filling your kitchen!
- After 2.5 hours, carefully transfer the chickens to two large bowls. Use tongs to avoid burns, and allow them to cool slightly.
- Once cool enough to handle, remove the chicken meat from the bones and set aside. You’ll want to keep this for future meals.
- Next, take the bones and any remaining broth from the chickens and return them to the stockpot. This is where you develop even more flavor!
- Season the broth to taste. It should taste lightly salted. If it’s too bland, add a bit more kosher salt or soy sauce.
- Continue cooking the broth for an additional 1.5 hours. During this time, you’ll notice it slowly reducing and becoming even richer in flavor.
- While the broth is reducing, proceed to shred or cut the reserved chicken meat. This portion is perfect for adding to soups or salads later.
- When the broth is ready, strain it through a colander into another pot, discarding the solids. This final strain will give you a smooth, clear broth.
- Refrigerate the broth overnight. The next day, you’ll notice a layer of fat on the surface. Remove this fat for a richer broth, or keep it for cooking purposes!
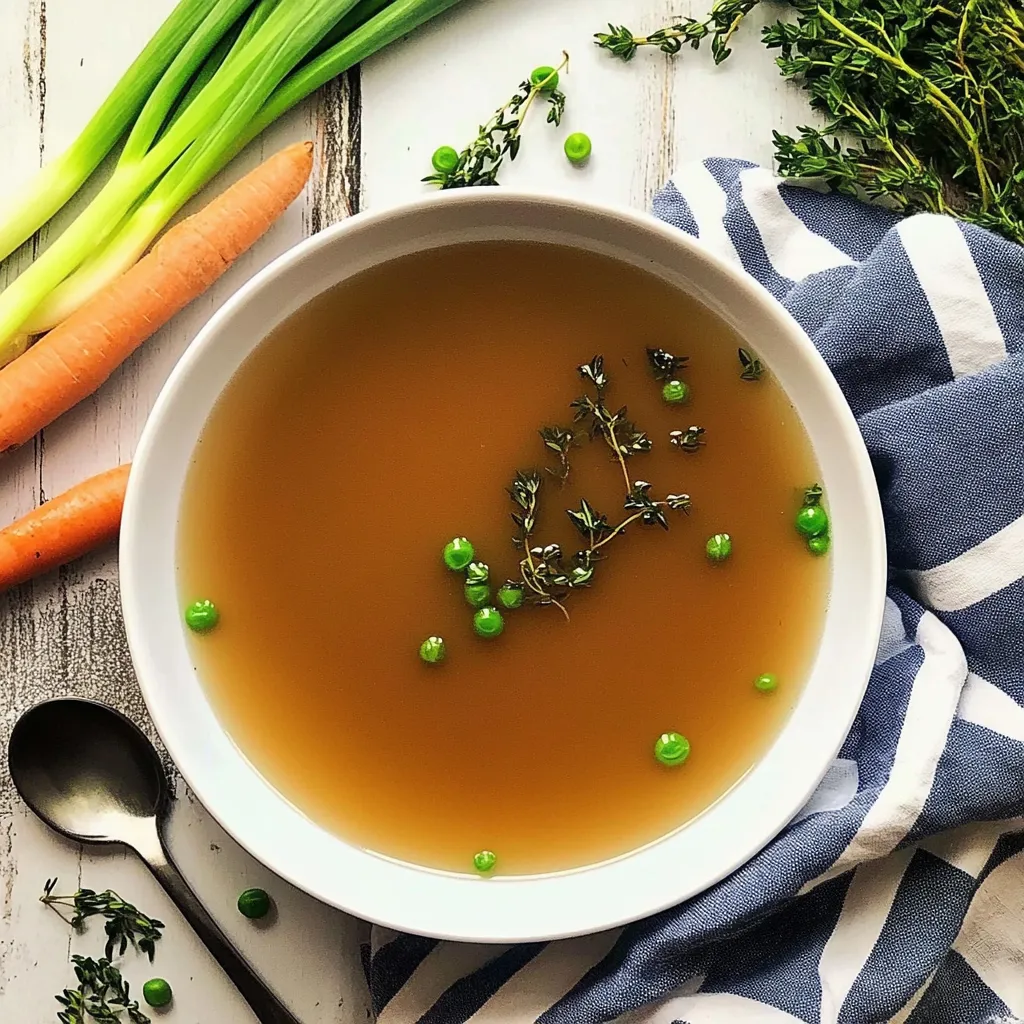
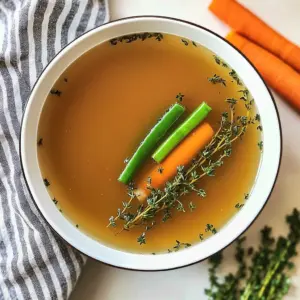
- Congratulations! You’ve just made a batch of homemade Chicken Broth. Enjoy it as a warm drink, or use it as a base for your favorite recipes.
Things Worth Knowing
- Use Fresh Ingredients: Using fresh vegetables and quality chicken will enhance the flavor of your broth.
- Simmering Time: Simmering for longer extracts more flavor, but avoid overcooking the chicken to prevent it from becoming dry.
- Fat Layer: The fat on top of the cooled broth is nutritious and can be saved for cooking or sautéing.
- Flavor Adjustments: Feel free to adjust the seasonings according to your taste preferences!
Change It Up
If you’re looking to make your Chicken Broth experience even better, here are some tips to consider:
- Storage: Store your broth in airtight containers in the fridge for up to a week, or freeze it for up to three months.
- Freezing: For easy use later, freeze broth in ice cube trays and pop out a cube whenever you need a little flavor boost!
- Flavor Variations: Experiment with different herbs and spices to create unique flavors, like adding ginger for a touch of warmth.
- Homemade Noodles: Make your own noodles to pair with your broth for a delicious, comforting soup.
- Pairing Suggestion: Serve Chicken Broth with a side of crusty bread for a satisfying meal.
Pairing Suggestions for Chicken Broth
Serving Chicken Broth can be just as important as making it. Here are some great pairing suggestions to consider:
- Crusty Bread: A slice of warm, crusty bread makes a perfect accompaniment for sipping broth.
- Rice: Serve with a side of fluffy rice to soak up the broth’s rich flavors.
- Salads: Light, fresh salads with herbs and vinaigrette complement the rich broth beautifully.
- Seasonal Veggies: Pair with seasonal vegetables, such as roasted root vegetables for a hearty meal.
- Occasions: Perfect for cozy dinners, rainy days, or when you need a bit of comfort food.
FAQ
Conclusion
The recipe for Chicken Broth is not just about cooking; it’s about creating something with love and care. The warmth and flavor of homemade broth can elevate any dish and comfort the soul. I encourage you to try making this broth yourself. It’s a simple process that yields fantastic results. You’ll find that once you experience the rich flavors and aromas, you’ll want to keep this recipe in your kitchen repertoire forever.
Chicken Broth
Equipment
- Baking Sheet
- Large Pot
- Oven
- Peeler
- Saucepan
Ingredients
- 2 whole 5-pound whole young roasting chickens
- 3 large yellow onions (unpeeled and quartered)
- 1 head garlic (unpeeled and halved, optional)
- 6 large carrots (washed, unpeeled and quartered)
- 4 ribs celery with leaves (washed and halved)
- 2 tablespoons herbes de Provence
- 4 dried bay leaves
- 12 whole cloves
- 2 teaspoons whole black peppercorns
- 1 tablespoon kosher salt
- 1 tablespoon low-sodium soy sauce
- 6 quarts cold water
Instructions
- Place all ingredients in a 16 to 20 quart stockpot, and cover with 6 quarts of water.
- Bring to a boil, reduce heat to low, and simmer uncovered for 2½ hours.
- Carefully transfer the chickens to two large bowls. Remove the chicken meat from the bones and set aside.
- After removing the meat from the bones, place the bones and the excess broth (from the bones) back into the stockpot. Season to taste – the broth should taste lightly salted.
- Continue cooking the chicken broth another 1½ hours.
- While the broth reduces, cut or shred the chicken meat and save for other meals. (It freezes beautifully.)
- After the broth is finished cooking, strain it through a colander, and discard the remaining solids.
- Refrigerate the broth overnight, then remove the surface fat the next day.
- The broth will be slightly gelatinous, but it will liquefy and add a rich, lovely flavor when heated.
Notes
- Tip 1: This broth is naturally much lower in sodium than store-bought, but it is not “low sodium” by definition. A truly low-sodium broth should have 140mg or less of sodium per 1-cup serving.
- Tip 2: To spice up this broth, add in some crushed red pepper or chilis.
- Tip 3: You can simmer this broth for up to 8 hours, but I always recommend removing the chicken meat at 2½ hours so it doesn’t get overcooked.
- Tip 4: The longer you cook the broth, the more concentrated the flavor will be, and the more collagen it will have.
- Tip 5: Don’t throw out the fat! It's excellent for preventing freezer burn when stored in the freezer.