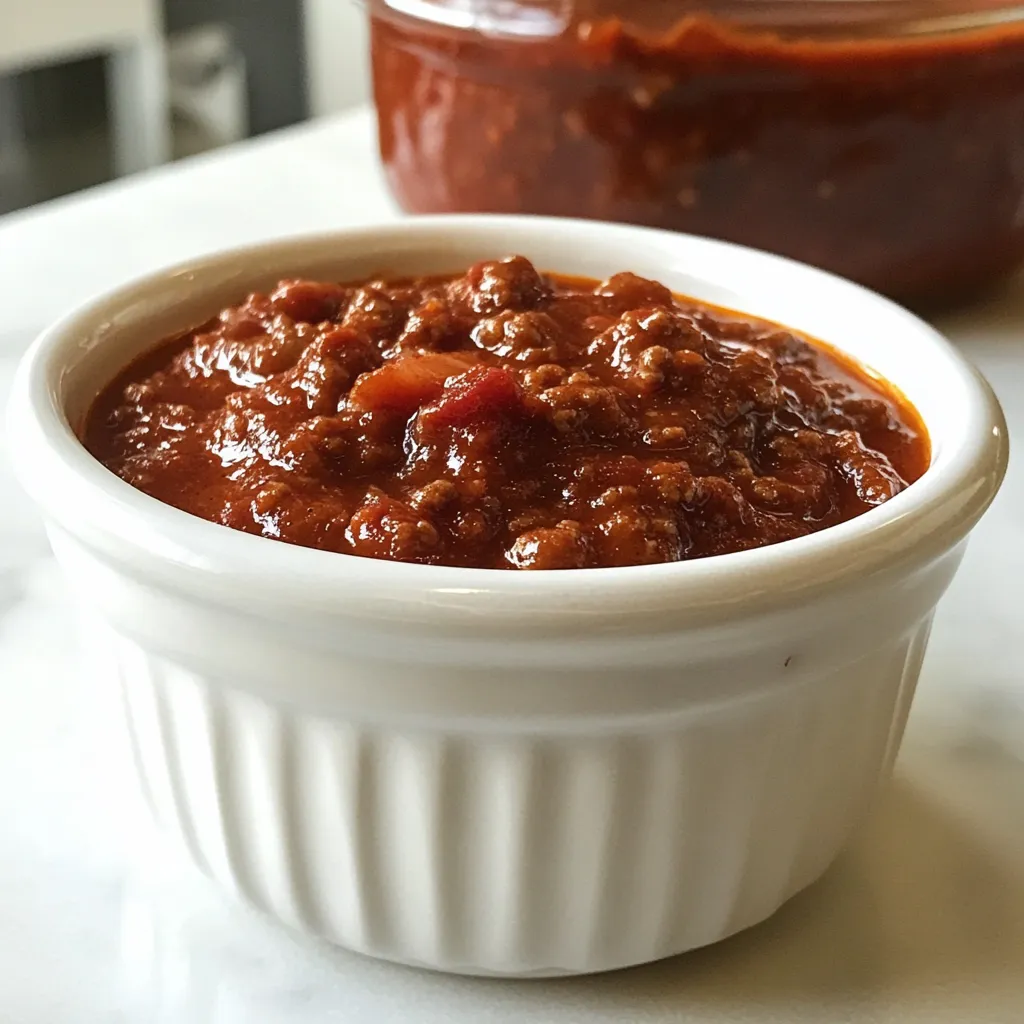
Canning Chili Con Carne
The first time I made Canning Chili Con Carne, I was an eager novice, ready to fill my pantry with hearty meals for the colder months. My love for chili runs deep, and the thought of having homemade jars perfectly lined up on my shelf was too appealing to resist. It’s more than just a meal; it’s a way to capture the essence of comfort food and share it with friends and family. The warm, spicy aroma fills the kitchen, wrapping around you like a cozy blanket. I can still remember the anticipation as I ladled the mixture into those sterilized jars, imagining all the delightful meals to come. Each jar is a promise of warmth and satisfaction on a chilly day, and nothing compares to the joy of eating something you’ve made with your own hands.
Recipe Snapshot
2 hr 15 mins
15 mins
120 mins
Hard
350 kcal
25 g
Keto, Paleo, Whole30
10 g
Chef’s Knife, Large Pot, Saucepan, Food Processor, Cutting Board
Why Try This Canning Chili Con Carne
Perfect for Batch Cooking
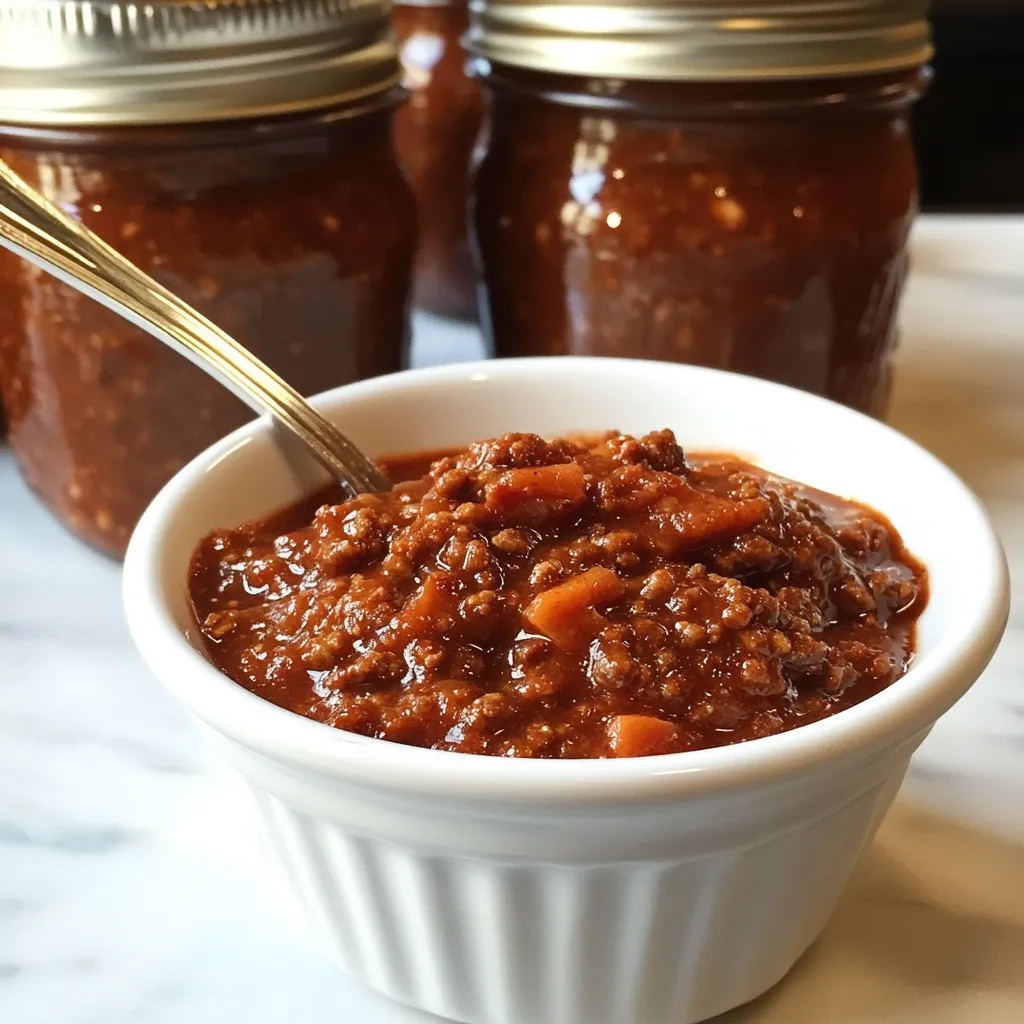
One of the best parts about Canning Chili Con Carne is how perfect it is for batch cooking. You can easily whip up a large pot of chili and preserve it for later. Imagine coming home after a long day and having a ready-to-eat meal just waiting for you. It saves time and effort during busy weeks!
Healthy and Wholesome Ingredients
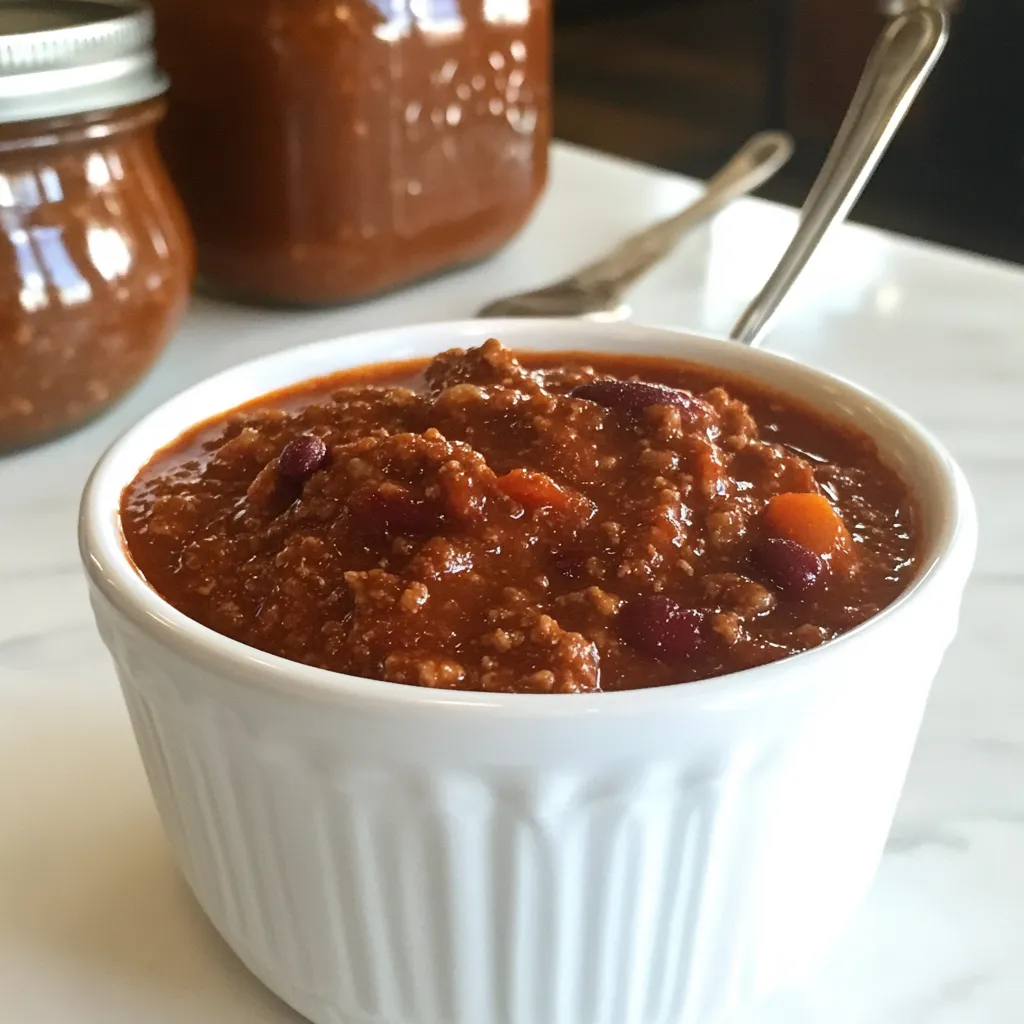
This chili is packed with wholesome ingredients like beans, vegetables, and lean ground beef. You control what goes in, ensuring that each bite is not only delicious but also nourishing. It’s a great way to sneak in extra nutrients without sacrificing flavor.
Flexibility with Spice Levels
Another reason to love this recipe is its flexibility. You can adjust the spice levels to suit your palate. Whether you like it mild or fiery hot, you can customize the heat to your liking, making it a crowd-pleaser at any gathering.
Great for Meal Prep
If you’re someone who loves meal prepping, this chili is a fantastic choice. Make a large batch, portion it into jars, and you’ve got meals ready to go for weeks! Just grab a jar, heat it up, and enjoy.
Perfect for Sharing
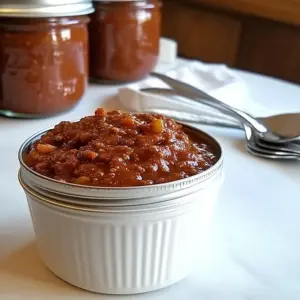
There’s something special about sharing homemade food with others. When I share jars of Canning Chili Con Carne with friends, I feel like I’m giving them a piece of my heart. It’s perfect for potlucks, gatherings, or just as a thoughtful gift for someone in need.
Main Ingredients for Canning Chili Con Carne
The ingredients for Canning Chili Con Carne are simple yet incredibly effective. Each one plays a vital role in creating a rich and hearty flavor. The combination of beans and ground beef gives it a robust base, while spices like chili powder and cumin add depth and warmth. Together, these ingredients create a meal that is not just filling but also deeply satisfying.
- 3 pounds dried kidney or pinto beans, soaked overnight then drained and rinsed – These legumes provide a hearty texture and are full of protein, making them essential to the chili’s body.
- 3 tablespoons oil – Used for sautéing the vegetables and beef, adding a rich flavor that ties the dish together.
- 3 pounds lean ground beef – The star protein of the dish, offering a meaty base that complements the beans perfectly.
- 3 large yellow onions, chopped – Onions add sweetness and depth, caramelizing beautifully when cooked.
- 6 cloves garlic, minced – Garlic infuses the chili with a fragrant aroma and enhances the overall flavor profile.
- 1/3 cup chili powder – This spice mix is crucial for that signature chili flavor, giving it warmth and a slight kick.
- 1 tablespoon sugar – Balances the acidity of the tomatoes and enhances the overall taste.
- 2 tablespoons salt – Essential for bringing out the flavors of the other ingredients.
- 2 tablespoons ground cumin – Adds an earthy, warm flavor that complements the chili powder beautifully.
- 3 tablespoons beef bouillon base – Enhances the beef flavor and adds depth to the broth.
- 1 teaspoon freshly ground black pepper – A finishing touch that adds just the right amount of spice.
- 1 tablespoon onion powder – Intensifies the onion flavor, making it richer.
- 1 1/2 teaspoons garlic powder – Boosts the garlic flavor for an even more aromatic experience.
- 6 (14.5 ounce) cans diced tomatoes – Adds acidity and moisture, creating a delicious sauce.
- 6 (14.5 ounce) cans tomato sauce – Provides a thick, flavorful base for the chili.
- 3 cups water – Used for the cooking process, helping to meld all the flavors together.
How to Assemble Canning Chili Con Carne
Making Canning Chili Con Carne is a delightful experience that fills your kitchen with warmth and savory aromas. It involves a series of straightforward steps that anyone can follow. Let’s dive into the process and create a delicious batch that you can enjoy now and later.
- Start by placing the soaked and rinsed dried kidney or pinto beans in a large stock pot. Cover them with clean water and bring to a rapid boil. This step is crucial as it softens the beans and prepares them for the chili.
- Once boiling, reduce the heat to medium and let the beans simmer for 30 minutes. During this time, keep an eye on them, making sure they’re tender but not falling apart. After they’ve cooked, drain and rinse the beans, then set them aside.
- In a very large stock pot, preferably at least 12 quarts, heat the oil over medium-high heat. Once hot, add the lean ground beef and brown it until fully cooked. Make sure to break it apart as it cooks for an even texture.
- Add the chopped onions and minced garlic to the pot. Cook this mixture until the onions are soft and translucent, about 6 to 8 minutes. Stir frequently to avoid burning. This combination is the aromatic foundation of your chili.
- Once the onions and garlic are ready, drain off any excess fat. It’s important to remove as much grease as possible to ensure the jars seal properly during the canning process. Too much fat can interfere with the sealing.
- Add in your seasonings: chili powder, sugar, salt, ground cumin, beef bouillon base, black pepper, onion powder, and garlic powder. Stir well to combine, letting them cook for about a minute until fragrant.
- Now it’s time to add in the remaining ingredients: the diced tomatoes, tomato sauce, and water. Mix everything thoroughly and bring it to a boil. This allows all the flavors to meld beautifully together.
- Once boiling, reduce the heat and let it simmer for about 5 minutes. This step helps the flavors deepen further as the chili thickens slightly.
- Prepare your jars by sterilizing them thoroughly. Ladle the hot chili into the sterilized jars, leaving a one-inch headspace at the top. Using a funnel can help prevent spills, keeping the edges of the jar clean.
- Use a wet paper towel or cloth dipped in vinegar to wipe the rims of each jar. This is a crucial step to ensure there’s no sauce or oil that could prevent a proper seal.
- Gently tap the jars to remove any air bubbles. This avoids any unexpected leaks during the canning process. Place the lids on each jar, tightening them firmly but not excessively.
- Follow the instructions for your pressure canner. For example, if you’re using a Presto 23 Quart Pressure Canner, bring 4 inches of water to a boil, place the jars inside, and let it vent for 10 minutes. After venting, place the weight cap on and process pint jars at 10 pounds for 75 minutes or quart jars for 90 minutes.
- Once done, remove the pot from the heat and let it cool until the temperature drops to zero. Then, you can take out the jars and let them sit undisturbed for 24 hours. After cooling, store them in a cool, dark place. Your Canning Chili Con Carne will keep for at least a year, offering you warmth whenever you need it.
Things Worth Knowing
- Bean Soaking: Soaking beans helps reduce cooking time and makes them easier to digest. This step is essential for achieving the perfect texture in your chili.
- Fat Management: Drain excess fat after browning the beef. Too much fat can hinder the canning process, potentially leading to failed seals.
- Headspace is Key: Leaving the proper headspace in jars is crucial for safe canning. It allows for expansion during processing and prevents overflow.
- Cool Down Period: Allow jars to cool undisturbed for 24 hours after canning. This helps ensure that the jars seal properly, extending the shelf life of your chili.
- Storage Location: Store your canned chili in a cool, dark place to maximize shelf life. Avoid areas with temperature fluctuations, as they can affect the quality.
Ways to Customize
Customizing your Canning Chili Con Carne can take it to new heights! Here are some creative ways to make this dish your own:
- Add More Veggies: Consider incorporating diced bell peppers or zucchini for added nutrition and texture.
- Experiment with Beans: Try a mix of black beans, navy beans, or even chickpeas for a unique twist.
- Adjust Spiciness: Control the heat by adding chopped jalapeños or a dash of hot sauce. Start small to avoid overwhelming heat.
- Switch Up the Protein: If you prefer, substitute the beef with ground turkey or chicken for a lighter option.
- Top It Off: Garnish with fresh cilantro, avocado, or a dollop of sour cream when serving for an extra layer of flavor.
- Fresh Herbs: Stir in fresh herbs like parsley or basil just before serving to brighten the flavors.
- Cheesy Goodness: For cheese lovers, sprinkle shredded cheese on top right before serving for a delicious melty touch.
What Complements This Canning Chili Con Carne
Pairing your Canning Chili Con Carne with the right sides can elevate your meal. Here are some delicious options:
- Crusty Bread: Serve with warm, crusty bread or cornbread to soak up the flavorful chili. It’s a classic combination that never fails!
- Rice: A side of white or brown rice can help balance the richness of the chili, making it a hearty meal.
- Salad: A fresh green salad with a citrus vinaigrette adds a refreshing contrast to the savory chili.
- Tortilla Chips: Crunchy tortilla chips can be served alongside for a delightful texture contrast.
- Guacamole: Creamy guacamole provides a great balance to the spice of the chili, making every bite enjoyable.
- Mexican Street Corn: For a more festive touch, serve with Mexican street corn for a flavorful combination.
- Perfect for Gatherings: This chili is ideal for gatherings, potlucks, or game days, as it can be made in large batches and enjoyed by many!
FAQ
Conclusion
The Canning Chili Con Carne recipe is a true gem for anyone who loves the comforting taste of homemade chili. It wraps flavors of warmth and heartiness into every jar, making it a perfect choice for cold evenings or gatherings with family and friends. I encourage you to give this recipe a try; it’s simple, satisfying, and offers a delicious way to preserve the essence of a home-cooked meal. Enjoy the process and the joy of sharing your creation with others!
Canning Chili Con Carne
Equipment
- Chef's Knife
- Large Pot
- Saucepan
- Food Processor
- Cutting Board
Ingredients
- 3 pounds dried kidney or pinto beans soaked overnight then drained and rinsed
- 3 tablespoons oil
- 3 pounds lean ground beef
- 3 large yellow onions chopped
- 6 cloves garlic minced
- 1/3 cup chili powder
- 1 tablespoon sugar
- 2 tablespoons salt
- 2 tablespoons ground cumin
- 3 tablespoons beef bouillon base
- 1 teaspoon freshly ground black pepper
- 1 tablespoon onion powder
- 1 1/2 teaspoons garlic powder
- 6 14.5 ounce cans diced tomatoes
- 6 14.5 ounce cans tomato sauce
- 3 cups water
Instructions
- Start by placing the soaked and rinsed dried kidney or pinto beans in a large stock pot. Cover them with clean water and bring to a rapid boil. This step is crucial as it softens the beans and prepares them for the chili.
- Once boiling, reduce the heat to medium and let the beans simmer for 30 minutes. During this time, keep an eye on them, making sure they’re tender but not falling apart. After they’ve cooked, drain and rinse the beans, then set them aside.
- In a very large stock pot, preferably at least 12 quarts, heat the oil over medium-high heat. Once hot, add the lean ground beef and brown it until fully cooked. Make sure to break it apart as it cooks for an even texture.
- Add the chopped onions and minced garlic to the pot. Cook this mixture until the onions are soft and translucent, about 6 to 8 minutes. Stir frequently to avoid burning. This combination is the aromatic foundation of your chili.
- Once the onions and garlic are ready, drain off any excess fat. It’s important to remove as much grease as possible to ensure the jars seal properly during the canning process. Too much fat can interfere with the sealing.
- Add in your seasonings: chili powder, sugar, salt, ground cumin, beef bouillon base, black pepper, onion powder, and garlic powder. Stir well to combine, letting them cook for about a minute until fragrant.
- Now it’s time to add in the remaining ingredients: the diced tomatoes, tomato sauce, and water. Mix everything thoroughly and bring it to a boil. This allows all the flavors to meld beautifully together.
- Once boiling, reduce the heat and let it simmer for about 5 minutes. This step helps the flavors deepen further as the chili thickens slightly.
- Prepare your jars by sterilizing them thoroughly. Ladle the hot chili into the sterilized jars, leaving a one-inch headspace at the top. Using a funnel can help prevent spills, keeping the edges of the jar clean.
- Use a wet paper towel or cloth dipped in vinegar to wipe the rims of each jar. This is a crucial step to ensure there’s no sauce or oil that could prevent a proper seal.
- Gently tap the jars to remove any air bubbles. This avoids any unexpected leaks during the canning process. Place the lids on each jar, tightening them firmly but not excessively.
- Follow the instructions for your pressure canner. For example, if you’re using a Presto 23 Quart Pressure Canner, bring 4 inches of water to a boil, place the jars inside, and let it vent for 10 minutes. After venting, place the weight cap on and process pint jars at 10 pounds for 75 minutes or quart jars for 90 minutes.
- Once done, remove the pot from the heat and let it cool until the temperature drops to zero. Then, you can take out the jars and let them sit undisturbed for 24 hours. After cooling, store them in a cool, dark place. Your Canning Chili Con Carne will keep for at least a year, offering you warmth whenever you need it.