Berry Pie
There’s something magical about a freshly baked Berry Pie. It takes me back to summer afternoons spent in my grandmother’s kitchen, the air filled with the sweet aroma of baked berries. Each bite of that rustic pie, bursting with the flavors of mixed berries, brings back fond memories of family gatherings and laughter. I remember the anticipation as we waited for it to cool, the excitement of serving it with a dollop of whipped cream or a scoop of vanilla ice cream. Making a Berry Pie is not just about the dessert; it’s about creating moments that last a lifetime. This recipe is perfect for those special occasions or a simple weeknight dessert. Trust me, once you bake this pie, it will become a family favorite just like it did in mine!
Recipe Snapshot
1 hr 50 mins
60 mins
50 mins
Medium
320 kcal
3 g
Gluten-Free, Low FODMAP
12 g
9-inch deep dish pie pan, Large pot
What’s Great About This Berry Pie
It’s a Classic
There’s a reason why Berry Pie has stood the test of time. This classic dessert is not only delicious but also versatile. You can use any combination of berries you have on hand, making it a perfect recipe for summer when berries are in abundance.
Simple Ingredients
This pie is made with simple, wholesome ingredients. Just think of the fresh, juicy berries, the flakiness of the crust, and a hint of sweetness. Each component plays a role in creating that perfect bite.
A Labor of Love
Baking a pie is a delightful process. It involves layering flavors, allowing the berries to simmer, and crafting a beautiful crust. The care you put into making a Berry Pie is what makes it special. When you bake it, you’re not just making dessert; you’re creating something that’s meant to be shared.
Perfect for Any Occasion
Whether it’s a birthday celebration, a family reunion, or simply a cozy night in, this Berry Pie fits the bill. It’s a dessert that can elevate any gathering, bringing people together around the table.
Seasonal Delight
Summer is the best time for a Berry Pie, but with frozen berries, you can enjoy it any time of the year. It’s a comforting reminder of sunny days, no matter the season.
Endless Pairing Possibilities
The beauty of this pie is in its pairings. Serve it warm with whipped cream or a scoop of ice cream, or enjoy it cold for breakfast the next day. The possibilities are endless!
Ingredients Required for Berry Pie
The ingredients for this Berry Pie are simple yet effective, each one playing a crucial role in the final dish. The berries provide natural sweetness and vibrant color, while the crust adds a flaky texture. The sugar balances the tartness of the berries, and a touch of lemon juice brightens the flavor.
- 2 homemade pie crusts or store-bought crusts
- 7-1/2 cups frozen mixed berries
- 1 cup granulated sugar plus more to taste
- 1/8 teaspoon salt
- 2 teaspoons fresh lemon juice (optional)
- 1/4 cup cornstarch
- 2 tablespoons unsalted butter
- 1 teaspoon vanilla extract
- 1 large egg (for egg wash)
- 1 tablespoon milk (for egg wash)
- White sparkling sugar (optional, for topping)
- Vanilla bean ice cream or whipped cream (for serving)
How to Prepare Berry Pie
Preparing a Berry Pie is a joyful experience. It allows you to engage your senses, from the smell of berries cooking to the sight of a golden brown crust. Let’s dive into the steps to create this delightful dessert.
- First, I recommend preparing the pie crusts and berry filling a day ahead. This way, everything is nice and cold when you’re ready to bake. Refrigerate both until you’re set to assemble the pie.
- In a large pot, combine the frozen mixed berries, granulated sugar, salt, and lemon juice (if using). Heat over medium, stirring gently until the mixture is warm and juicy, which should take about 5 to 10 minutes.
- Once the berries are warm, remove about 1/3 cup of the juice into a bowl. Stir in the cornstarch and whisk until smooth. Gradually add this mix back into the pot, stirring gently until it thickens to a jam-like consistency, which takes about 5 minutes.
- Remove the pot from heat. Stir in the unsalted butter until it’s melted, then add in the vanilla extract. At this point, taste the filling and adjust the sweetness if necessary by adding more sugar. Let it cool to room temperature.
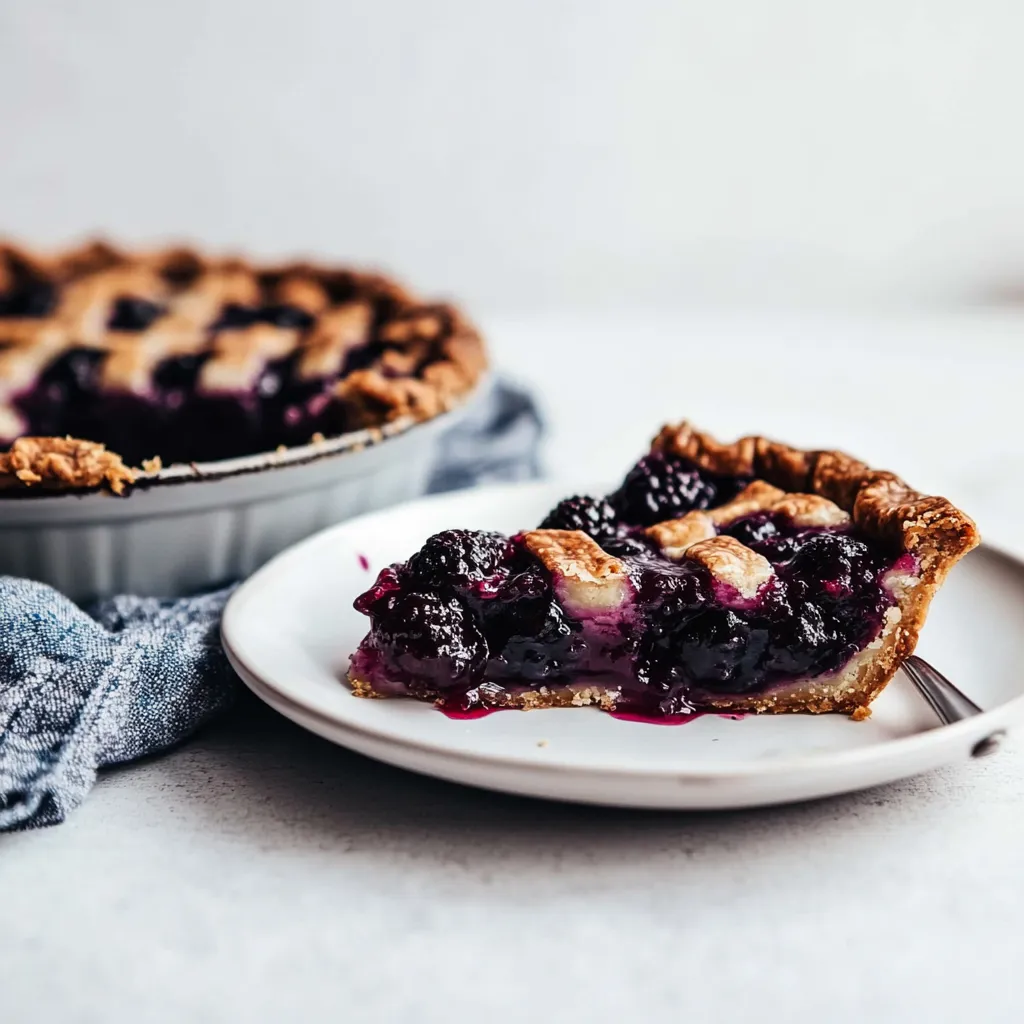
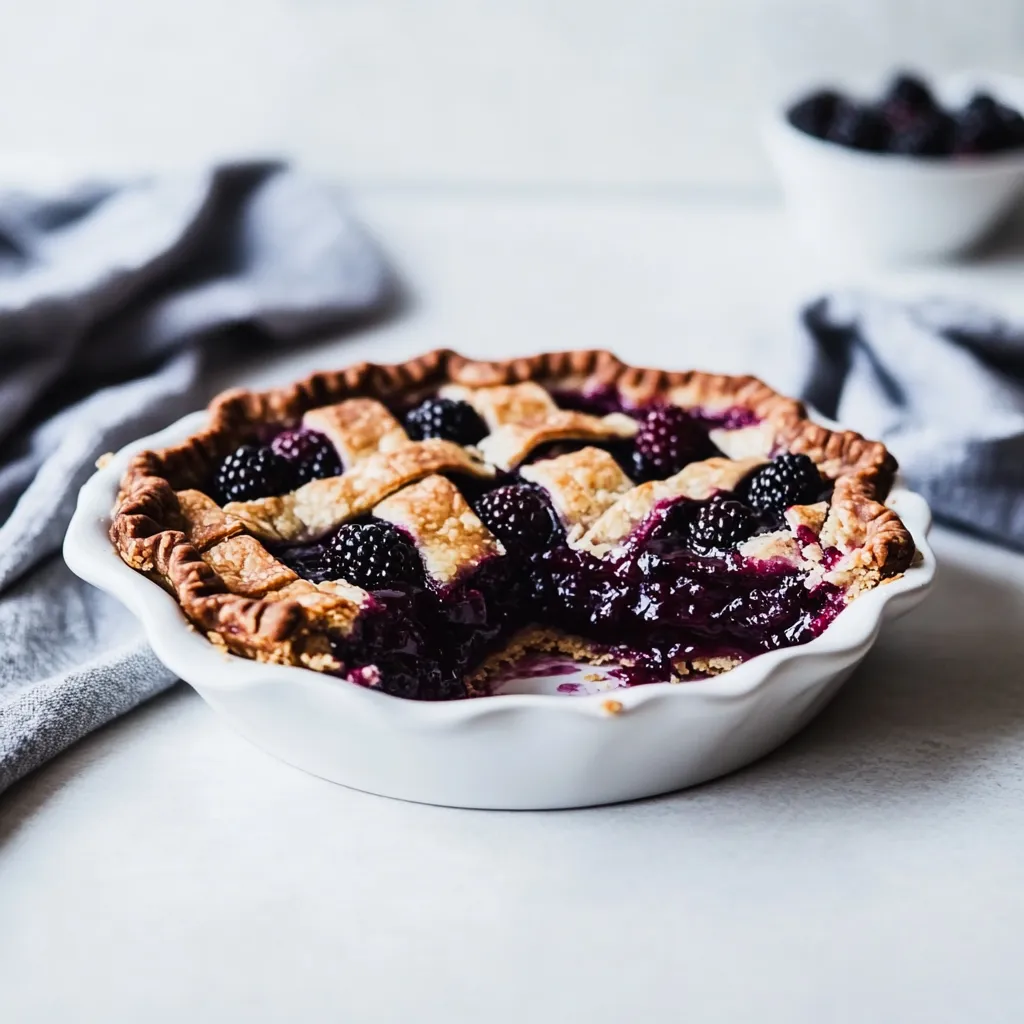
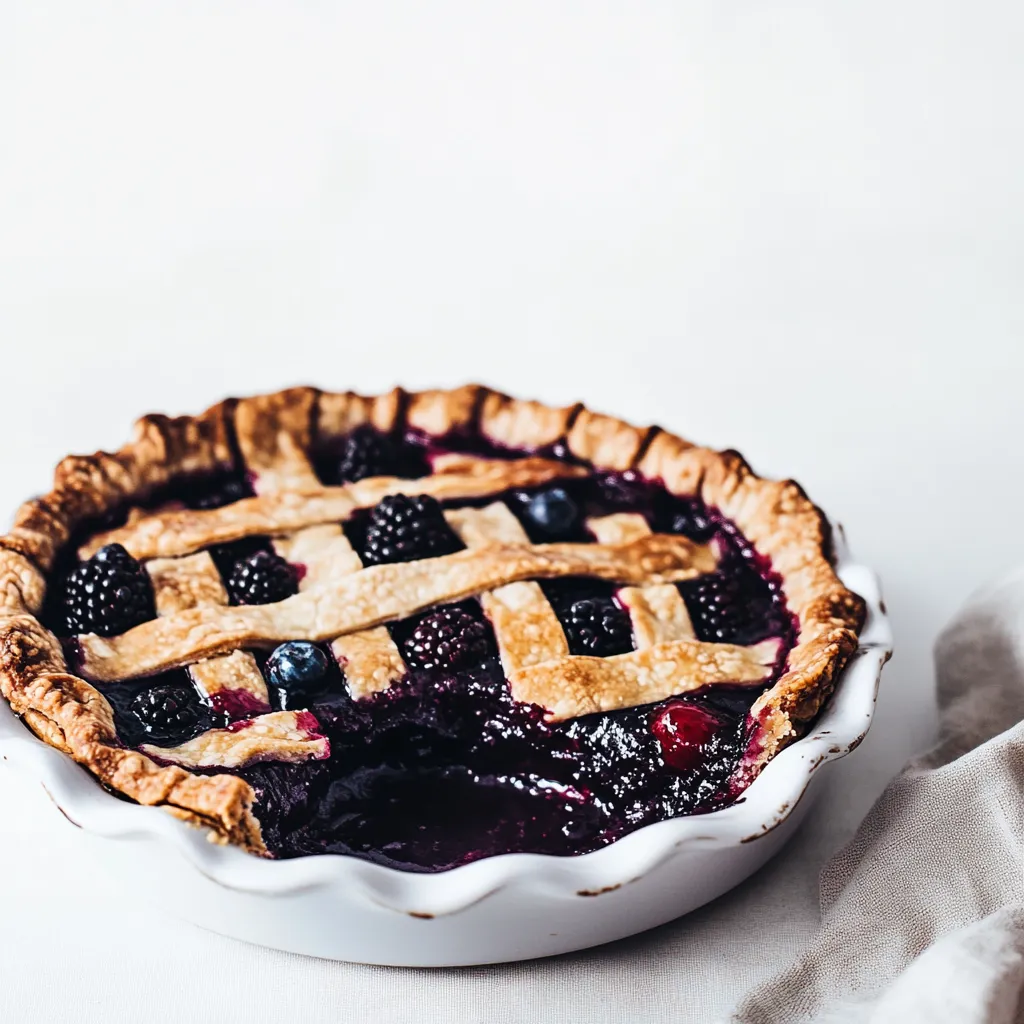
- Now, it’s time to assemble! Place one of the pie crusts into a 9-inch deep dish pie pan. Carefully pour the cooled berry filling into the crust, smoothing it into an even layer.
- Cover the filling with the second pie crust. You can either cut steam vents in the top or create a beautiful lattice top. Crimp the edges to seal it well.
- For a golden crust, combine the large egg with milk and brush this mixture over the top of your pie. Don’t worry about using it all; just a light coating will do. Sprinkle with coarse sugar for a delightful crunch.
- Place the pie on a sheet pan and bake in a preheated oven at 400°F for 40 to 50 minutes. If the crust browns too quickly, cover it with a pie shield.
- Once baked, allow the pie to cool on a wire rack for about 3 to 5 hours. This will help the filling set properly.
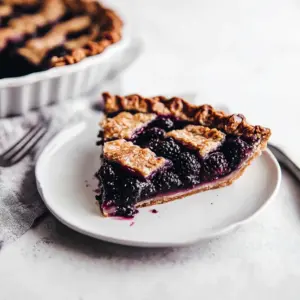
- Finally, enjoy a slice of your Berry Pie topped with fresh whipped cream or a scoop of vanilla ice cream. It’s a treat you’ll want to savor!
Things Worth Knowing
- Use high-quality berries: The flavor of your Berry Pie depends heavily on the quality of your berries. Fresh or frozen, make sure they are ripe and sweet.
- Chill your crust: Keeping your pie crust cold before baking helps achieve a flakier texture. It’s one of the secrets to a perfect pie!
- Don’t skip the cooling time: Allowing the pie to cool helps the filling set, making it easier to slice and serve.
- Experiment with spices: Adding a pinch of cinnamon or nutmeg can elevate the flavor profile of your pie.
Tips and Tricks about Berry Pie
Here are some tips that can help you perfect your Berry Pie:
- Storage: Store any leftover pie in the refrigerator, covered loosely with foil or plastic wrap. It’s best enjoyed within three days.
- Freezing: You can freeze the unbaked pie for up to three months. Just wrap it well in plastic wrap and foil. Bake from frozen, adding extra time to the cooking process.
- Pairing: This pie pairs wonderfully with ice cream or whipped cream, enhancing its flavors.
- Adjust sweetness: Depending on the tartness of your berries, you may want to adjust the sugar in the filling.
- Crust types: Feel free to get creative with your crust! Use a store-bought crust for convenience or make your own for a personal touch.
- Lattice tops: If you’re feeling adventurous, a lattice top not only looks beautiful but allows steam to escape, reducing sogginess.
What to Pair With Berry Pie
Serving your Berry Pie can be as delightful as making it! Here are some ideas:
- Fresh Whipped Cream: A classic pairing that perfectly complements the sweetness of the pie.
- Vanilla Ice Cream: A scoop of cold ice cream adds a luxurious touch to each slice of warm pie.
- Coffee or Tea: Enjoy a slice with a warm beverage for a cozy dessert experience.
- Seasonal Fruits: Serve with additional fresh berries or fruits that are in season for a delightful contrast.
- Breakfast Treat: Leftover pie can make for a delicious breakfast the next day, served with yogurt.
- Picnic Delight: This pie is perfect for summer picnics; it travels well and is sure to impress!
FAQ
Conclusion
This Berry Pie is a delightful blend of flavors and textures that truly captures the essence of summer. Whether enjoyed warm with a scoop of ice cream or chilled with whipped cream, it’s a dessert that promises to bring joy to any table. I encourage you to try your hand at this recipe; it’s easier than you think and is sure to impress family and friends alike.
Berry Pie
Equipment
- 9-inch deep dish pie pan
- Large Pot
Ingredients
- 2 crusts homemade pie crusts or store-bought crusts
- 7.5 cups frozen mixed berries
- 1 cup granulated sugar plus more to taste
- 1/8 teaspoon salt
- 2 teaspoons fresh lemon juice (optional)
- 1/4 cup cornstarch
- 2 tablespoons unsalted butter
- 1 teaspoon vanilla extract
- 1 large egg for egg wash
- 1 tablespoon milk for egg wash
- White sparkling sugar (optional, for topping)
- Vanilla bean ice cream or whipped cream for serving
Instructions
- Prep tip: I like to prepare the two pie crusts and berry filling a day ahead. Refrigerate both until ready to assemble. The colder everything is before baking, the better!
- In a large pot, combine berries straight from freezer, sugar, salt, and lemon juice (if using). Simmer over medium heat until warm and juicy, about 5–10 minutes, stirring gently occasionally.
- Remove 1/3 cup of juice from the pot to a bowl. Add in cornstarch and whisk until fully smooth. Gradually stir this mixture into the simmering berries. Continue stirring gently until it thickens to a jam-like consistency, about 5 minutes.
- Remove from heat. Stir in butter until melted, then add vanilla. Taste and adjust sweetness, adding more sugar if needed. Allow to cool to room temperature.
- Place one pie crust in a 9-inch deep dish pie pan. Pour cooled berry filling into the crust, smoothing in an even layer. Cover with the second crust. Cut steam vents or create a lattice top. Crimp edges to seal.
- Combine egg and milk. Brush over the crust (you won’t use it all) and sprinkle with coarse (or regular) sugar.
- Place the pie on a sheet pan. Bake at 400°F for 40–50 minutes. If crust browns too quickly, cover with a pie shield. Cool on a wire rack for 3–5 hours.
- Enjoy pie with fresh whipped cream or vanilla ice cream.
Notes
- Roll out: On a lightly floured surface, roll the crust into a circle 1–2 inches larger than the pie pan.
- Cut strips: Use a very sharp knife to cut strips of desired width.
- First layer: Place the longest strip in the center. Add shorter strips on either side, spaced evenly.
- Weave: Alternately fold back even and odd-numbered strips. Lay a strip perpendicular across the pie. Unfold the folded strips over this new strip.
- Repeat weaving: Continue weaving until the pie is fully covered.
- Trim and seal: Trim excess dough. Pinch the lattice top and bottom crusts together, crimping the edges.