Apple Tart
There’s something magical about the aroma of a freshly baked Apple Tart wafting through the house. As the leaves begin to turn and the crisp air sets in, I find myself reminiscing about autumn gatherings filled with laughter, friends, and family. One of the highlights of these occasions is always my homemade Apple Tart. Made from scratch with love, each slice carries a story, a memory, and a taste of seasons gone by. I can still remember standing in my grandmother’s kitchen, her hands expertly guiding me as we prepared this delightful dish together. It was more than just a dessert; it was a celebration of traditions and flavors that warmed our hearts.
When I bake an Apple Tart, it transports me back to those moments, where the tartness of the apples meets the sweetness of brown sugar, and the buttery crust cradles it all. It’s a simple yet elegant dessert that’s perfect for any fall gathering or cozy night in. Each bite is a reminder of the beauty of homemade creations, where you can taste the passion and care that goes into every ingredient. And honestly, what could be more comforting than enjoying a slice of Apple Tart with a scoop of vanilla ice cream on a chilly evening? So, let’s dive in and create some delicious memories together!
Recipe Snapshot
1 hr 30 mins
30 mins
60 mins
Medium
320 kcal
3 g
Vegan, Gluten-Free
16 g
Grater, Mixing Bowl, Baking Sheet, Chef’s Knife, Wooden Spoon, Whisk, Frying Pan, Oven
Why We Love This Apple Tart
1. The Comfort of Tradition
There’s a reason why the Apple Tart has been a staple in many households for generations. This recipe not only brings comfort but also evokes nostalgia, making it a cherished dish among families. As I bake, I think about my childhood, the holidays spent with loved ones, and the warmth of home.
2. Fresh Ingredients Matter
When it comes to the Apple Tart, the quality of the ingredients truly makes a difference. I always opt for a mix of tart and sweet apples, such as Granny Smith and Fuji, to create a perfect balance. The fresh spices, like cinnamon and nutmeg, infuse the filling with warmth and depth, making each slice irresistible.
3. Versatile Serving Options
This Apple Tart is incredibly versatile. You can serve it warm with a scoop of vanilla ice cream, or enjoy it cold with a dollop of whipped cream. It can easily transition from a simple weeknight dessert to the star of your holiday table.
4. A Visual Delight
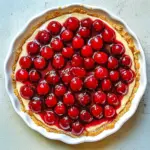
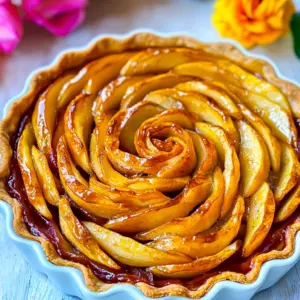
The presentation of an Apple Tart is as delightful as its taste. The fanned apple slices create an eye-catching design that invites everyone to dig in. It’s a beautiful centerpiece that makes you feel proud to serve it to guests.
5. Easy to Make
Don’t be intimidated by the idea of making a tart from scratch! The step-by-step process makes it easy for anyone to achieve that homemade goodness. Plus, the satisfaction you get from creating this delightful dessert is well worth the effort.
6. Great for Any Occasion
This Apple Tart isn’t just for fall; it’s perfect for any gathering. Whether it’s a birthday party, a holiday feast, or just a cozy dinner at home, this dessert fits seamlessly into any occasion, bringing smiles and satisfaction to everyone at the table.
What to Buy for Apple Tart

The beauty of this Apple Tart lies in its straightforward yet flavorful ingredients. Each component plays a crucial role in creating the perfect balance of sweetness and tartness. The key players, like fresh apples, brown sugar, and warm spices, come together to create a comforting dessert that celebrates the essence of fall. Let’s gather these ingredients and get ready to bake!
- 5 apples – cored and thinly sliced, I use a mix of red and green tart apples for a flavorful blend.
- 1/3 cup packed brown sugar – adds sweetness and depth to the apple filling.
- 1/2 lemon – juiced, to brighten the flavors of the apples.
- 1 teaspoon lemon zest – provides a fragrant hint of citrus.
- 1 tablespoon freshly grated ginger – adds a warm and spicy kick.
- 1 teaspoon ground cinnamon – a classic spice that complements apples beautifully.
- 1/4 teaspoon nutmeg – adds a subtle warmth and complexity.
- 1 teaspoon pure vanilla extract – enhances overall flavor.
- 1 1/3 cups all-purpose flour – the base of the tart crust.
- 1/4 cup packed brown sugar – for the tart crust, adding sweetness.
- 1/2 teaspoon kosher salt – balances the sweetness.
- 1/4 teaspoon ground cinnamon – for the crust, enhancing flavor.
- 1/4 teaspoon ground nutmeg – gives the crust a warm flavor.
- 10 tablespoons unsalted butter – melted, crucial for a flaky crust.
- 1 tablespoon granulated sugar – for sprinkling on top of the tart.
- 2 tablespoons cold unsalted butter – cut into small cubes to dot over the filling.
- 1/4 cup peach preserves – or apricot preserves, melted for glazing.
Instructions for Apple Tart
Creating a homemade Apple Tart is a delightful experience that invites you into the kitchen. The process is straightforward and rewarding, allowing you to infuse your love into the dish. Let’s get started and bring this delicious tart to life!
- Preheat your oven to 350 degrees Fahrenheit. This ensures that your Apple Tart bakes evenly and reaches that perfect golden color.
- Wash, dry, core, and thinly slice the apples. If you have a mandoline, use it to achieve uniformly thin slices, which will cook evenly.
- In a large bowl, toss the sliced apples with brown sugar, lemon juice, lemon zest, grated ginger, cinnamon, nutmeg, vanilla, and salt until well combined. This mixture creates a flavorful filling that will shine in your tart.
- In another large bowl, whisk together the flour, brown sugar, salt, cinnamon, and nutmeg. This dry mix lays the foundation for your tart crust.
- Next, add the melted butter to the flour mixture and stir until a dough forms. You want the dough to be cohesive and smooth, ensuring a nice texture for your crust.
- On a lightly floured surface, roll out the dough until it’s about 1/4 inch thick. Carefully press it into a 10-inch or 11-inch tart pan with a removable bottom. If your pan doesn’t have a removable bottom, line it with parchment paper first to prevent sticking.
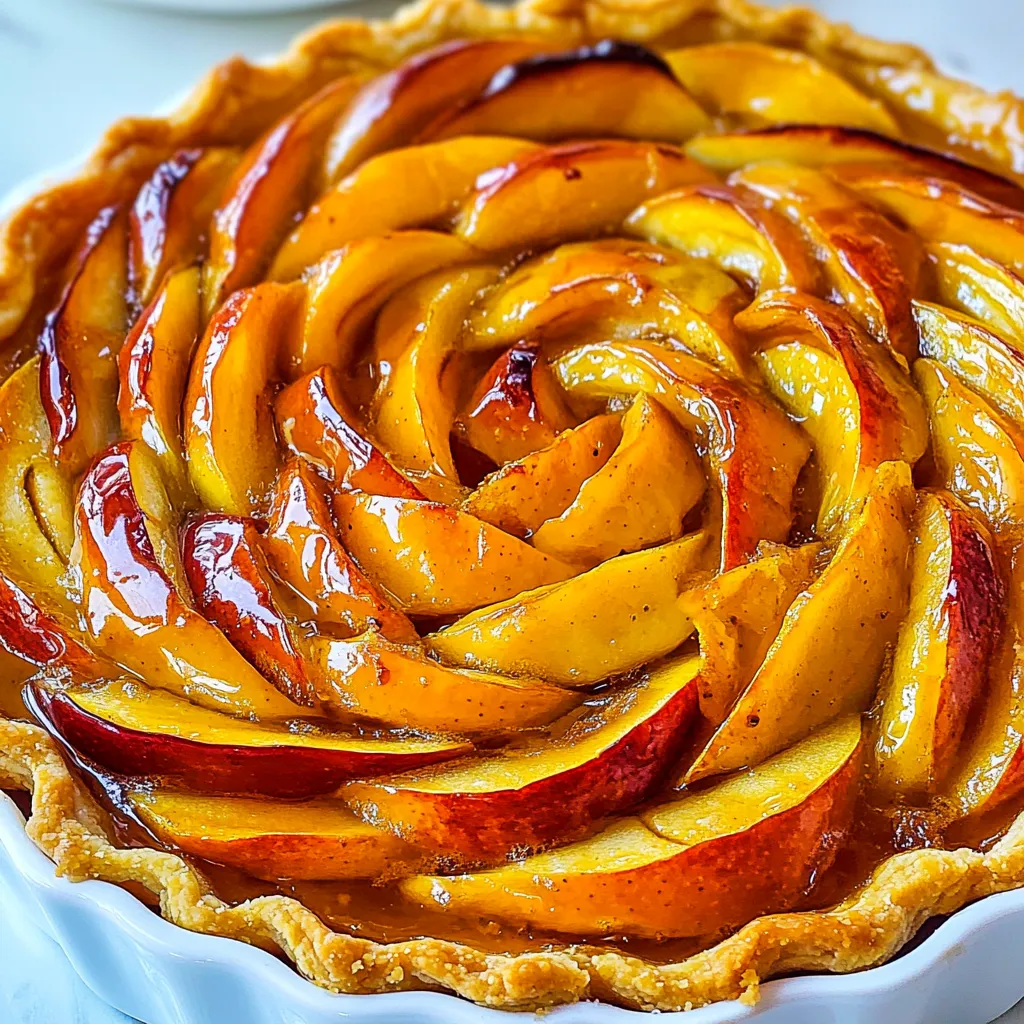
- Arrange the apple slices in the crust, fanning them out in a circular pattern, packing them tightly. The more apples, the better! Sprinkle some granulated sugar over the filling and dot the top with small pieces of butter.
- Bake the Apple Tart in the preheated oven until the crust is golden and the apples are tender, about 1 hour. Keep an eye on it to prevent over-browning.
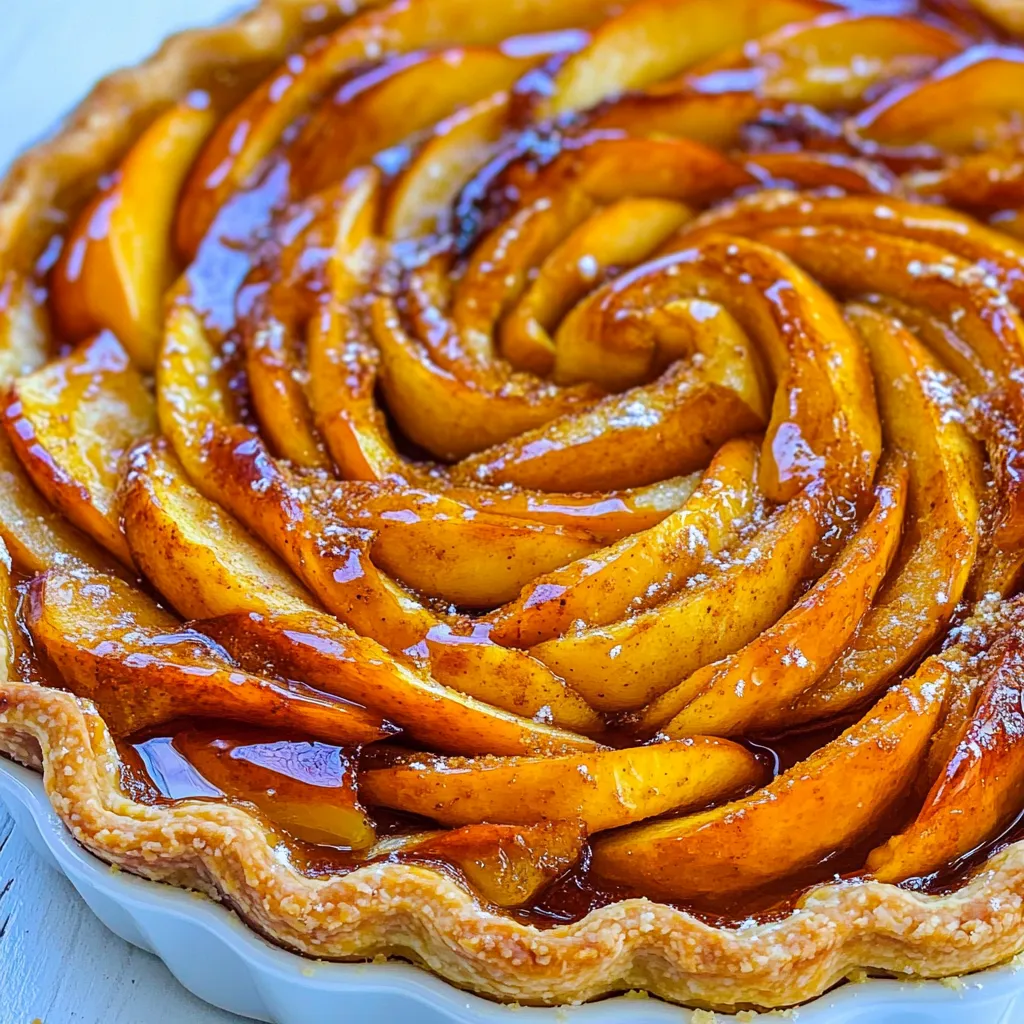
- Once it’s done, remove the tart from the oven and brush the top with melted preserves. This adds a beautiful glaze and a touch of sweetness.
- Let the tart cool slightly before slicing and serving. Enjoy your homemade Apple Tart warm or at room temperature!
Things Worth Knowing
- Use a Mandoline: For evenly sliced apples, a mandoline is a fantastic tool. It ensures consistent thickness, which helps the apples cook uniformly.
- Prebake the Crust: If you’re concerned about a soggy bottom, consider prebaking the crust for 10-15 minutes before adding the filling.
- Keep Apples Fresh: Tossing the sliced apples with lemon juice not only adds flavor but also helps prevent browning.
- Check for Doneness: The tart is done when the apples are tender, and the crust is golden brown. A knife inserted into the apples should slide in easily.
Recipe Tips about Apple Tart
Making an Apple Tart is a fun and rewarding experience, but a few tips can ensure your tart is a showstopper. Here are some practical suggestions to help you.
- Storage: Keep your Apple Tart covered at room temperature for up to 2 days. If longer, store it in the refrigerator to maintain freshness.
- Freezing: You can freeze the Apple Tart for up to 3 months. Wrap it tightly in plastic wrap and then foil before freezing.
- Pairing: This Apple Tart pairs beautifully with a scoop of vanilla ice cream or a dollop of whipped cream, enhancing its flavors.
- Variations: Feel free to experiment with different spices, such as cardamom or allspice, for a unique twist on the classic flavor.
- Serving Occasion: The Apple Tart is perfect for fall gatherings, holiday celebrations, or even a cozy dessert after dinner.
- Glazing Ideas: Try using different fruit preserves for glazing, such as apricot or raspberry, to add a new layer of flavor.
What to Serve With Apple Tart
When serving your homemade Apple Tart, consider these delightful pairings that will enhance the overall experience:
- Vanilla Ice Cream: A classic pairing, the creamy texture of ice cream complements the warm tart perfectly.
- Whipped Cream: A light dollop adds a beautiful touch, balancing the sweetness of the tart.
- Cheese: For a savory twist, serve with slices of aged cheddar or a creamy Brie.
- Hot Beverages: Pair with a cup of hot cider, tea, or coffee to warm up chilly evenings.
- Seasonal Salads: A side of mixed greens with a light vinaigrette can balance the sweetness of the Apple Tart.
- Nutty Crumbles: Top with toasted pecans or walnuts to add a delightful crunch.
- Fruit Compote: Serve with a side of warm fruit compote for an extra fruity punch.
FAQ
Conclusion
The Apple Tart is truly a timeless dessert that brings warmth and comfort to any gathering. Its delightful blend of sweet and tart flavors, along with a flaky crust, makes it a must-try recipe for anyone who loves baking. I encourage you to give this recipe a try and create your own cherished memories. After all, there’s nothing quite like sharing a slice of homemade goodness with loved ones!
Apple Tart
Equipment
- Grater
- Mixing Bowl
- Baking Sheet
- Chef's Knife
- Wooden Spoon
- Whisk
- Frying Pan
- Oven
Ingredients
- 5 apples cored and thinly sliced – I use a mix of red and green tart apples
- 1/3 cup brown sugar packed
- 1/2 lemon juiced
- 1 teaspoon lemon zest
- 1 tablespoon ginger freshly grated
- 1 teaspoon cinnamon ground
- 1/4 teaspoon nutmeg ground
- 1 teaspoon vanilla extract pure
- 1 1/3 cups all-purpose flour
- 1/4 cup brown sugar packed
- 1/2 teaspoon kosher salt
- 1/4 teaspoon cinnamon ground
- 1/4 teaspoon nutmeg ground
- 10 tablespoons butter unsalted, melted
- 1 tablespoon sugar granulated or brown sugar
- 2 tablespoons butter cold unsalted, cut into small cubes
- 1/4 cup preserves peach or apricot, melted
Instructions
- Preheat your oven to 350 degrees Fahrenheit. This ensures that your Apple Tart bakes evenly and reaches that perfect golden color.
- Wash, dry, core, and thinly slice the apples. If you have a mandoline, use it to achieve uniformly thin slices, which will cook evenly.
- In a large bowl, toss the sliced apples with brown sugar, lemon juice, lemon zest, grated ginger, cinnamon, nutmeg, vanilla, and salt until well combined. This mixture creates a flavorful filling that will shine in your tart.
- In another large bowl, whisk together the flour, brown sugar, salt, cinnamon, and nutmeg. This dry mix lays the foundation for your tart crust.
- Next, add the melted butter to the flour mixture and stir until a dough forms. You want the dough to be cohesive and smooth, ensuring a nice texture for your crust.
- On a lightly floured surface, roll out the dough until it’s about 1/4 inch thick. Carefully press it into a 10-inch or 11-inch tart pan with a removable bottom. If your pan doesn’t have a removable bottom, line it with parchment paper first to prevent sticking.
- Arrange the apple slices in the crust, fanning them out in a circular pattern, packing them tightly. The more apples, the better! Sprinkle some granulated sugar over the filling and dot the top with small pieces of butter.
- Bake the Apple Tart in the preheated oven until the crust is golden and the apples are tender, about 1 hour. Keep an eye on it to prevent over-browning.
- Once it’s done, remove the tart from the oven and brush the top with melted preserves. This adds a beautiful glaze and a touch of sweetness.
- Let the tart cool slightly before slicing and serving. Enjoy your homemade Apple Tart warm or at room temperature!